


Scotts90
-
Posts
1,651 -
Joined
-
Last visited
-
Days Won
23
Content Type
Profiles
Forums
Events
Gallery
Blogs
Posts posted by Scotts90
-
-
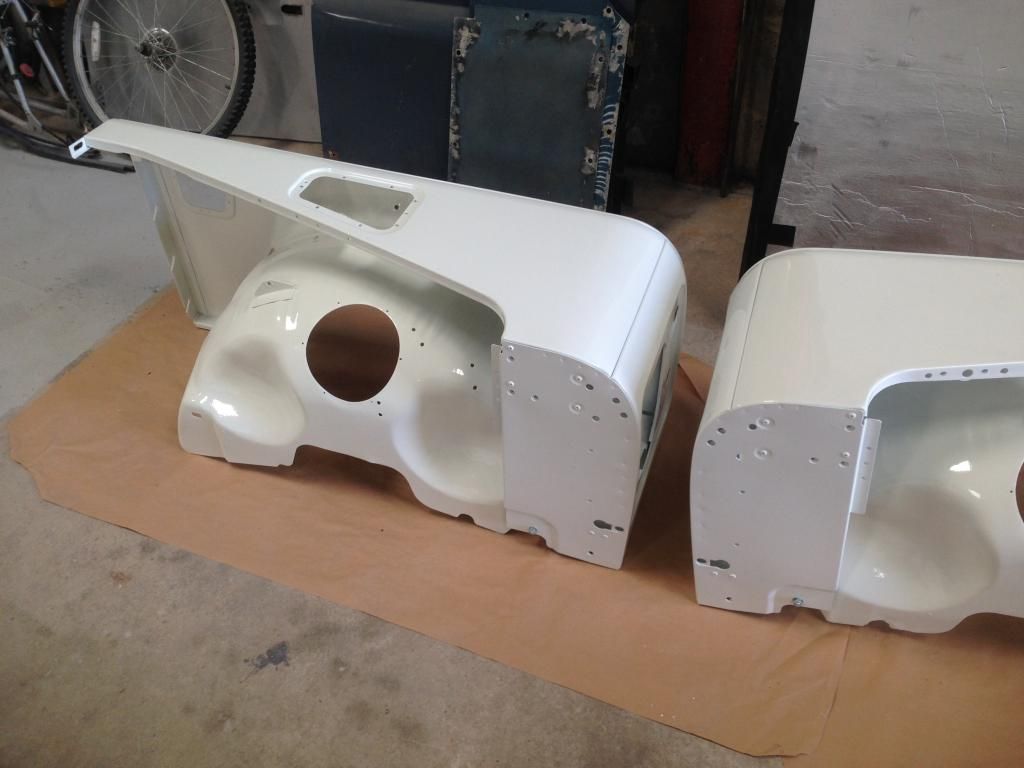
My wings are all new apart from the inners. The sides were £66 each plus delivery from SPLandrovers, the top/front (which LR refer to as a fender assembly were new from Landrover at £180 per side. Finding good relatively dent free wings on eBay was nigh on impossible
-
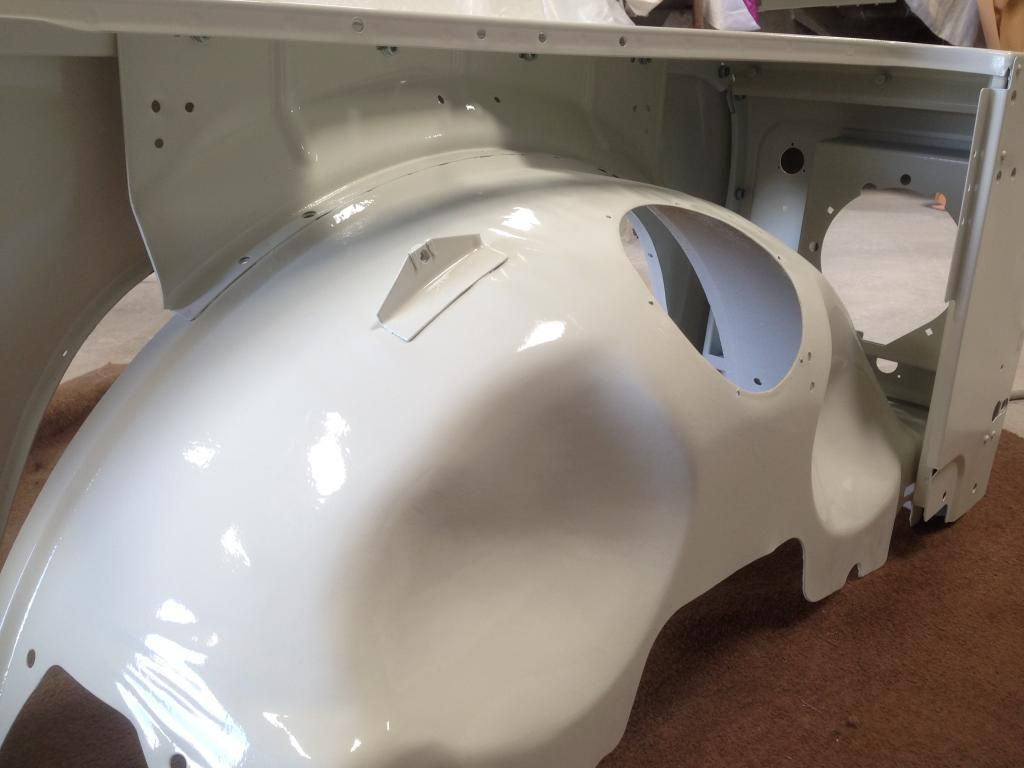
You can see along the top where the inner is bolted through the outer and upper skins there are 4 bolts...or hex screws and spire nuts depending on what they had lying about when it was built! You could remove the top/front and side to leave the inner wings but not the other way around...it's all got to come off.
This is the bare inner, I forgot there's also a bolt through the bulkhead bracket above the chassis rail
-
 1
1
-
-
In addition to above...
Remove grill, two bolts inside at top of either side also one bolt further down. Top radiator brackets are bolted onto wings too. Inner wing will have two large self tappers onto bulkhead bracket, and stay from bulkhead footwell onto lower inner lip of wing.
Wiring loom is clipped onto the inner wing and is accessible after removing the rubber arches (plastic expanding rivets), it will be bullet connectors so unplug the loom as necessary including the side repeaters. The air inlet duct from the outer wing into the engine bay restricts access a bit to the bulkhead to wing bolts, undo the screws and try to split at the joint if possible, this will allow you to move it about to get it the bolts.
After that you need to try and lift them up and over the turrets...ok on standard but a bit tight with heavy duty ones fitted. Getting them off is easy, refitting without scratching the nice new paint is the hard bit!
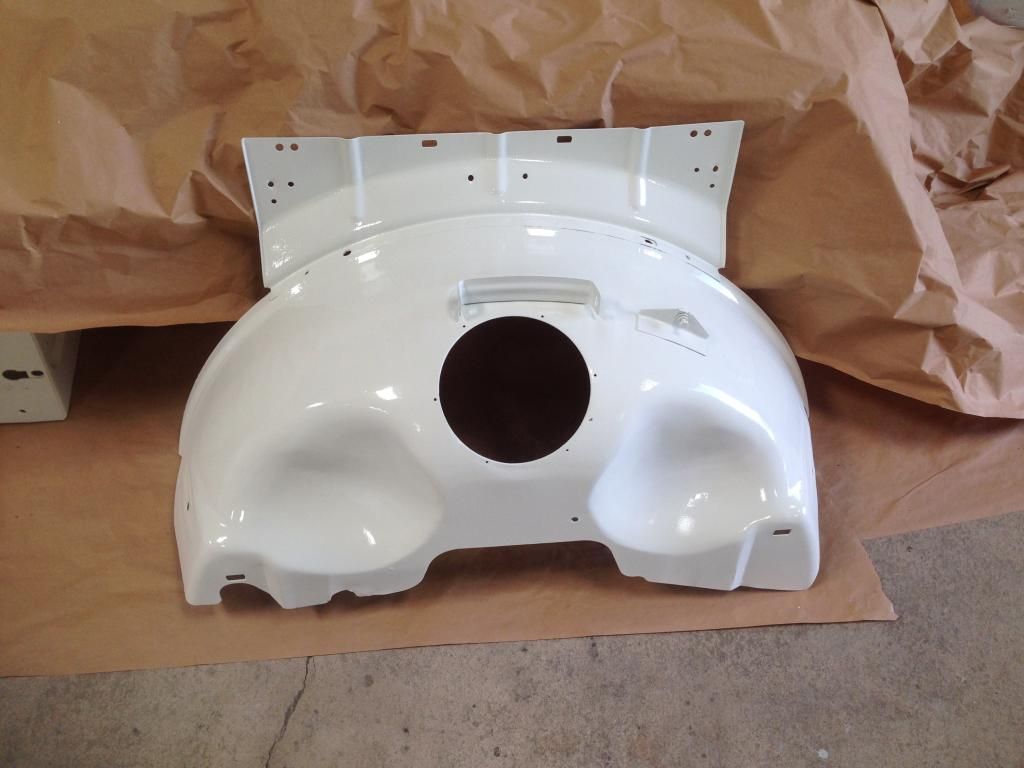
The pic shows all the holes where it's bolted, and you'll see the slots at the bulkhead end for the 4 bolts
-
Hmm, food for thought. I know my rears dislocate and need a gentle tap to sit squarely back in the seat...ok on the move as undoubtedly they will go back in...but on a ramp I'm not too sure. Reckon I'll just stick a set of cones on it anyway.
-
The top of your sides will have a channel into which the seal will be a snug fit. The lip on the seal will lap over the outer skin of your sides. My upper seals were real rubber with the lower being foam. I thought 110 ones would just have been different in length.
-
Masai sell templates on their online shop at £15. The landy glass fitting guide in Augusts LRO gave dimensions too but the "full roll of masking tape" to get the radius for the corners was a bit of a guess....ok if you're fitting full glass side panels...not if you are fitting OE style windows.
-
On my radiator the adaptors on the end cap did look as if they were screwed into the plastic but once they were removed they are actually screwed into a brazed boss on the cooler tank. There's just very little to brace against when trying to unscrew them, careful application of heat (don't melt the plastic) to break whatever sealing compound they use seems to help.
-
When I replaced my 200tdi rad it had the newer style adaptors that had the o-ring fitting for the oil pipes. These unscrewed after some persuasion (thought I was going to break the rad and I work on industrial piping!), I then fitted the conical older style adaptors from my original radiator.
I did go to the bother of ordering up the newer style 200tdi hoses, but these have different fittings at the sandwich plate on the oil filter housing.
-
It should have a USB port in the lid of the cubby box, use the standard apple usb lead. Depending on spec it should also be possible to pair via Bluetooth and stream music from your Iphone/ipad etc. My 2012 model had these features on GS spec
-
If your chassis is that rotten then it certainly won't help!
I have a td5 bulkhead, td screen, YRM seat box battery and toolbox replacements on either side, I've fitted NAS quarters, new floor and supports to the rear tub as well as new rear light panels. I've just fitted rear later spec side panels and have an older ribbed roof...and td5 doors...and it all bolts together without any "major" issues. All the doors shut with ease, panel gaps are per factory tolerances, assembling things loosely first to allow for tweaking was a good help.
By the sounds of things the body is under a degree of stress due to the rot and if you have the chassis sitting on stands then it makes things worse.
-
My 87 with 200 tdi fitted never had one, just a straight feed from the ignition barrel to the starter solenoid. Your fault could be a worn barrel though, just making contact when held in the pre-heat position.
-
Have you tried popping out the starter relay to see if it still tries to crank? Will narrow any short down to before or after relay...ie from ign barrel feed down or from relay to starter solenoid.
-
My top seals were for a 90 mxc3676/7, these differed from my original seals that sat recessed inside the top of the panel, the new ones have a lip that sits over the panel. I was going from the older style sides that have the horizontal internal brace and the extra strengthener at the door shut (b-pillar) to the newer style fully flush panels.
The lower foam ones were part no's AML710070/60 (again for the 90), the cutouts go around the cap to body mount holes and the bigger cutout for the 90degree bend for the rear panel, the slot at the end tucks behind the bracket at the rear door.
-
Yes Reb. I follow your meaning now, mine were a good 45-50mm pre-compression and protruded well beyond the lower panel edge when stuck on.
-
Was just about to list the part numbers for the ones I just got for mine....then realised my 90 ones would be even shorter. They were Britpart too, both lower foam/sponge type and upper rubber ones were a perfect fit! No gaps that I can see, there was at least 15mm beyond the panel prior to tightening and compressing the foam.
-
I've had 2 disco td5s, we have a 110 300tdi farm pickup and previous to that had a 110 td5 hi-cap. My current rebuild is a 200tdi but is being fitted with the intention of a td5 upgrade if and when the 200 expires.
Both are great engines, buy whichever model suits your driving and as mentioned previously is in the best order. Did well over 100k on the discoverys and only had the oil in the loom fault once, prior to popular belief at the time that landys of the late 90s and early 00s were unreliable (my shogun broke down more often). The 300tdi is simple and easy to fix but archaic compared to the td5.
If you can, drive both then buy the one you like.
-
Apologies for the hi-jack...Can I ask a favor can you measure the position of the heater elements and connections relative to the edge of the screen. I'm looking into the possibility of cutting down a heated screen thanks.
Mike
I have a 3 wire screen in the wrapper in the other room, there is approx 2mm top and bottom from the screen to the foil tape that encloses the element. At either side at the bottom there is approximately 60mm of element free glass and there is 30mm "free" at the top. This is an OE pilkington green tint screen.
The end connections are about 65mm from either side.
-
Thanks.
I piped up the system with the g-valve and all seems to be working well. I'll see how it fares once it hits the road

-
Looking for some guidance/advice chaps.
I have upgraded the rear axle on my 90 so that I have discs all round, I have also installed the non-ABS servo and mastercylinder assembly that came with my td5 bulkhead. Am I better installing the non-ABS PRV to suit the td5 set up or just leave the g-valve In place? I have a new PRV in my big pile of parts that came from Britcar today

-
Highest load per core will be stoplight as the one core supplies both sides... 42w in total assuming standard bulbs and not LED units therefore 3.5amps. All other cores are less than this, even if you are running marker lights off the tail light feeds.
Most of my trailer wire/7 core is 1mm2 which has a load of 8.75a.
-
Hinges are ok, the check strap brackets are different on OE series doors from push button ones. I think SP Landrovers sell series bottoms that are modified to suit the push button style check strap.
-
You'll need to change the striker to suit the anti burst locks
-
Fuel filler hose and rear wiring loom disconnected?
-

These little blighters?

wibbly wobbly speedo
in Defender Forum (1983 - 2016)
Posted
And don't buy a britpart sender or you'll have a wibbly wobbly electronic speedo lol