


rambo19
-
Posts
23 -
Joined
-
Last visited
Content Type
Profiles
Forums
Events
Gallery
Blogs
Posts posted by rambo19
-
-
I'm a london bus driver.
I walked into my local halfords and told them I was re training to be a mechanic and the lads at work had reccommended them.
5 mins later, trade card in my pocket!
-
Halfords for me to!
My dad, a confirmed britool user, even rates the halfords stuff!
-
Ive had the same thing with black paint looking grey in the tin.
Ive found that once it's applied and dry it turns black.
-
-
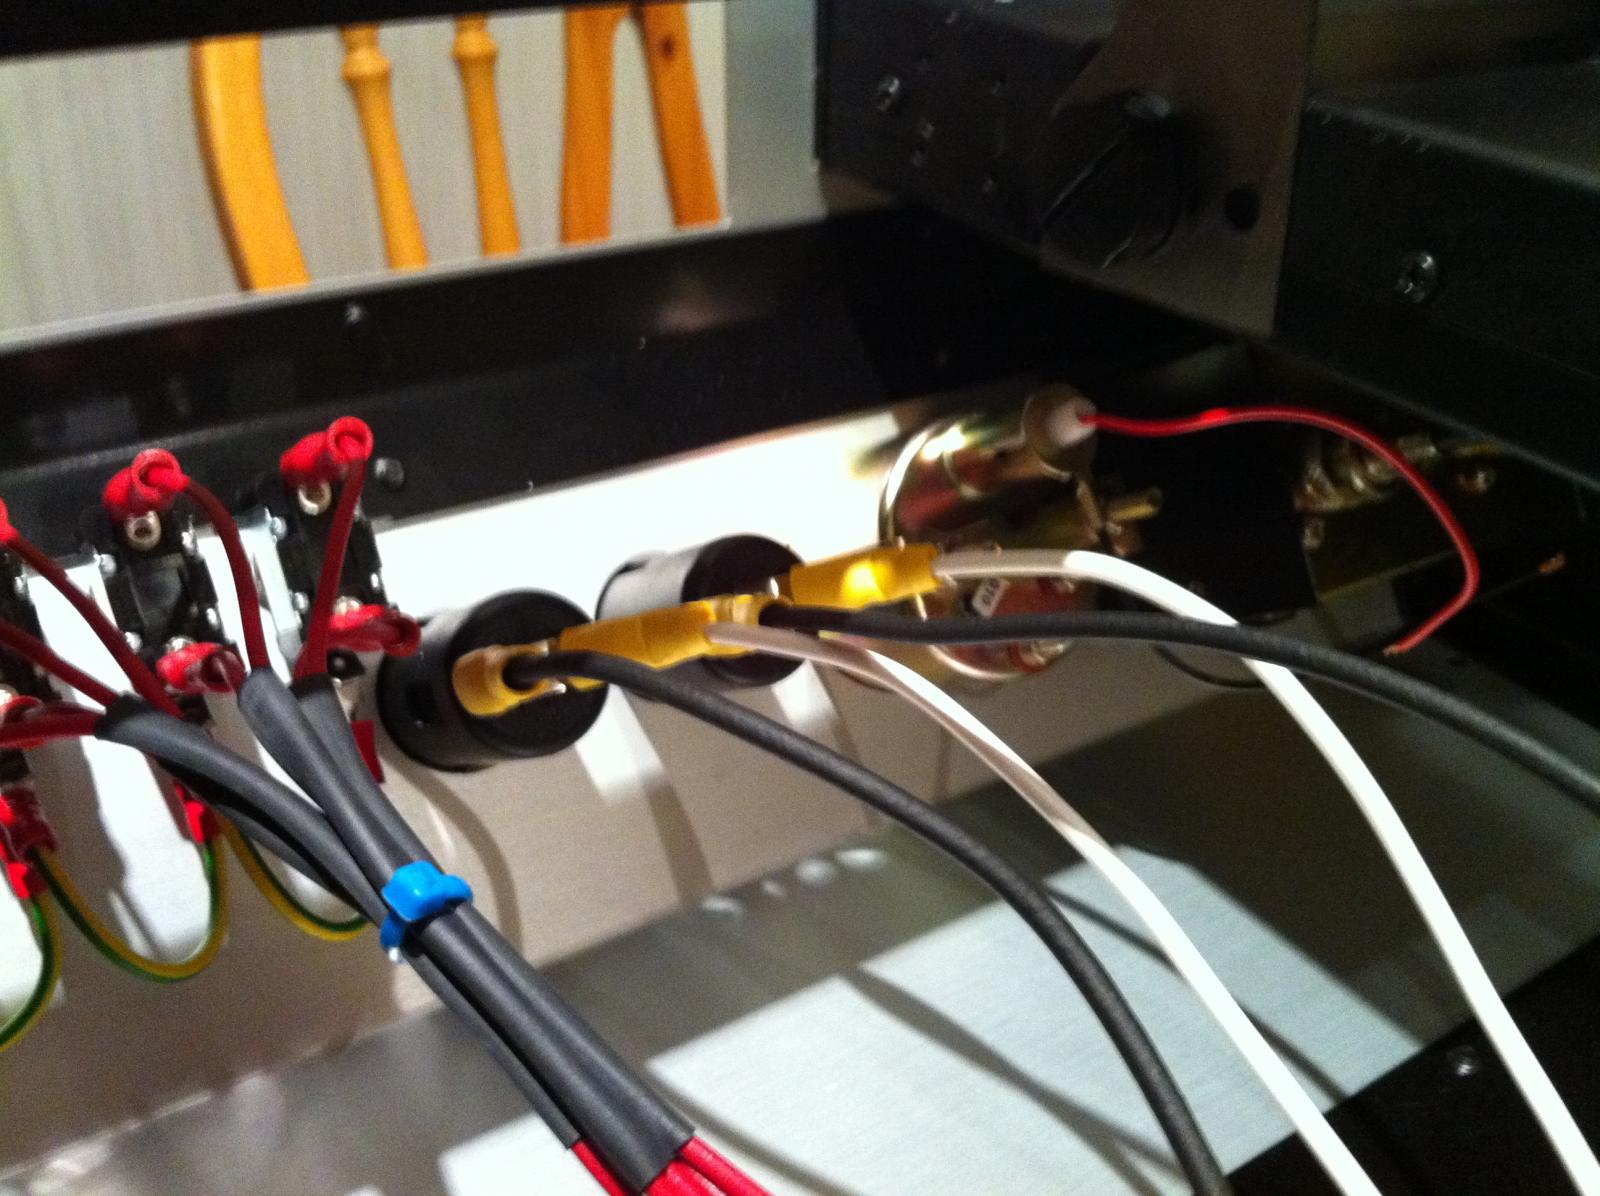
Quick update on my crimping style.
I am not a trained mechanic, 90% of what I know has been taught to me by my dad, who is a retired mechanic, when he did his apprenticeship he had to take apart starters/engines/dynamo's and fix them, no recon units in them days. He is very old fashioned, and when I told him I was fitting a cd player in my 110 his response was "what do you want one of them new fangled things for, in my day we had 8 tracks!!".
Anyway, i'm not bad at mechanic's and electrics, as long as I take my time, I do have a natural talent for painting/bodywork, and have painted all mates landies for them.
Back on track-crimping terminals;
I have been useing a rachet type crimper, with good results, however, after seeing the excellent wireing posted on this thread I went into my shed and dug out my old manual crimping pliers. Wow!, ive managed to do good strong crimps that look very neat. I'm well pleased

-
Frax,
I can't speak for others but for the stuff on mine that came from the existing loom I just extended in the wires or used them as is (rear wipe/stock 12v etc.) everything else comes from feeds from a second baby fuse box mounted up on the seat bulkhead (or will when I get off my arse and finish adding extra stuff to it
 ).
).That said, I expect most people will have just hacked off the main internal fuse box below and run up some wires and used the odd spare slots (or vampired existing feeds
) unless they really wanted a 2nd fuse box.Mind you, your idea of just running a feed from the battery bay and popping a small fusebox with some micro-fuses behind the Raptor console sounds great to me. It's easy enough to take a few screw out to get at the insides of the console if you need to change the fuses or tweak things.
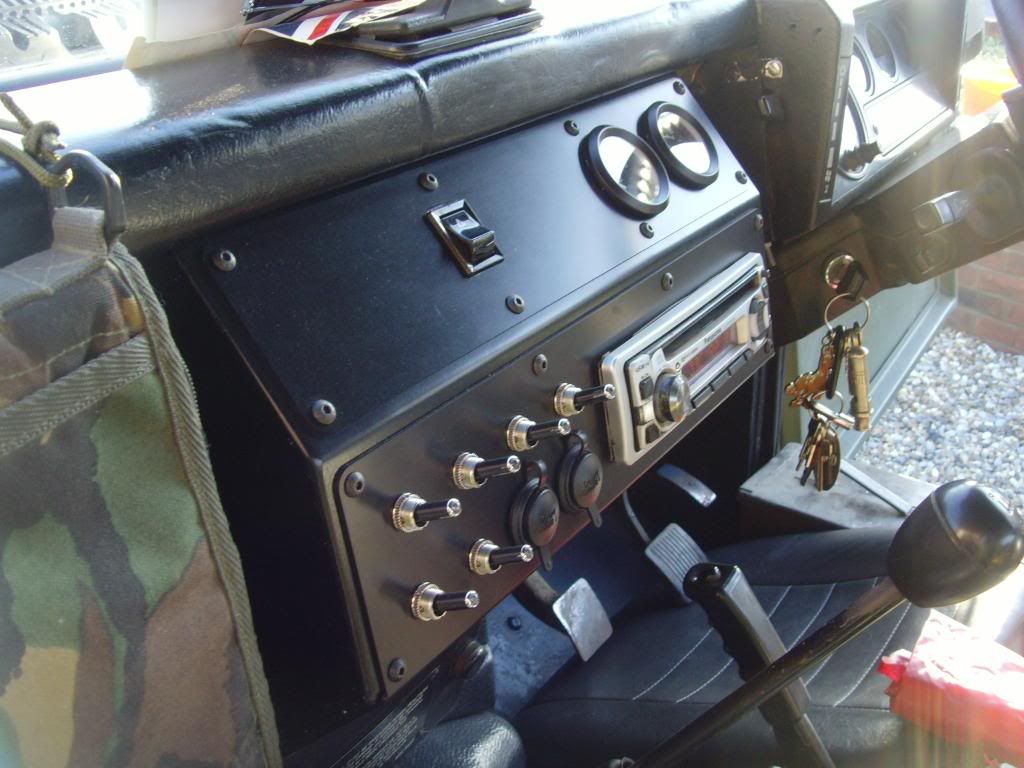
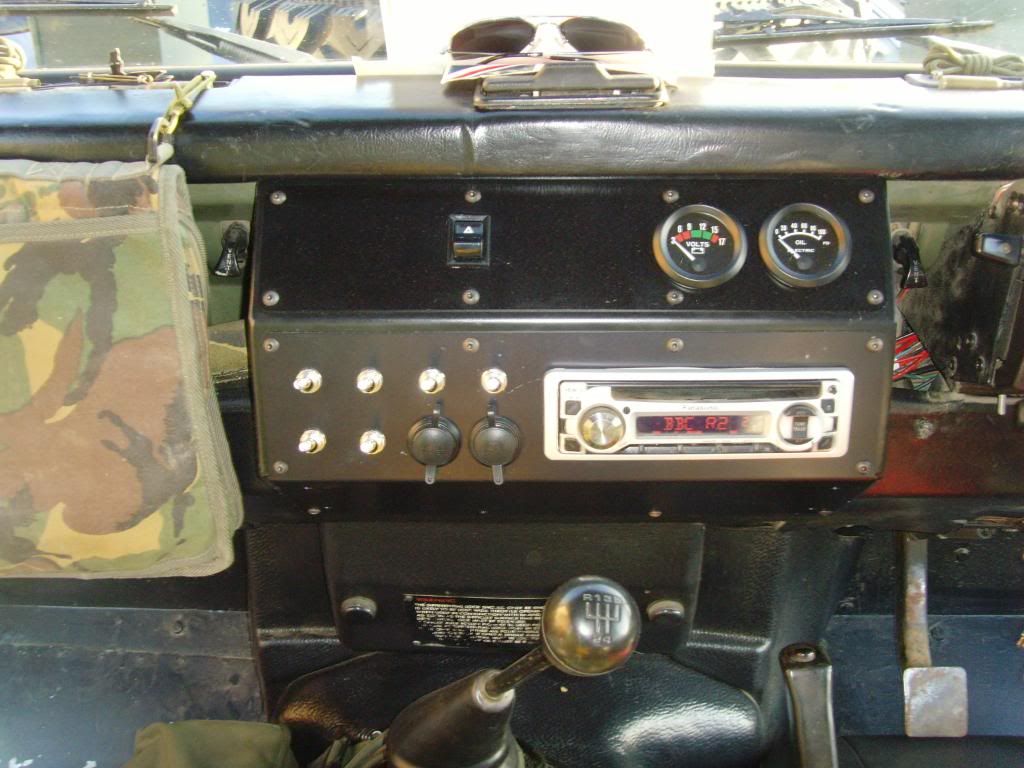
I ran the existing wires to the console, But, whilst I had the dash out I checked all the old wires and removed all the old bodge's from previous owners!
I also put in line fuses on all my lives.
-
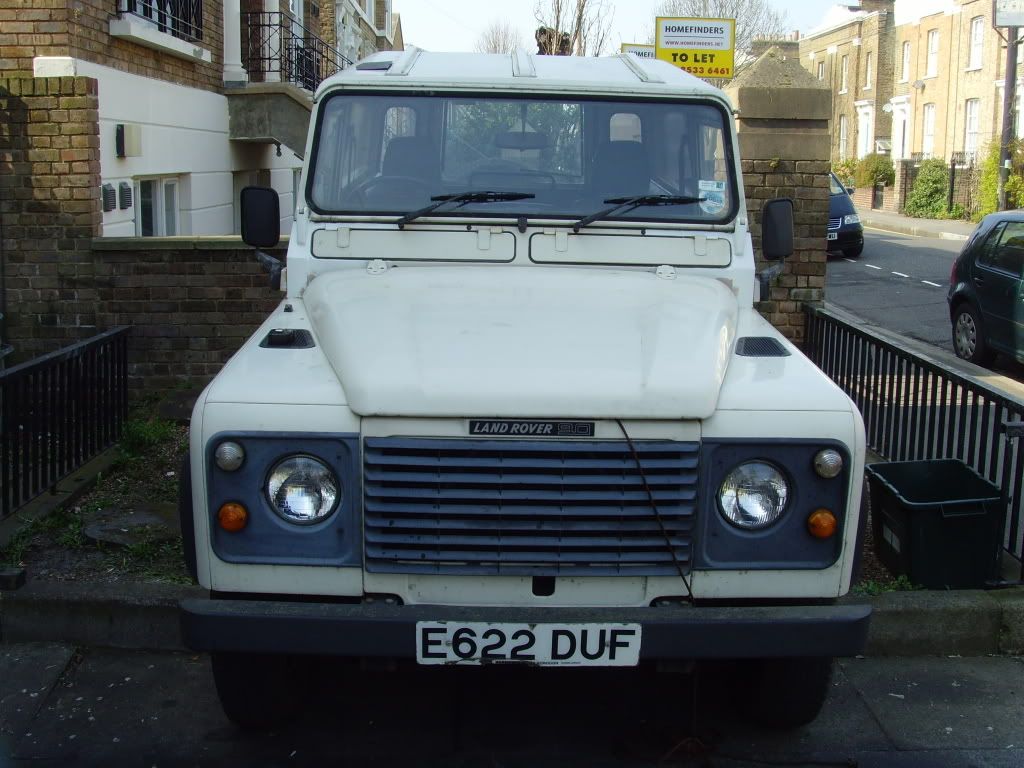
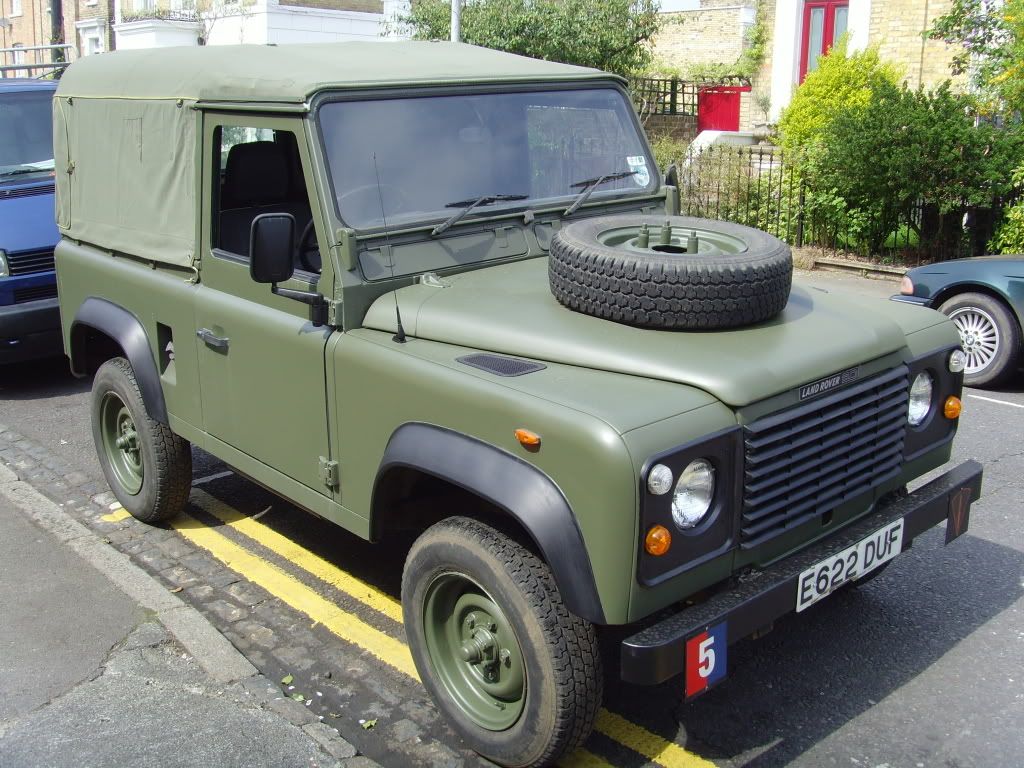
Mines a civvie spec.
-
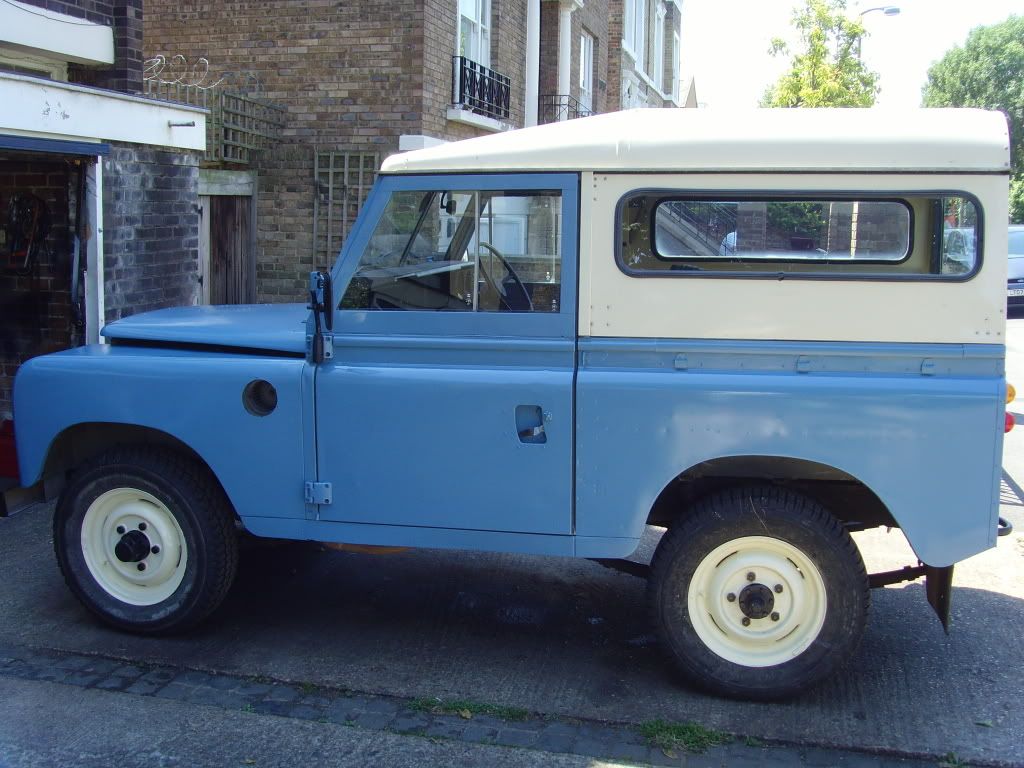
Nice neat wiring
That is a pukka bit of wireing!!
How did you connect terminals?, when I crimp mine the whole terminal gets crimped, yet yours looks un crimped.
-
When I moved the hazard switch I just extended the wires, easy to do, just take your time and mark them.
I must say I am well impressed with the console, a very sturdy bit of kit.
I spoke to the chap from raptor, a realy friendly and helpful chap, 10/10!!
-
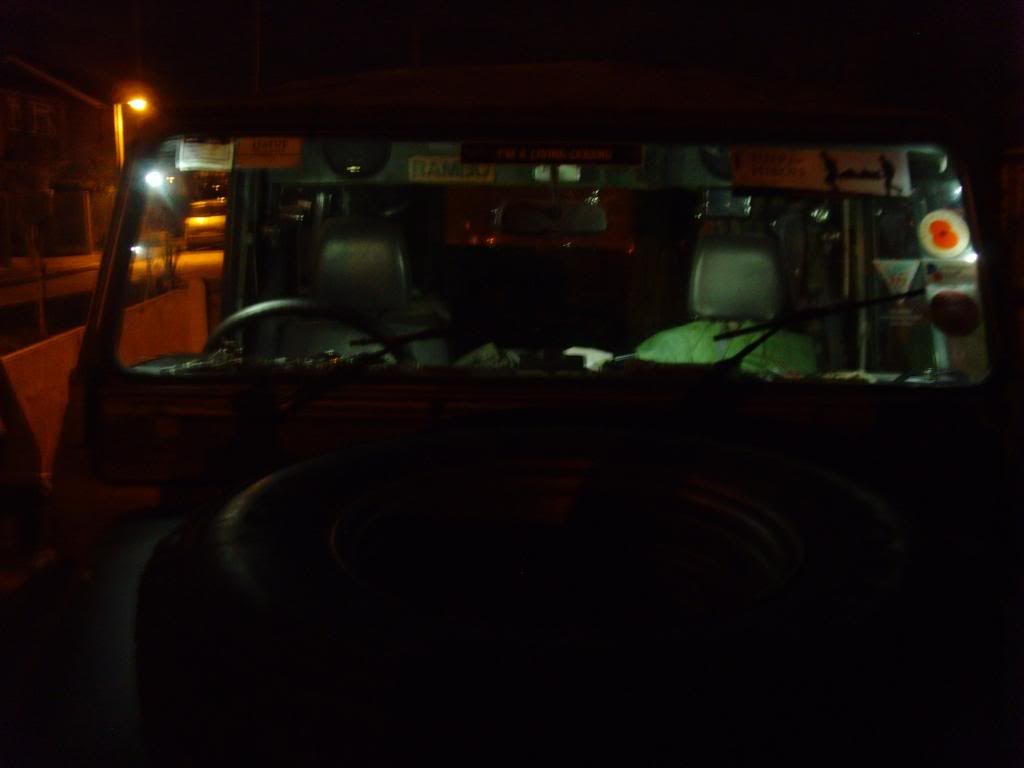
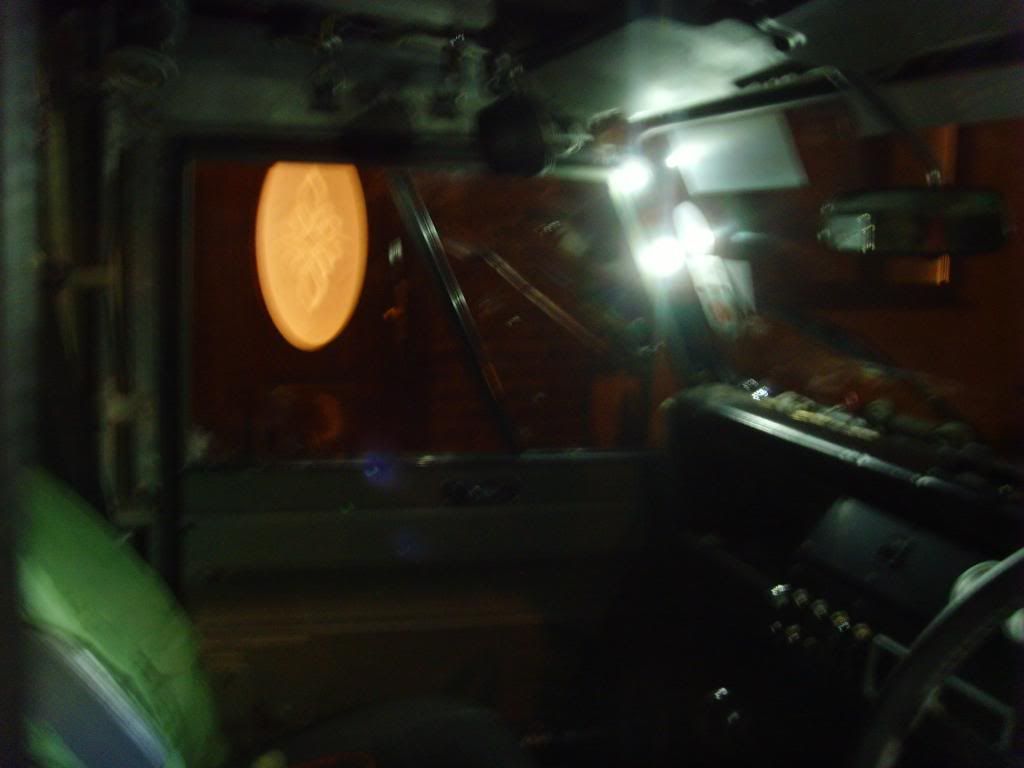
Ive just done mine to;
I also fitted LED courtesy lights for when I open the drivers door;
This pic taken of a night with no flash
And this pick with doors open and lights on;
and this is where I mounted them;
-
Ive just done mine, so heres some pointers for you;
Don't bother flushing the old matrix, get a new one. I flushed my old one, ran clear as a whistle so I re fitted it=rubbish.
Whilst your heater box is off, clean and repaint the heater box and the bulkhead and inner wing.
For your seals you can use a camping mat.
Make sure you have some evo stick.
-
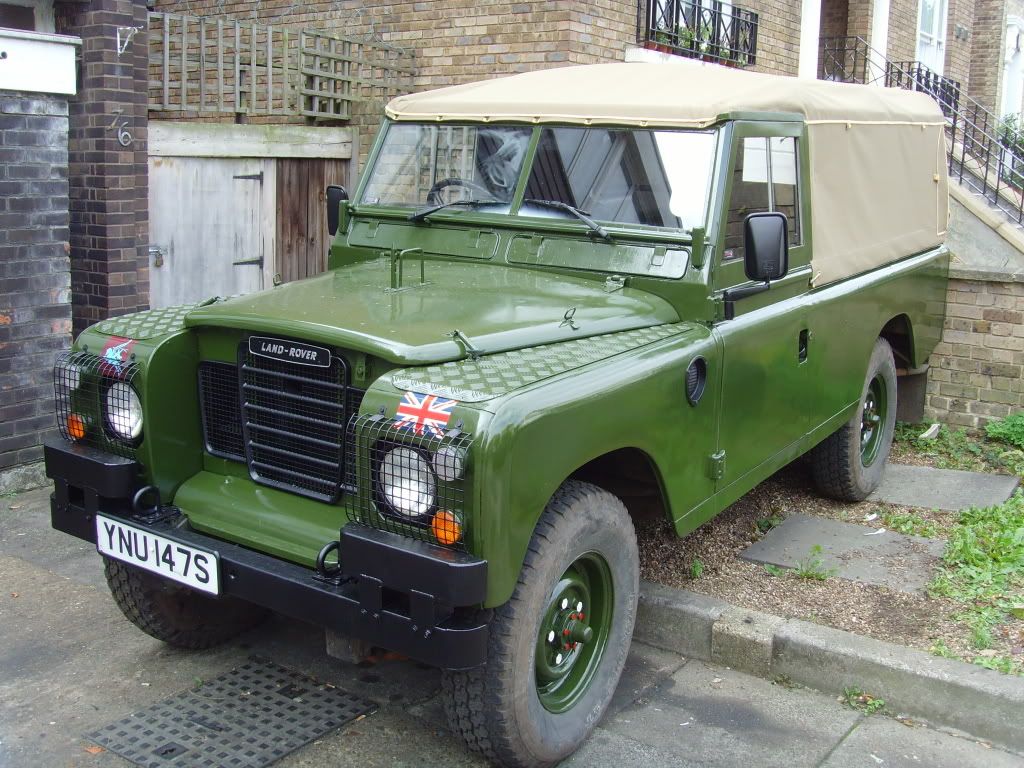
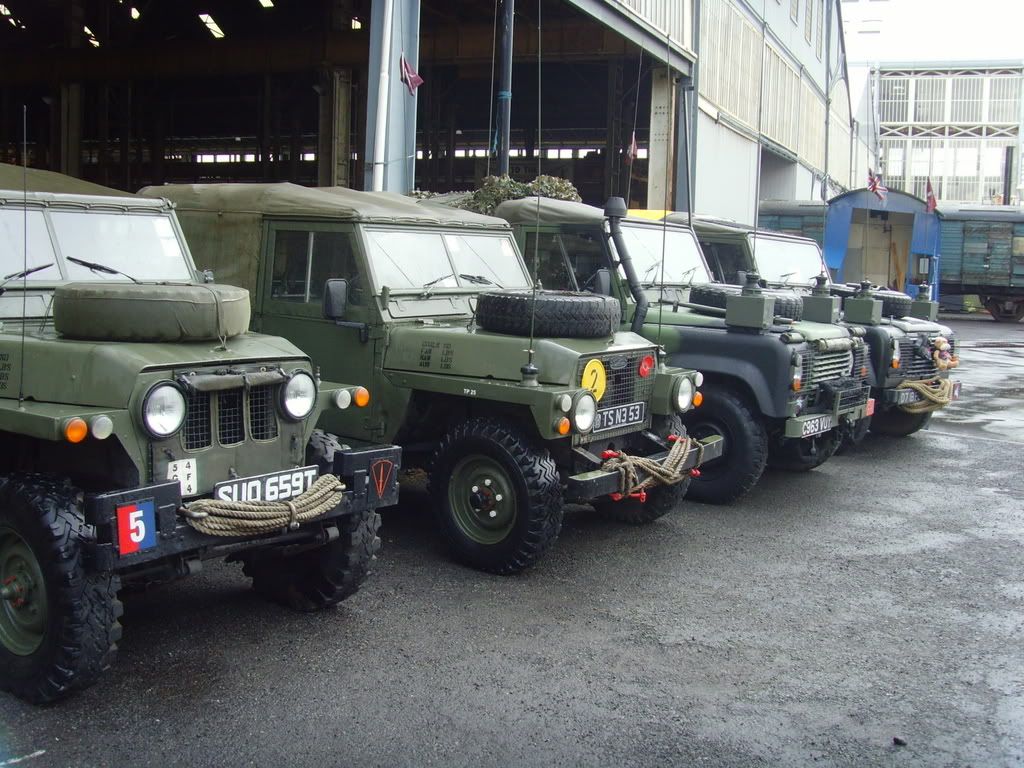
I agree,they are fantastic paint jobs...I'd be interested to know what paint you used on the 90 in the fourth picture down,as that's exactly what I want for my 110.I take it that it's olive drab and not nato green.Is it matte as it looks quite a satin type finish?and finally,is there a paint code for it?

NATO green, satin finish, I find that if you use NATO green matt finish it marks easy, so I always use satin finish.
Just to add, none of the above were primed!!
-
That's weird Rambo your post wasn't there when I looked before??
All I can say to that hand paint effort is WOW!!!!!!!!!!! When you free to come do mine

I will definitely be painting it in the spring if that's the effect you can get, how did you get the shiney effect surly not just from the paint? Assume extra laquer?
Bloody good finish on the green series!
No laquer, deep bronze green gloss finish from local car paint supplier.
-
I live in billericay so will keep an eye out for it.
-
52mm clocks are top dollar, i'm looking for one for my 110, cheapest ive found is about £40 !
-
Paint it with a roller!
I use a 4 inch short pile gloss roller and a 2inch brush for the fiddly bits.
If your paint is quite sound use meduim scotchbrite pads 1st and finish with fine grade pads.
I use synthetic paint from my local car paint supplier, straight from the tin, for a 110 hard top you'll need about 2-3 litres.
When useing the brush, always finish with downward strokes, stops curtains forming.
When you have rubbed down, wipe over with white spirit and a clean cloth, the good thing about synthetic is that it dries quickly and does'nt re act with anything underneath.
All below done with a roller;
I did'nt even prime the 90;
-
I have, but this was a long time ago. I think the plate that bolts on to the block needs to be thinner, to bring it closer to the cam. potentially use the original 2.5 plate and cut some holes to make it work. I think that was the solution, but have a look if that works first.
Daan
I must admit, that is what I thought, i'm going to try and get a spare cover plate and drill out the holes.
-
I have tried fitting a mechanical fuel pump to my 2.5 petrol, but the lever does not seem to engage on the cam lobe, so a few questions;
Is the block and cam the same on the 2.5 petrol and 2.5 n/a diesel.
Has anyone used a mech pump on a 2.5 petrol.
Has anyone used an electric pump on a 2.5 petrol.
cheers peeps.
-
Hi chaps, I kow this an old thread, but ive got a question.
I'm putting a 2.5 petrol in my 110, and the lift pump does not seem to engage on the cam lobe. My understanding is that land rover never fitted a mechanical fuel pump to the 2.5 petrol engine. What mechanical pump will fit the 2.5 petrol?
-
7 of us went on sunday, very well organised and friendly, was dissapointed with the lack of stalls though.
-
a vid i took of a kerr recovery
could had been worse.
I thought the rear crossmember was gonna snap!!
-
Me and my friends have been to capel for the last 4/5 years and always grab a bargin
When I had my lightwieght, I got a pair of R/R diffs for £80=result.
Sadly though, I won't be going anymore, why?, let me tell you.
6 of us went last year, my dad and I were in his S3 which he was selling, he had a for sale sign in it and the organisers wanted to charge £15(I think) just for having a for sale sign on it!,

We go to capel to spend our hard earned money buying stuff for our landys, we pay an entrance fee.
On a saturday, I go to sainsburys to spend my hard earned money on food for the family, do they charge me to enter the store? of corse not!
TBH, when they asked my dad for the money to put up the for sale sign or take it down, I told him we should go and they could shove it!, but dad said we are here now and just took the sign down.


Degreasing fluid for parts cleaner?
in Tools and Fabrication
Posted
I use parraifn as well.