


kiwi_110
-
Posts
213 -
Joined
-
Last visited
Content Type
Profiles
Forums
Events
Gallery
Blogs
Posts posted by kiwi_110
-
-
Do you have the thermostat the right way around?
-
What viscosity oil did you use in the Transfer Case?
-
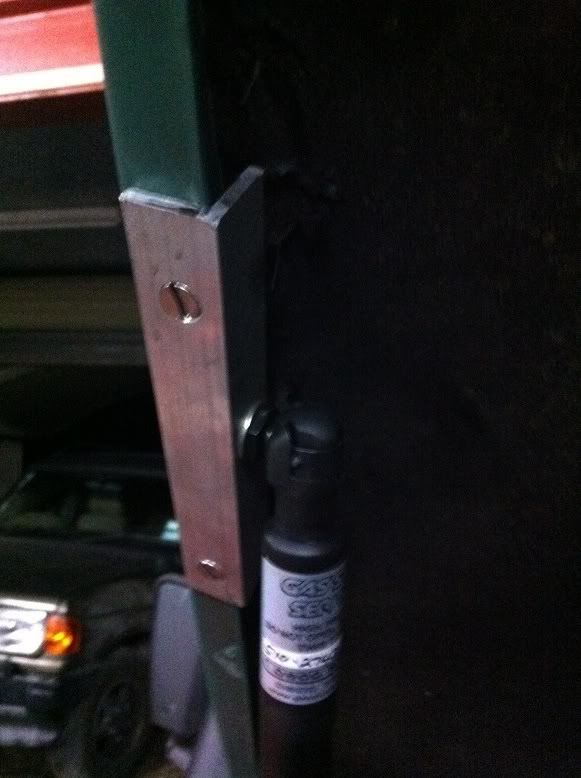
when fitting gas struts take into a/c that its best to mount so that the strut reaches its null point when shut , this is the point of no lift , this is usually just before they bottom out when in closed position , so when you open , the strut starts to assist just after you begin movement. HTSH
These gas struts, when properly filled/functioning have no "null point" as such. They always attempt to extend themselves from any fully or partially closed position. There may be impression of a null point when fitted because as the angle of the bonnet and the angle of the strut approach each other, the load overcomes the capacity of the strut to lift the load against gravity. But the struts will still be pushing with equal force along the line of the strut.
Exceptions are struts like those fitted to office chairs that have a valve controlled by the user.
Ray.
-
The "thingy" are circuit breakers. When the winch is about to stall, they trip and the winch stops, preventing over-current damage. You release and hit the winch trigger again and they reset. If they're the genuine article that came with the winch, I'd suggest keeping them in the circuit but they need to be insulated. All the nuts are live and if it moves around you could get a short to chassis. Slip it inside a bit of alkathene tubeing or similar and tape it up. If you put the isolating switch downstream of the breaker, the breaker will protect anything else you run off the same circuit (12V hydraulic pump etc).
Ray
-
Thanks to this thread, I did this mod on my 110 today. Sadly, my struts cost NZ$110 each rather than the GBP 12.00 or so you guys got them for but it's a blinking' great mod, thanks!
Here's my top end detail:
Bottom end, 15" in from the back of the wing:
The whole shebang done, lifts to the same height as the original stay:
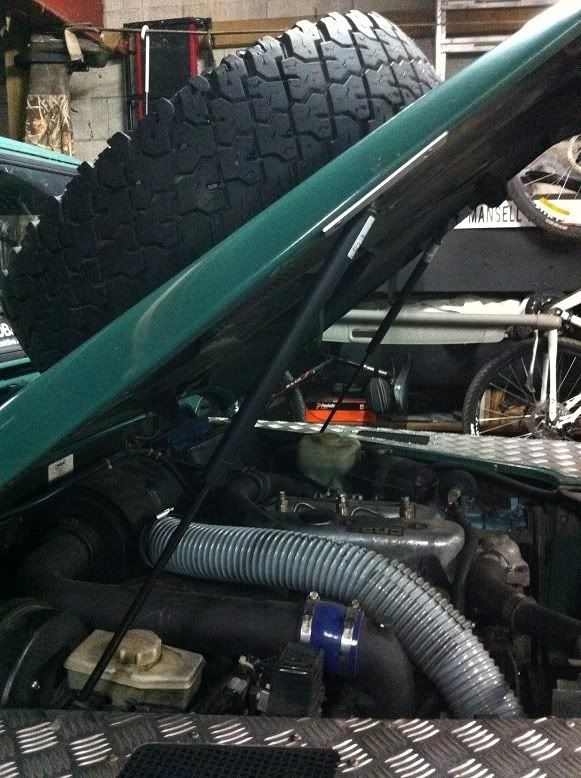
When the lid is closed, the struts force the bonnet to the front and take up any slack in the hinges. I had to move the striker plate (bonnet latch?) as far forward as it would go to allow it to mate.
Very happy with it.
Have to add that without the tyre on top, you would seriously risk facial injury when opening!
Ray.
-
The Salisbury is typically a heavier duty unit, as fitted to 110's through to about 1998. 110 ones are the same ratio as you currently have. They're a bit harder to work on because the diff-head is integral with the axle housing and the internals are accessed through a removable plate at the back. On yours, the whole diff-head can be removed and put on the workbench. Unless you are loading your 90 to the max and giving it extreme work-outs off road, I would stick with the rover rear axle. But if you can get a Salisbury for less than your repair options, go for it.
Ray.
-
Puma engined Defenders have a 6 speed transmission so you could ask how many gears it has.
Ray.
-
Follow Reckless's advice, drop that front prop and engage centre diff. Could be that prop has been taken apart and not reassembled with the correct offset between it's front and rear U/J's.
Ray.
-
The filter on the lift pump is a very basic sediment filter/screen. The main filter up front is the real deal.
-
Not sure about the 2006 TD4 but the part numbers I'm about to give you are good to the VIN #'s quoted...
When if you have the bonnet up and your head in the engine bay, when someone turns the key to "On" (not start) you should clearly hear the remote fuel pump on the passenger side wheel arch. It will go off after a few seconds when it's intended pressure is reached. This pump is attached to a pod containing the diesel filter. This pump's part number is WQB100480L (To (V)2A218129). It's a common pump, BMW and some other euro cars use this and it can be found cheaper sourced from those agents.
The In-tank pump is a lift pump and it really just slowly circulates diesel between the tank and the fuel pump mentioned above. It sort of purges the line and keeps air out so the second pump gets a good supply. The vehicle may run with a dead lift pump because the remote pump will draw fuel providing there's plenty of fuel in the tank and no filter blockage or air lock. The lift pump is part number WFX500070 (From (V)1A400000 to 2A399999) or WQB000020 (From (V)2A209916 on) and the price is likely to hurt...
The Fuel Rail Pressure Regulator is screwed into the passenger side end of the fuel rail. It is part number LR009732.
The MAF sensor is located on the drivers side, top rear of the engine at the end of the air filter housing. The Air Filter attaches to it. It's Part Number is MHK101130L.
Ray
-
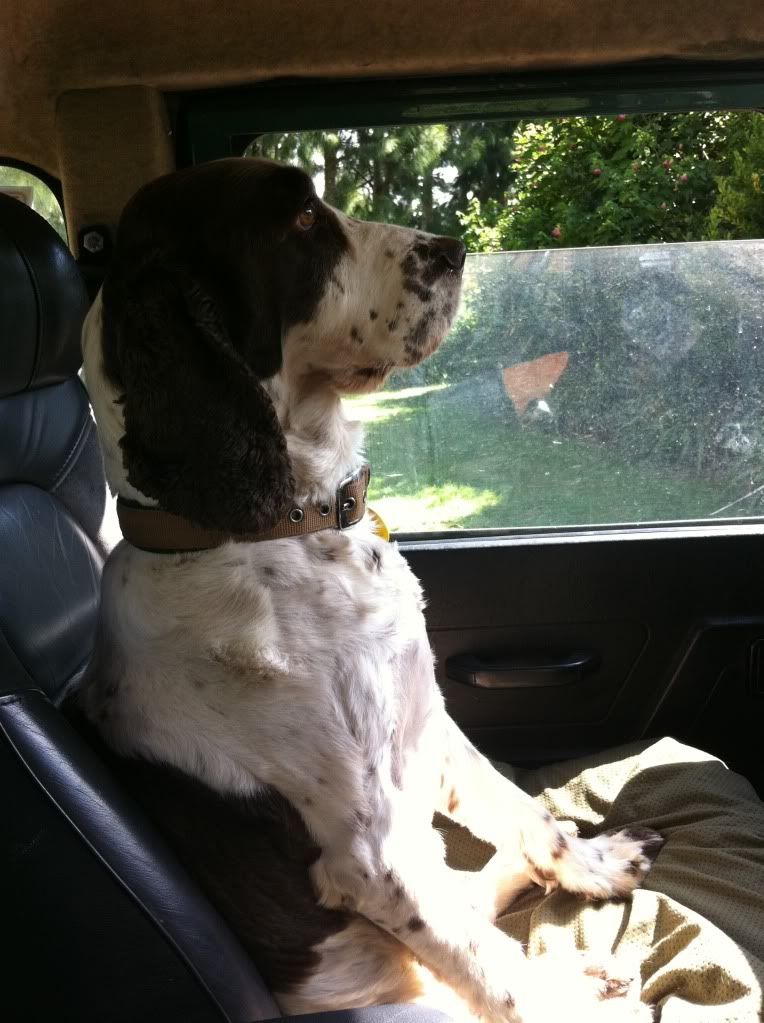
Speaking of Springers and Landys, here's Stella with her serious face on, in the 110...
-
Dan, it may not fully engage without you trying to move the truck a bit. I usually select 1st or reverse and work the the clutch pedal in and out a bit to rock the truck while trying to change range. If it really won' travel enough to fully select the ratio you're after, the operating rod is threaded and can be adjusted for length to increase or decrease the "throw" as required. I'm afraid that to do that, you'll have to remove the tunnel panel. Not hard, but fidgety... It's a pity you can't get that clevis pin out. If you could get that rod disconnected, then you can find out for sure if you can engage both ratios prooving your T/Case innards are OK, in which case it will definately be the linkages.
Keep plugging away and you'll nail it.
Ray.
-
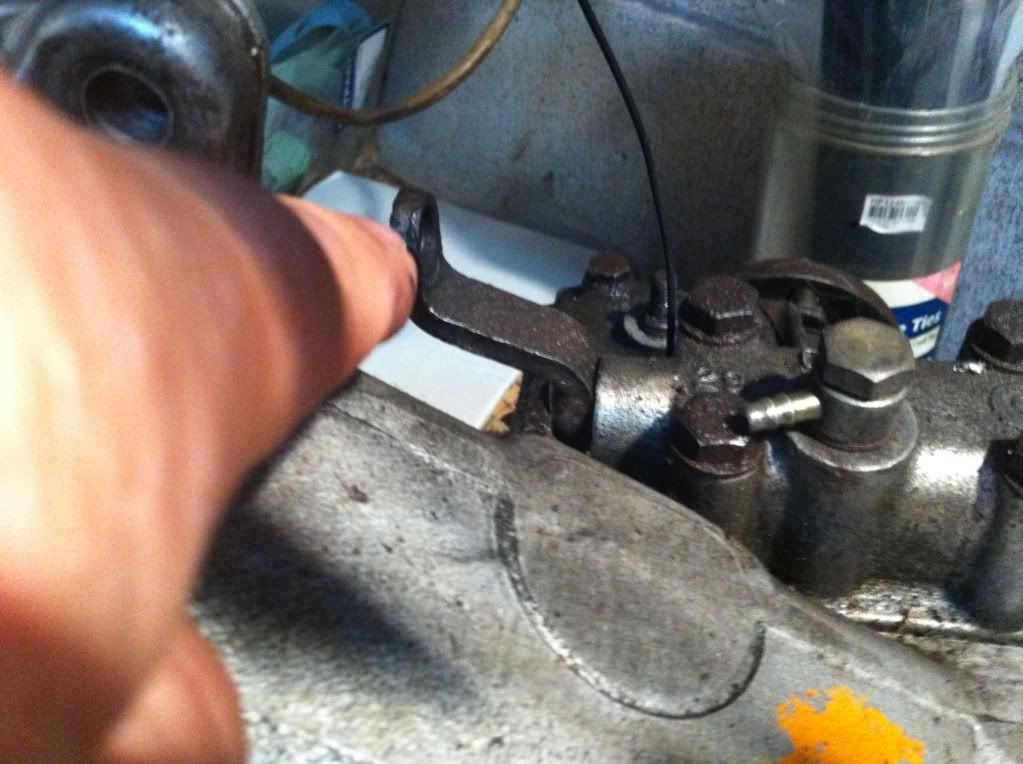
Here's a pic of what you're going to be looking at. This LT-230 T/Case is on my workbench but the pic is from above and the rear which is what you'll be looking at when you're trying to view it through the inspection hatch. The lever my finger is pointing at is the Hi/Lo selector shaft input to the T/Case. It will be in the right side of the transmission tunnel and down about level with the drivers floor pan. If it is connected properly, an operating rod will run from it horizontally to the Hi/Lo shifter gubbins on top of the gearbox. You should be able to see if that selector moves when you try the Hi/Lo shifter. If you have to, remove the clevis pin that attaches the operating rod at this point and try to move the selector directly. Pushing it toward the front engages hi ratio. The threaded stub you can see sticking up behind the bit of black wire that's in the way in the pic is the Diff Lock selector but you're unlikely to see that from your vantage point. It should also be linked by rods and levers to the Hi/Lo shifter gubbins.
-
Exactly what I'm running. Pulls like a train indeed, gear driven injector pump and cam, unbreakable, but noisey. These donkeys originally fitted to Nissan Atlas (small lorry) in the 90's. Heaps of them here in NZ.
Ray.
-
He could be right. Fitted wrong or bent/damaged/disconnected in some way. Start with that assumption because it's the least effort to check. You can see the hi/lo selector shaft where it goes into the transfer case if you take out the centre seat or cubbybox and remove the inspection panel. The selector arm moves forward for Hi ratio, to the rear for Low. If you have to, you can disconnect the linkage from the Hi/Lo shifter at the T/C end and force the selector into Hi. You may need to rock the vehicle while selecting.
Ray.
-
Haha, unfortunatley a long throw and much noise are the price you pay for the good ol' LT-85... They're hard on their bearings, the helical cut gears cause the gear cluster to crash forward into the front of the box under load, that's a lot of thrust for the input shaft bearing to handle. You can rebuild with up-rated bearings to help cope with it. If you have a split-case model, you have an advantage during the rebuild process.
Ray.
-
You may actually need a new fuel map to support running on the local diesel, if the cetane rating is really quite low compared to UK diesel. Other things to check are the function of your Mass Air Flow sensor (MAF), and the condition of your crankcase filter (PCV) and your EGR valve.
Ray.
-
No worries, I just hope you get a satisfactory resolution.
Good luck!
Ray.
-
Differential forces are created across axles during cornering etc. This is because the wheels on the inside of a turn do not have to travel as far as the outside wheels so they do less revolutions. The difference in rotational speed across the axles is taken up by the actions of the front and rear differentials and between front and rear prop shafts by the centre differential when disengaged (normal driving).
Regardless of what ratio (hi or lo) you are in, if the centre diff is engaged (locked) while you are driving on a dry and hard (tar-seal or concrete etc) surface, the differential forces across the axles, which area created during cornering etc, may not be able to be fully dispersed and will eventually build up ("wind-up") to a point where they break something in the drive-train. Some dispersal occurs through wheel slippage, which you experienced and which resulted in excessive wear and blow-outs. Depending on the state of the half-shaft and CV splines, and the drive members (flanges) one or more of them might give or an axle differential will. The wound up force has to go somewhere and if the drivetrain cannot spin a wheel enough to relieve the tension because of the hard surface, it will find the weakest point and bust it. The centre diff is stronger that the axle diffs (all the power goes through it), and unlikely to be the one to fail.
If the transfer case Hi/Lo shift levers and Diff lock levers are not able to be connected properly, any 4WD specialist worth his salt should know not to send a "permanent 4WD" out with the centre diff locked and should unlock it by any means before doing so.
-
Ah, that's a "yes" from me. I've done a couple of LT230 rebuilds and match-ups and have found that the mainshaft (input-gear) bearings and races are a bit fussy about preload and are easily upset if you overtorque the PTO cover. Having the mainshaft reversed and forcing the cover down would most certainly pee it all off.
I'm afraid you do need to pull it back off and check/reset the mainshaft bearing components. Also check the intermediate shaft bearings and gearset since they may have been pinged when you did up the cover on the reversed mainshaft.
Are you using an engine lifting boom and sling through the drivers door to lift/lower the LT230? I can recommend that if you're not.
-
Welcome to the Jap repower clan, maybe we should form a sub -forum...

-
Before my old 90 was V8'd, I was running a Nissan LD28 engine with the LT77. We did a lot of towing a double horse-box and never had an issue with the gearbox. I think the LT77 is well capable of handling what you're doing and suspect something has not gone right with the reassembly or there has been a lube issue. I'd be using Dexron ATF.
-
If you're looking at TD4's you're on the right track. Just try to be sure that it's been well/regularly serviced and it should be good for many more 000's.
-
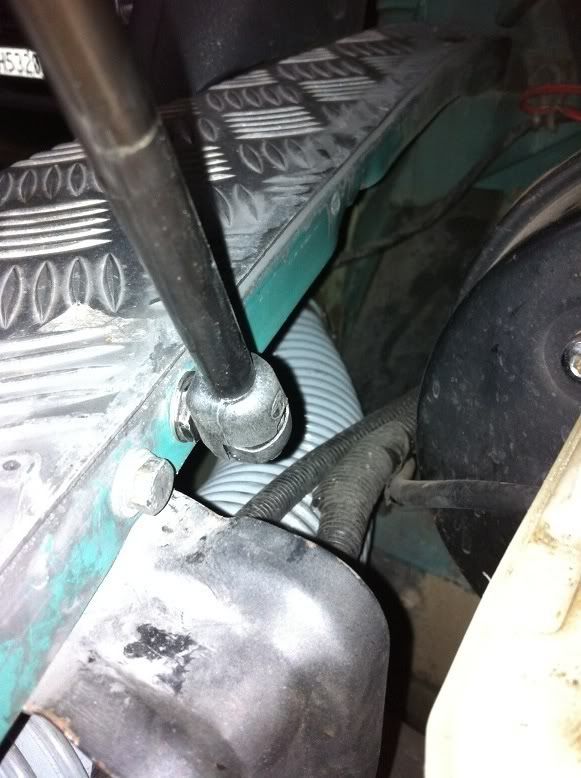
With the diff-lock engaged, and the ZF in neutral, can you rotate either output flange on the t/case? If not, she's possibly locked up through the intermediate gears. This can happen if the wrong bolt is used in one of the holes that join the t/case to the trans, it can go too far in and bind the intermediate gears. When changing ratio, the gears need to be able to rotate slightly to allow the selector fork to do it's thing. If she's all locked up, the hi/lo selector may not budge.
The bolt hole I'm talking about is this one, it needs a short bolt...


Different tyres - F & R.
in Freelander Forum
Posted
That aspect ratio (195x60) is a little small for a Freebie. Your speedo will indicate a faster speed than actual. Standard fit on the 15" rims is 195x80. I would ensure all FIVE tyres are the same model and maintained to the same tread depth to reduce VCU and IRD stress.
Ray.