


tommi
-
Posts
129 -
Joined
-
Last visited
Content Type
Profiles
Forums
Events
Gallery
Blogs
Posts posted by tommi
-
-
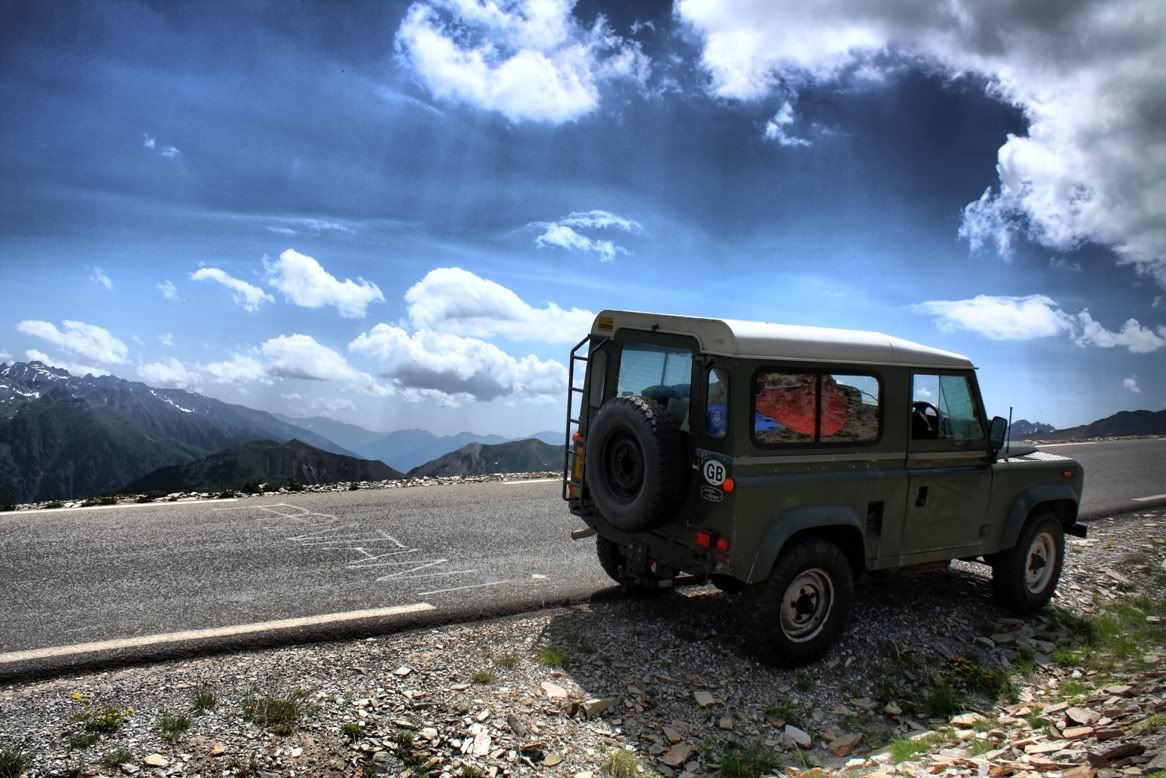
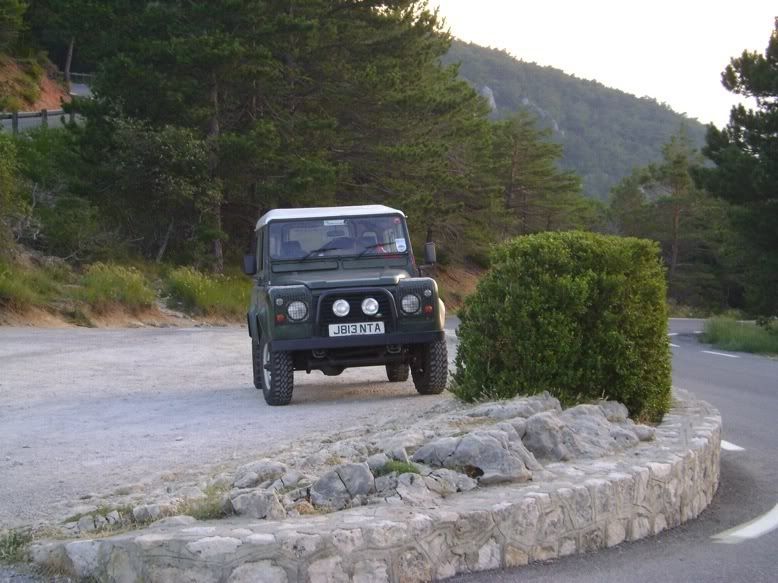
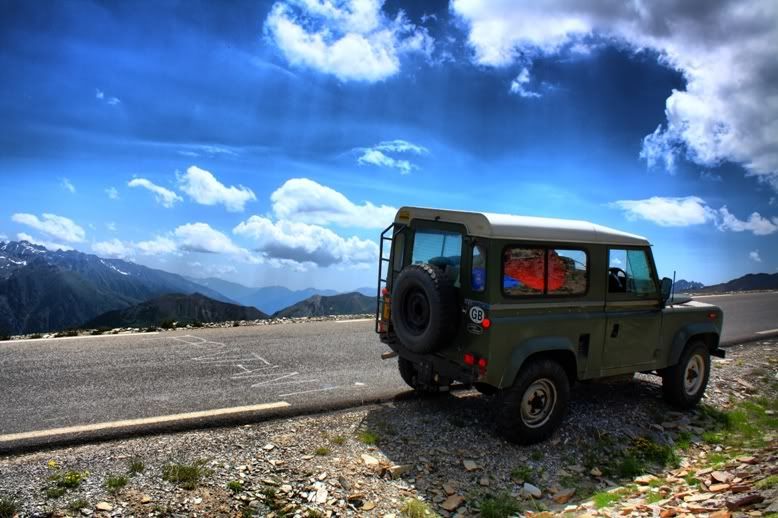
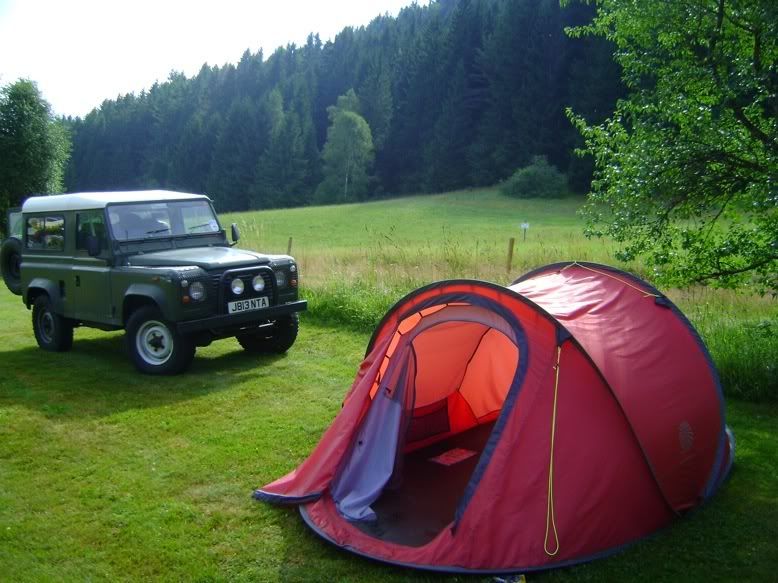
Couple of my truck. Higher res available if required

-
Cracking photos there
 .
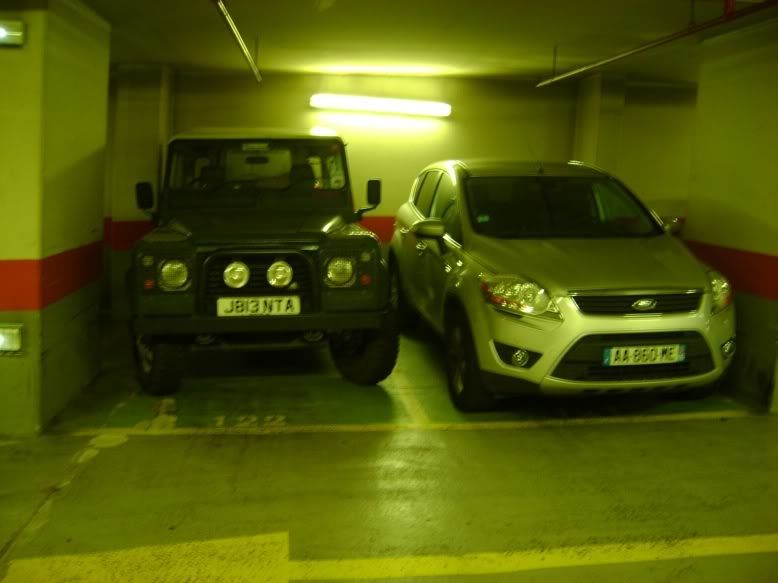
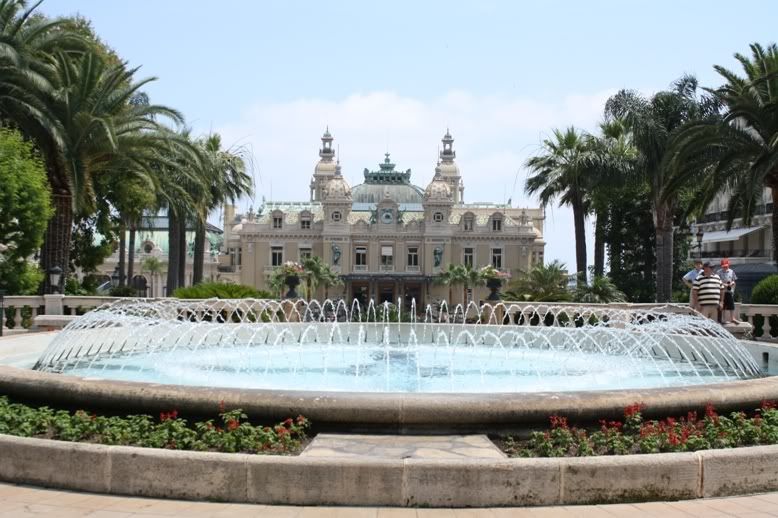
.Snap for Millau, and snap for Monte Carlo, though we were stopped from driving in front of the Casino, and couldn't find any parking, so we went back to Nice!
Parking was a bit of a nightmare in Monte Carlo. Problem is, although there are plenty of car parks, you can't see what the height barrier is until you commit to the entrance, usually down a narrow one way entrance. The car park we ended up in was 2.1m.
-
thats not as bad as i thought it might be. but £1000?? who with?? me and a few mates are hopefully going to go next summer but ill be going in a peugeot 205 so we can enjoy some of those mountain roads:)
Insurance is with Footman James, but I had a years driving experience as a named driver before I got this policy. Mountain roads are good fun, but in the summer, unless you drive them early morning or late in the evening, you will inevitably get stuck behind camper vans, slow cars and even lorries. Even in a fast car I imagine it would be very difficult to overtake.
-
To quote the narrator;
"With the unmarked track hard to make out in the low light, AJ had taken his eyes off the road, and was driving by looking at the screen on the Sat Nav."
To be honest, this is a stupid thing to do. Doing it along a motorway would be dangerous, let alone an African dirt road - we all know how misleading Sat Nav can be at times. If the track was hard to make out, he should have adjusted his speed accordingly. Looking at the damage, he must have been going reasonably fast when he rolled - anyone know how strong the upper body is on these cars?
I think he is quite unprepared as well.
Narrator; "...their relying on a GPS navigation system to get them there. But one hour in, it's not getting them very far."
AJ; "We'd like to get on our journey, but we don't know where we're going. GPS is taking us somewhere we don't really wanna go I don't think..."
To top it off, they had never been camping before, and they had never opened their roof tent up.
I know these sort of trips are supposed to be a learning curve, but even so, I think some basic skills and preparation is essential.
-
Amazing, I'd love to do something like that.
Did you camp all the time?
Yeah we camped every night. Only way we could afford to do it
Excellent photos, Tommi

Are you looking forward to doing it again ?
Mo
Definitely. Hopefully if funds allow we will head back next year, maybe with a couple more cars in convoy.
Cracking adventure. Guessing not a camera phone!
Nah... Most the pictures were taken on a Canon 1000d.
Hi, Looks like you had a brilliant time. I'm 18 and seriously thinking about doing something like this. If you don't mind me asking, how much roughly did you spend for the whole trip?? Also what was it like insurance wise? Cheers.
All in, it cost me a little over £1000, but that does include everything; fuel, ferries, campsites, food, occasional meals out, paying the mechanic
. My normal car insurance covers me to drive in europe so that was no extra cost, although I am paying the best part of £1000 a year because of my age  . Didnt bother with health insurance
18 years ago I was 18 and all my troubles were about to begin!
I wish I could do a trip like that. Smashing photos.Chris
You only live once
You gotta get these adventures in quick before jobs etc start getting in the way -
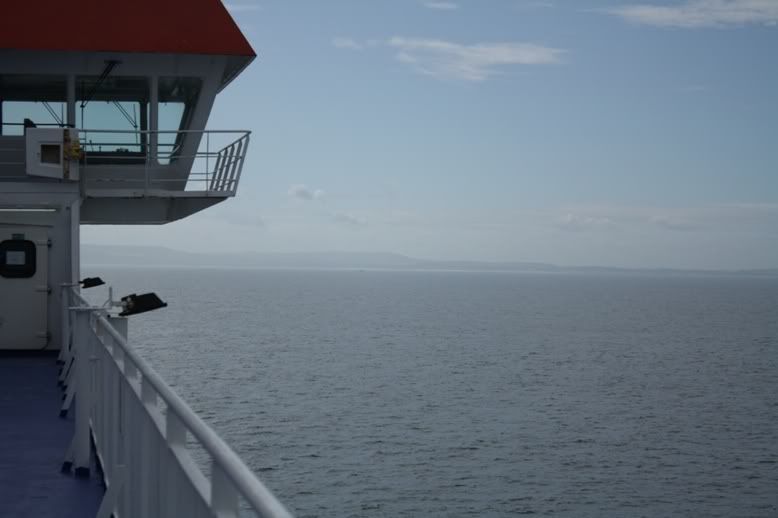
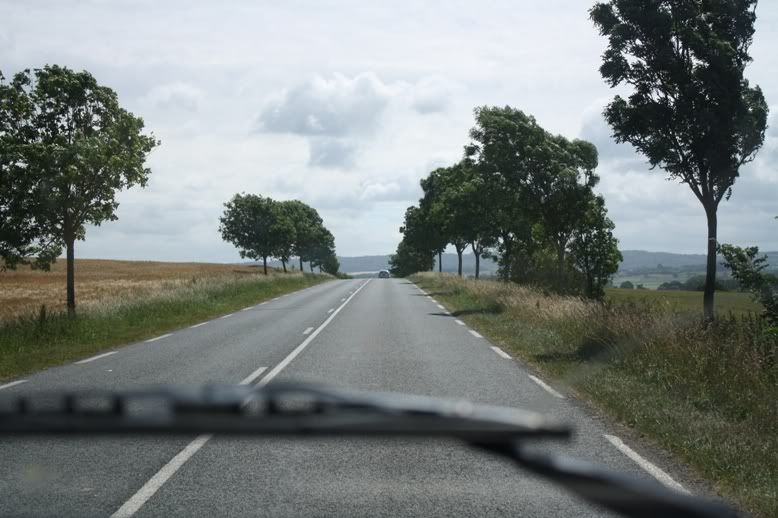
Hi all. Thought I’d post up a few pictures of my holiday this year. Me and a mate took the landy on a little jaunt into mainland Europe. We caught the ferry from Dover across to Calais. I should point out that I am 18, and this is the first time I have ever been abroad.
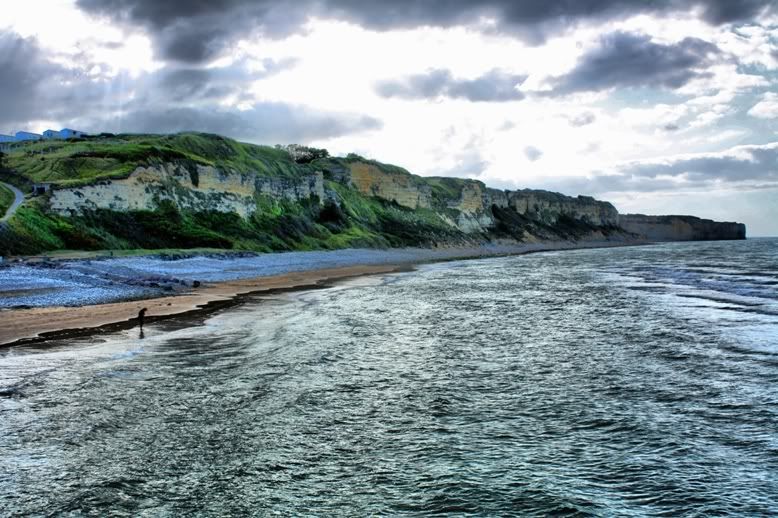
Omaha Beach
Le Mont St Michel


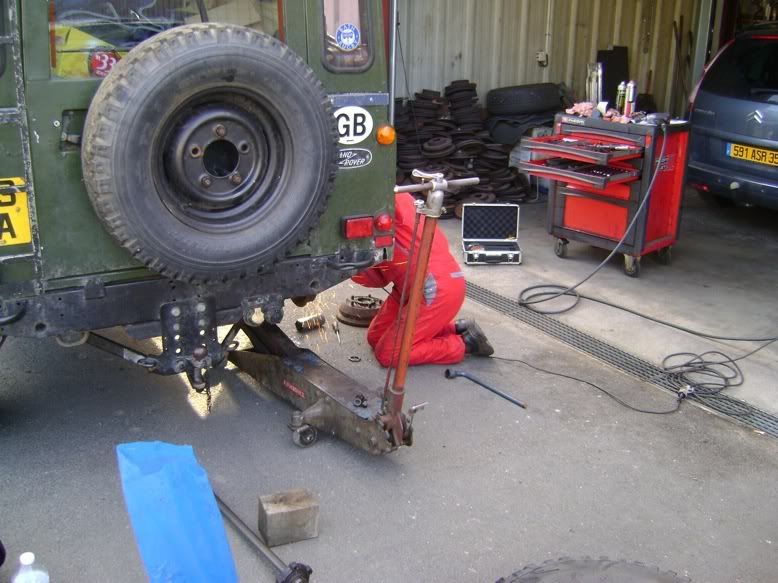
Then came the first and only breakdown of the trip. One of the rear wheel bearings collapsed while on the motorway.

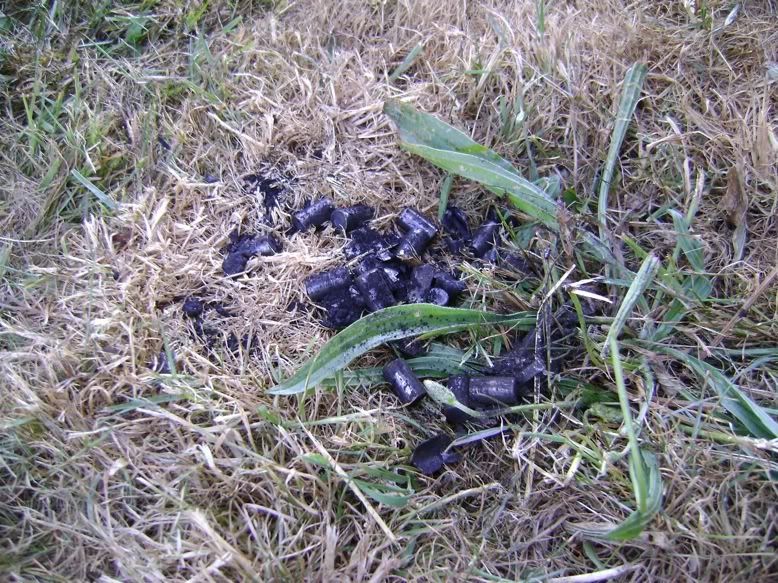
I had a spare, but I couldn’t get the old bearing off the stub axle. Thankfully we were only a couple of miles from a small town with a garage. After much confusion (due to the fact that neither of us can speak French), this is how the day ended.
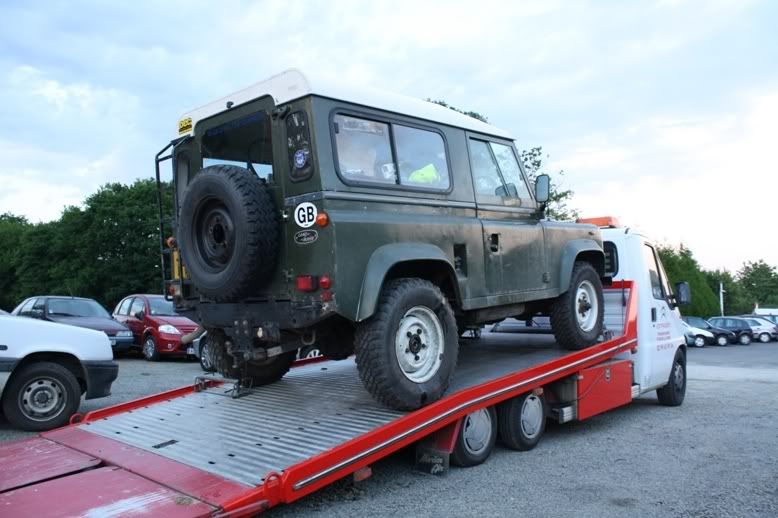
The next morning, the garage had the new bearing on within minutes, and we were on our way.
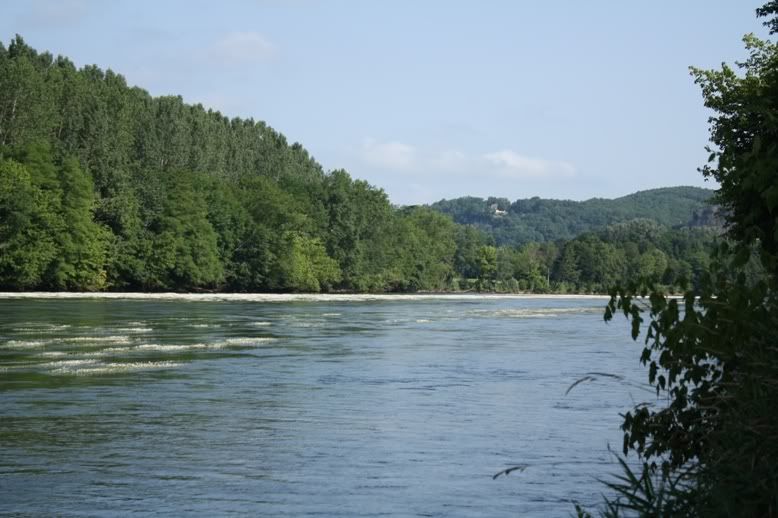
The Dordogne
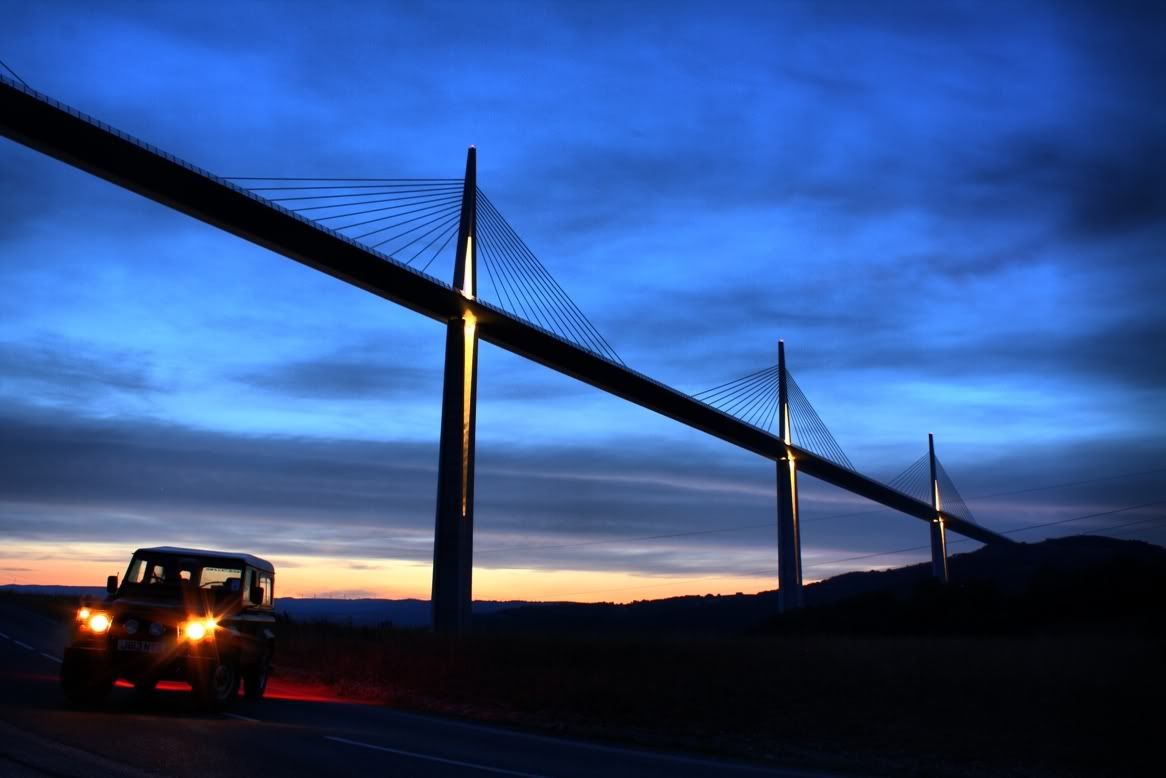
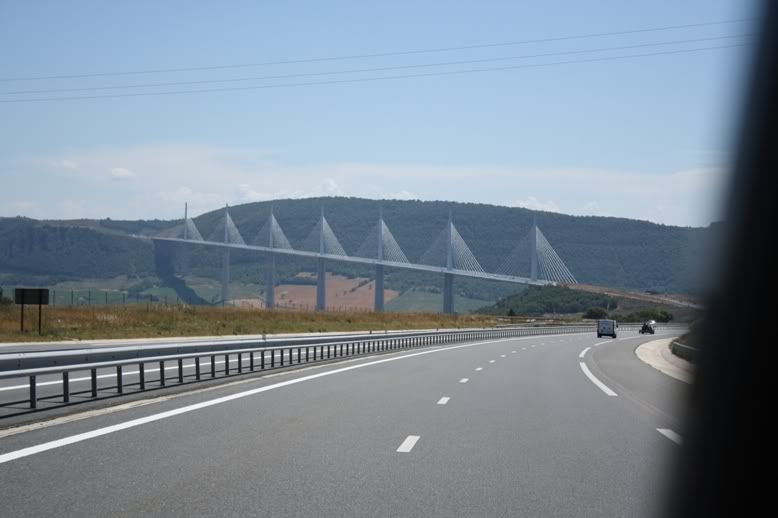
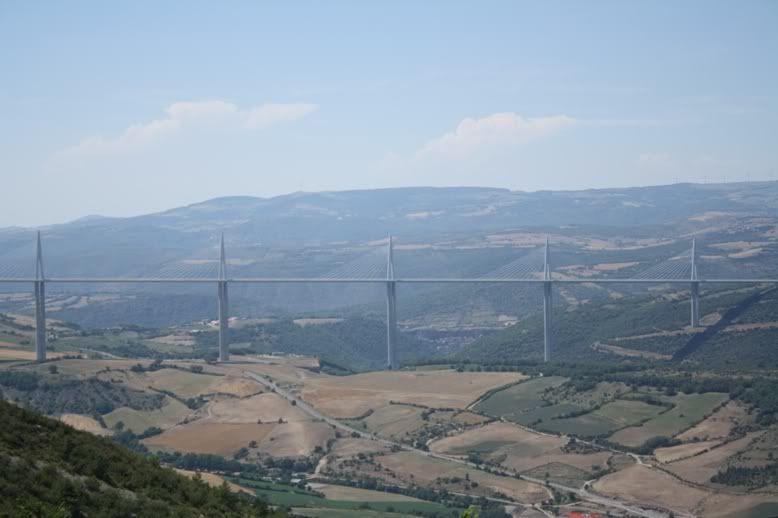
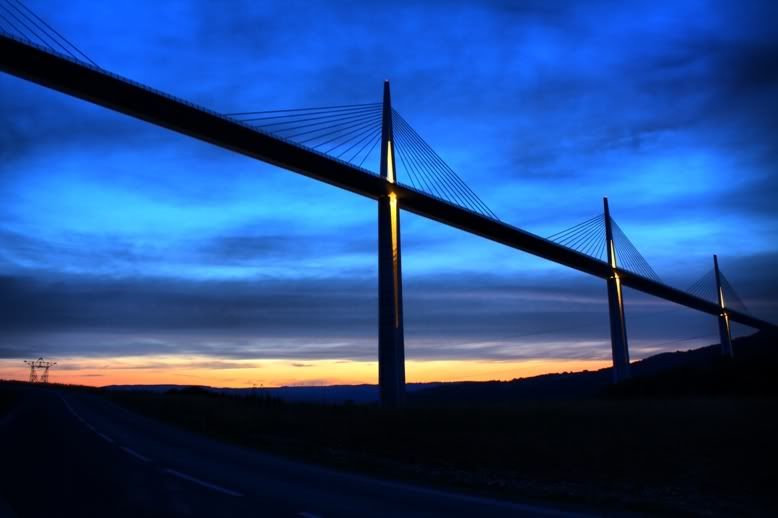
The Millau Viaduct


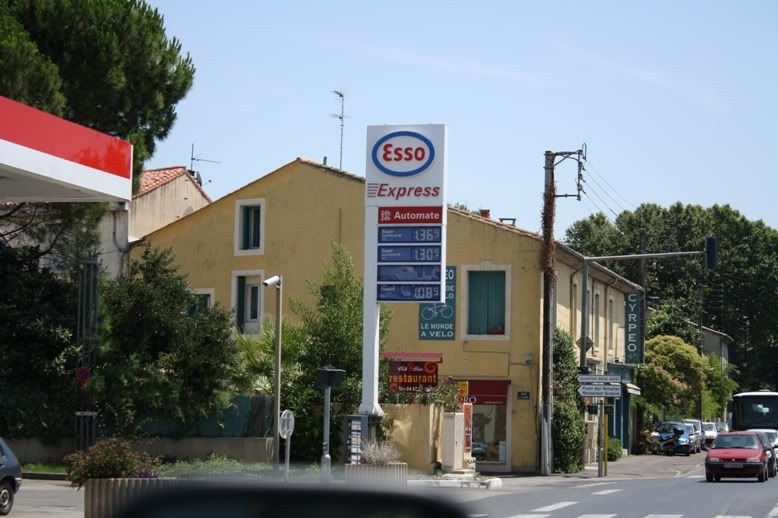
Diesel was pretty cheap everywhere in France. Here it is €108.9, about 91.6p a litre.
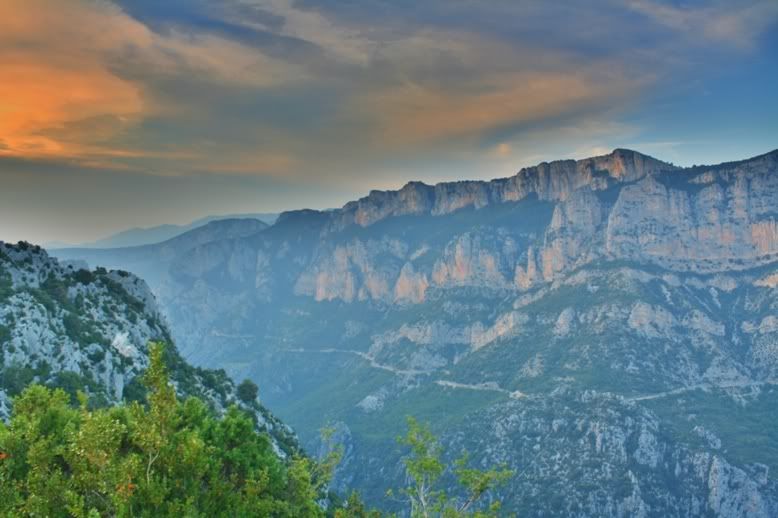
Gorge du Verdon

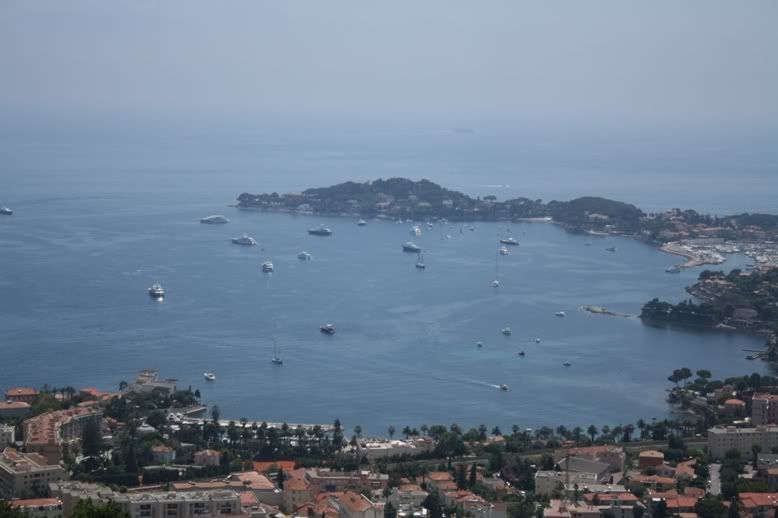
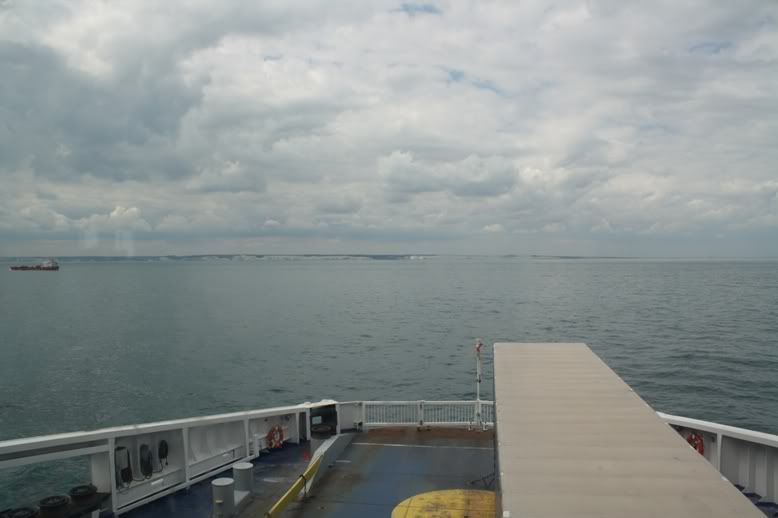
The South Coast of France
Monte Carlo – we managed to squeeze into one of the underground car parks.

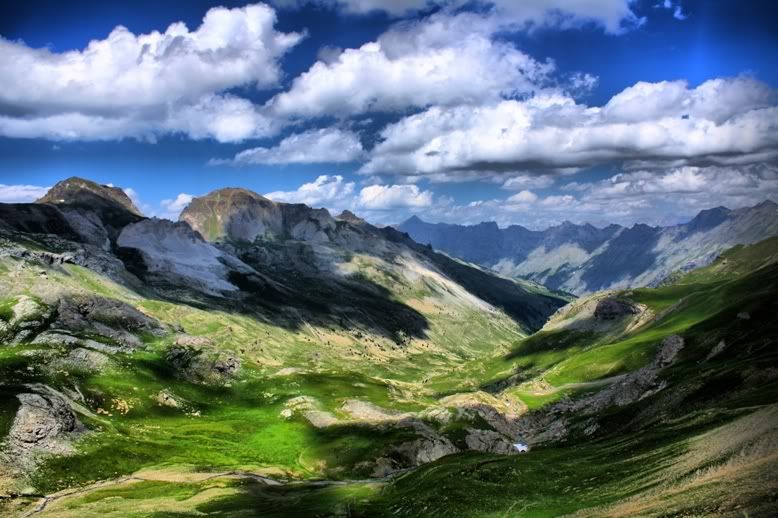
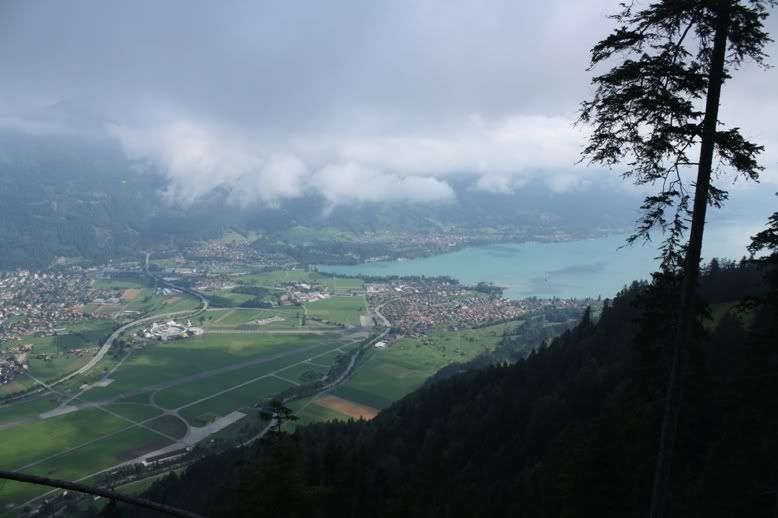
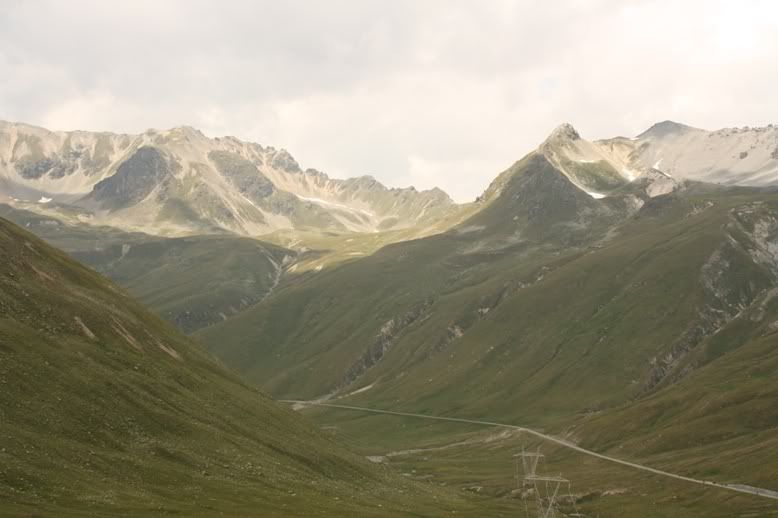
Heading towards the Alps

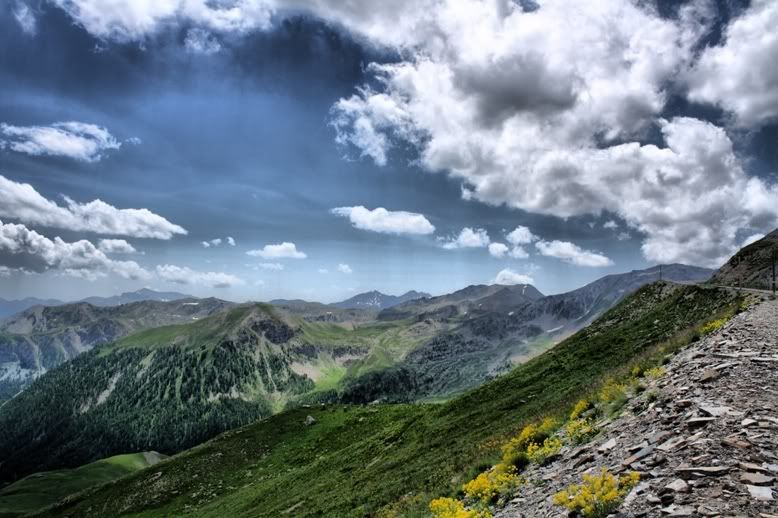
Interlaken - we climbed up Schynige Platte, a 7000ft alp. This is the view from about half way up.
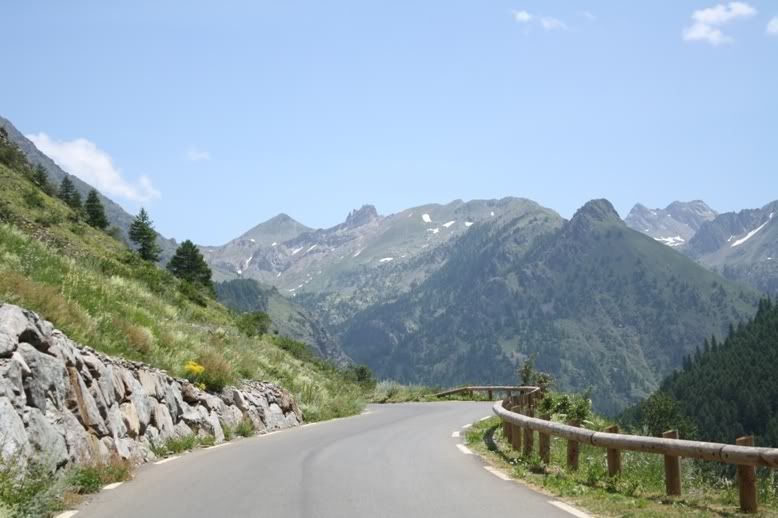
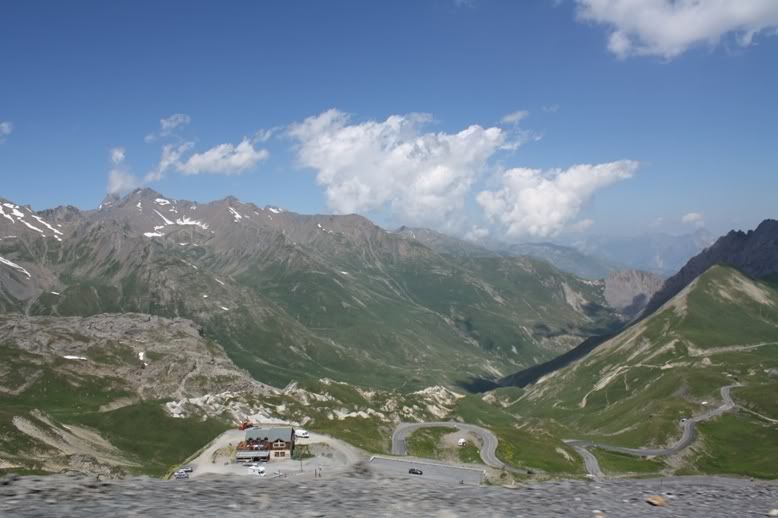
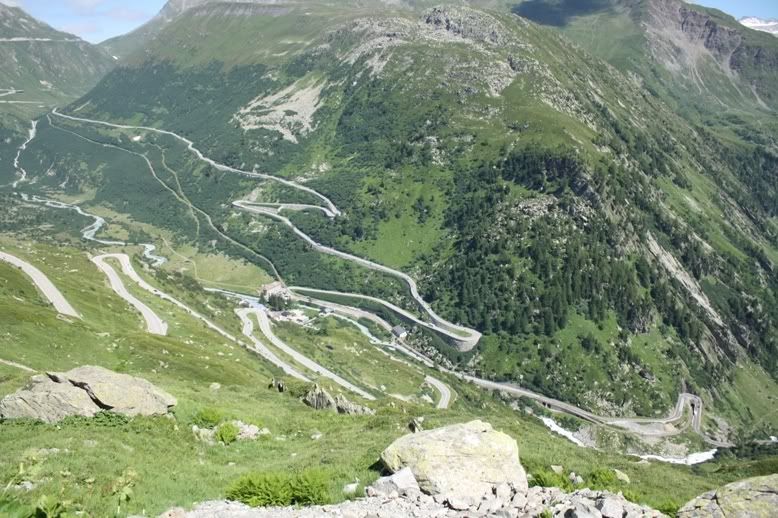
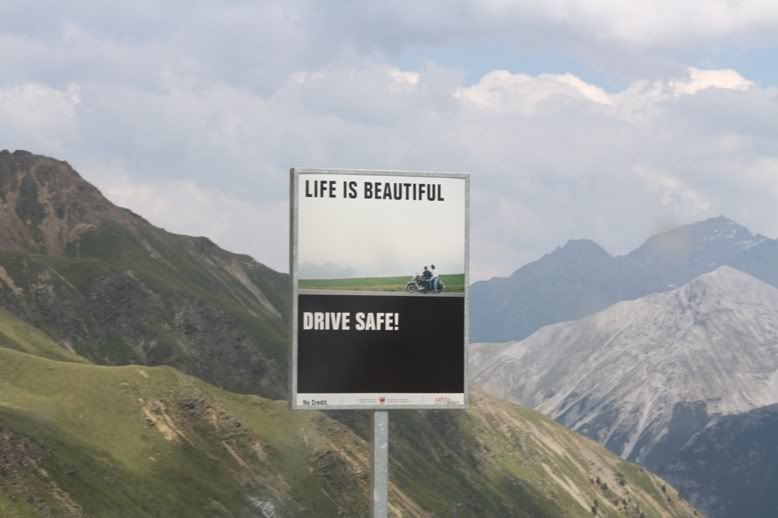
Typical mountain pass
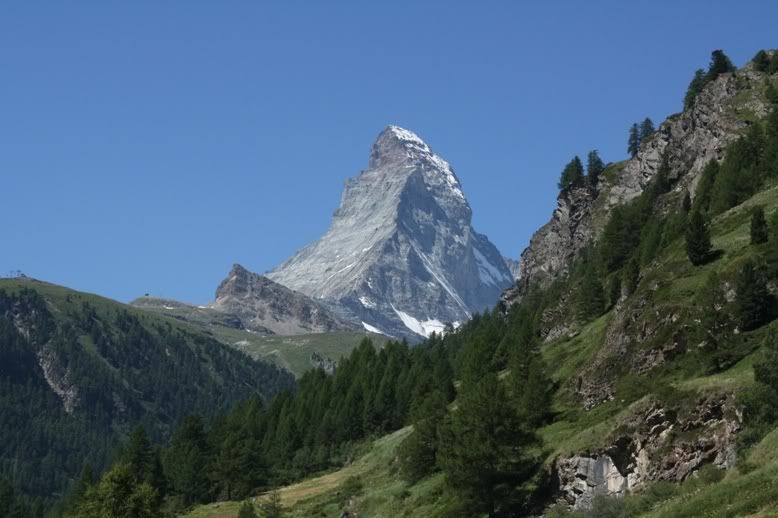
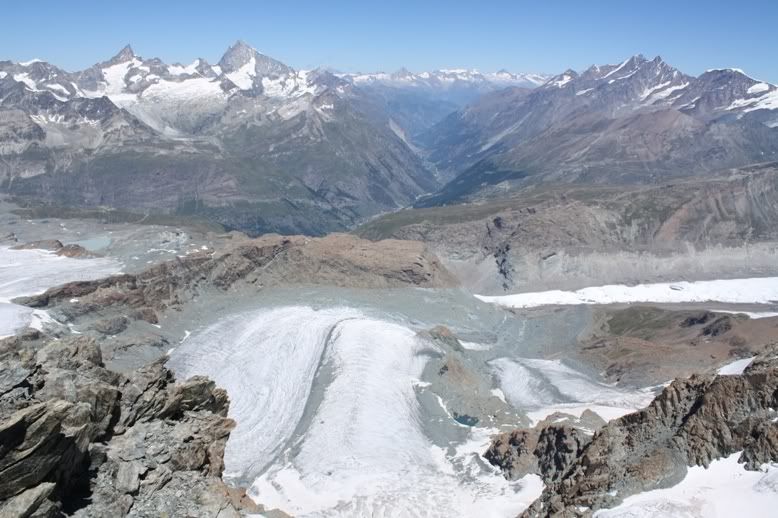
View of the Matterhorn from Zermatt
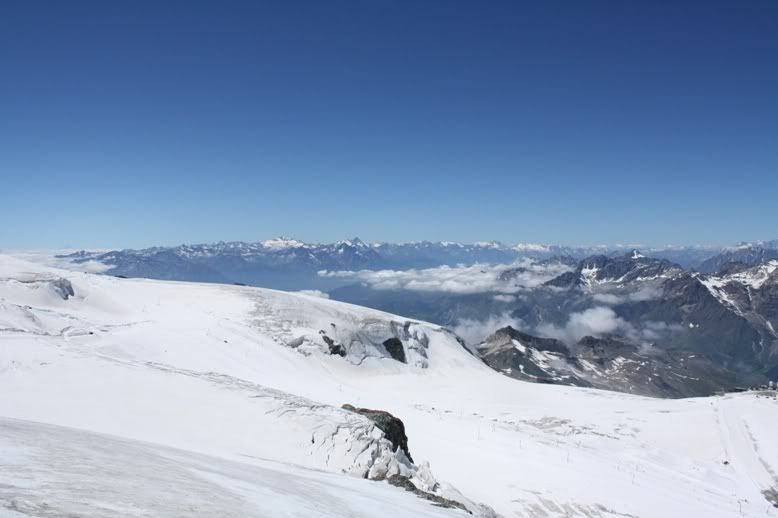
We took the cable car up to the top of the Klein Matterhorn – the view was quite immense.
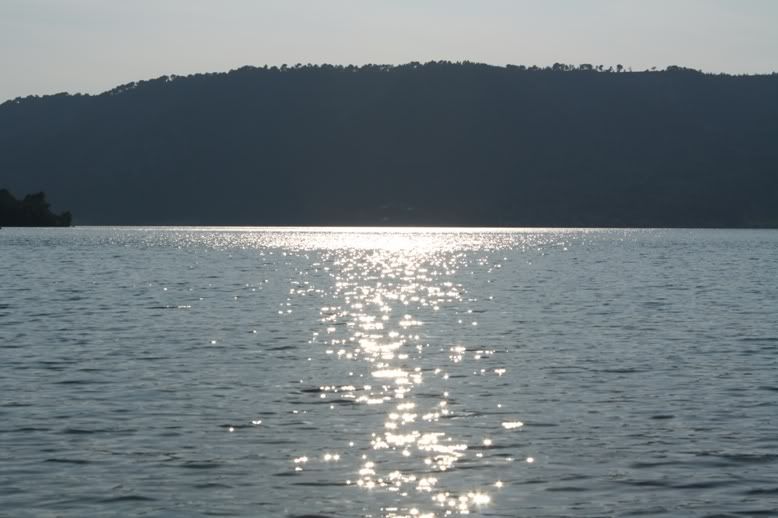
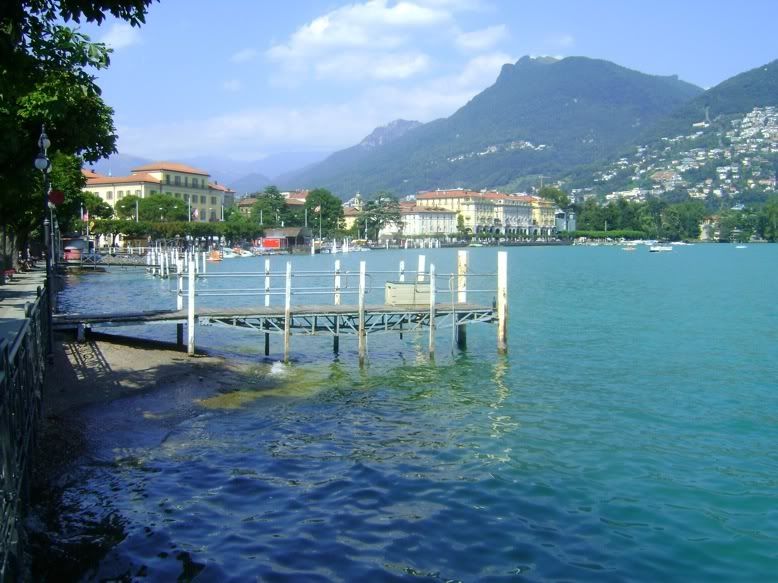
Lake Lugano
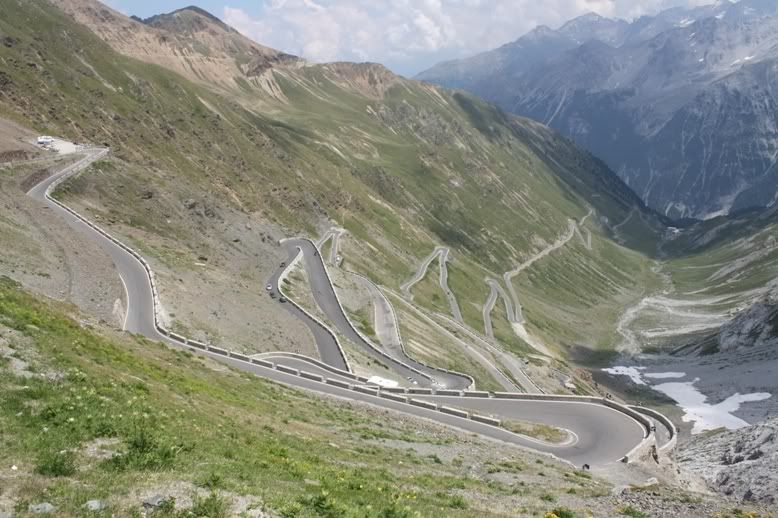
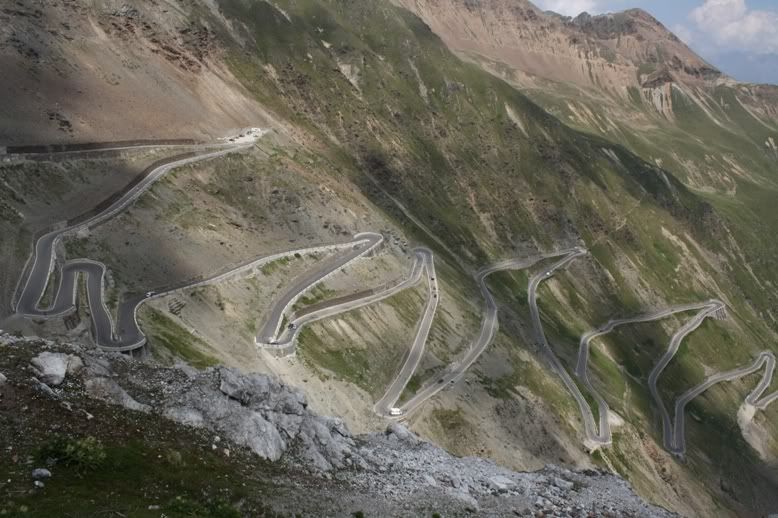
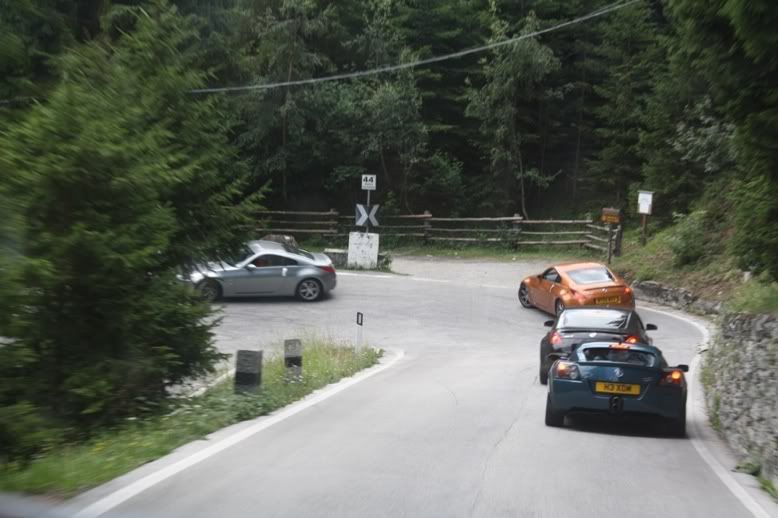
Passo del Stelvio
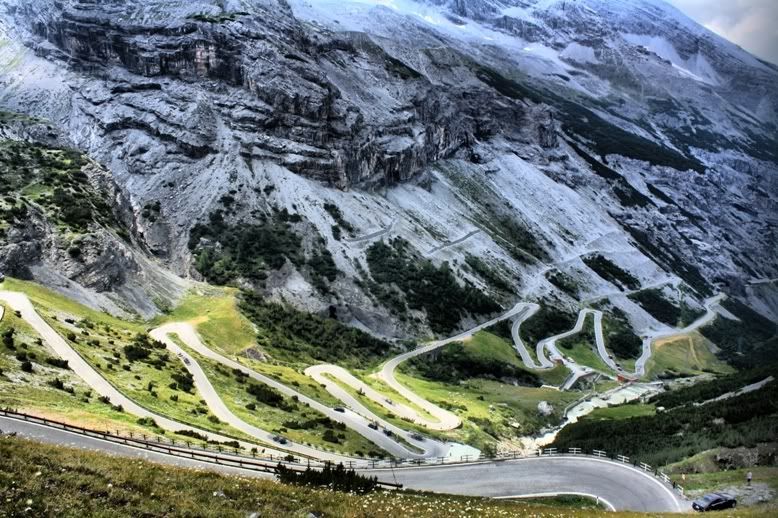
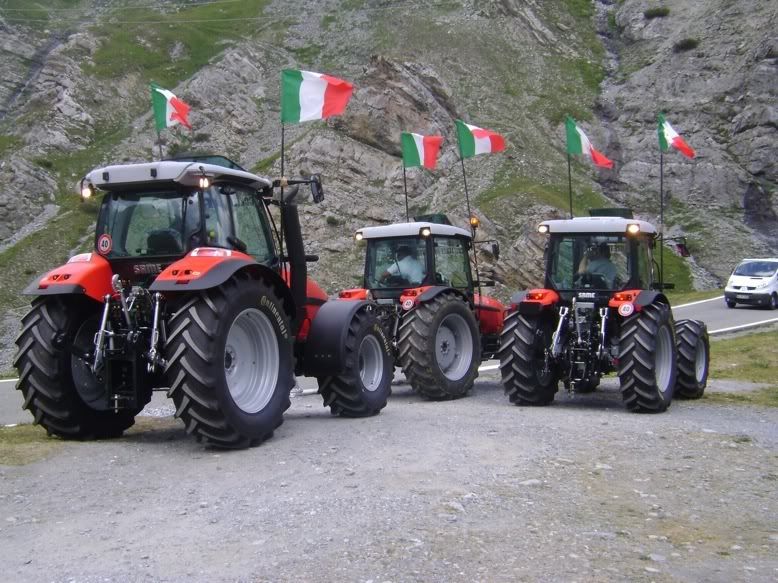
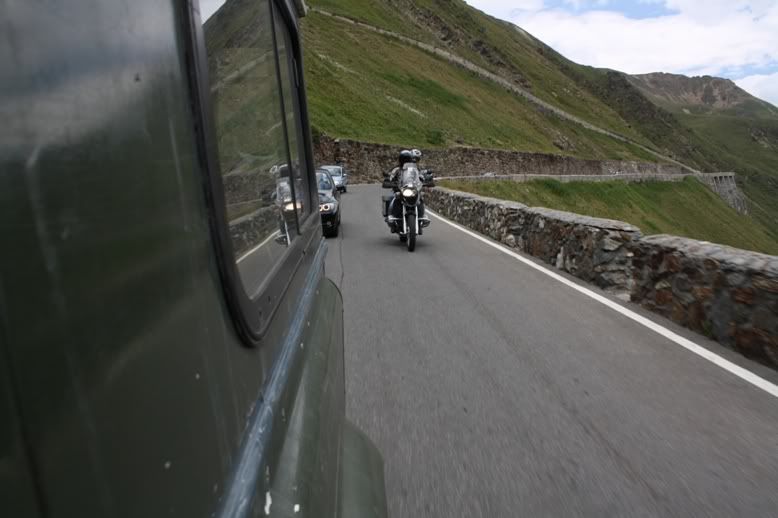
We found a convoy of British cars and followed them down the pass, only to get held up by a campervan. Doh.
Aprica, Italy

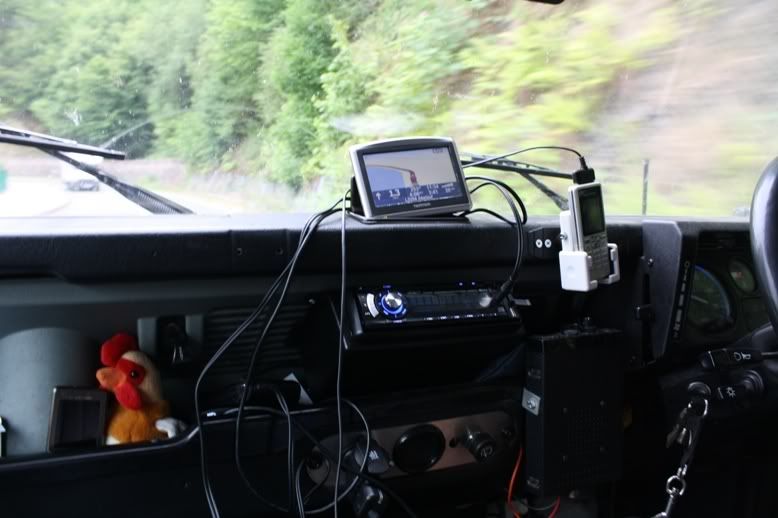
Inside the truck
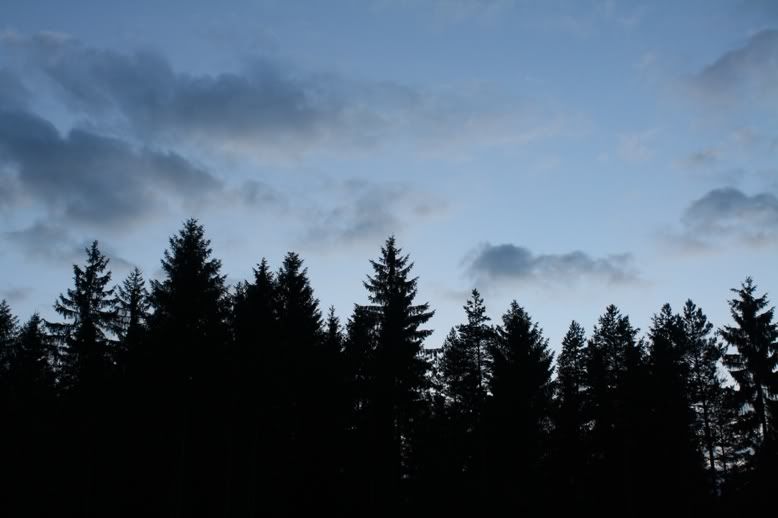
The Black Forest
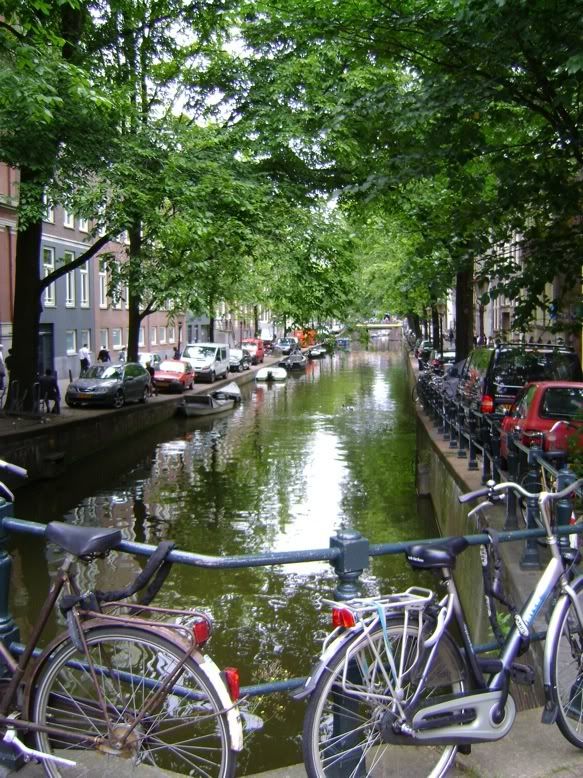
Amsterdam
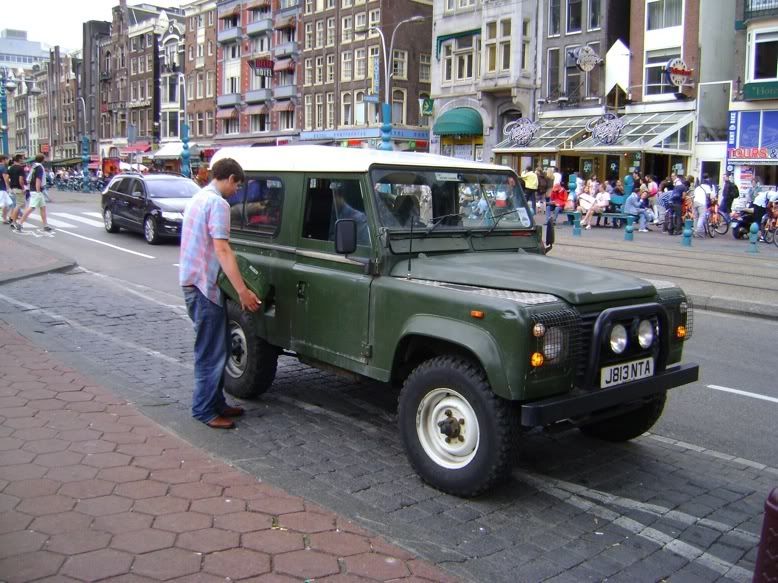
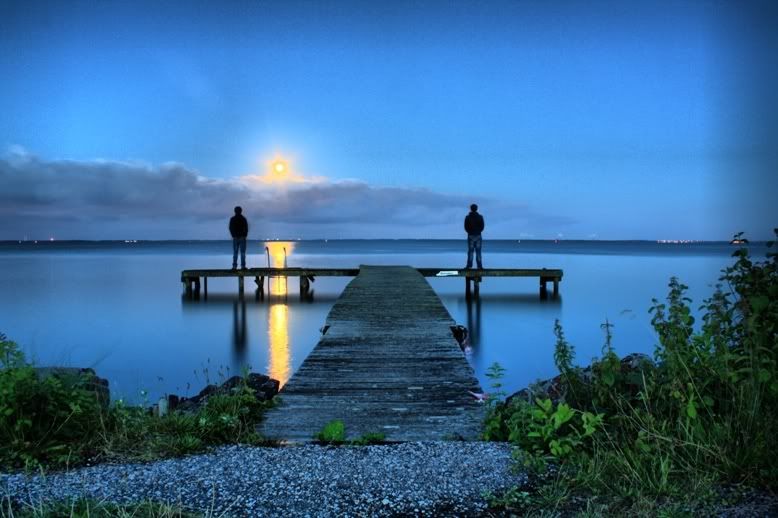
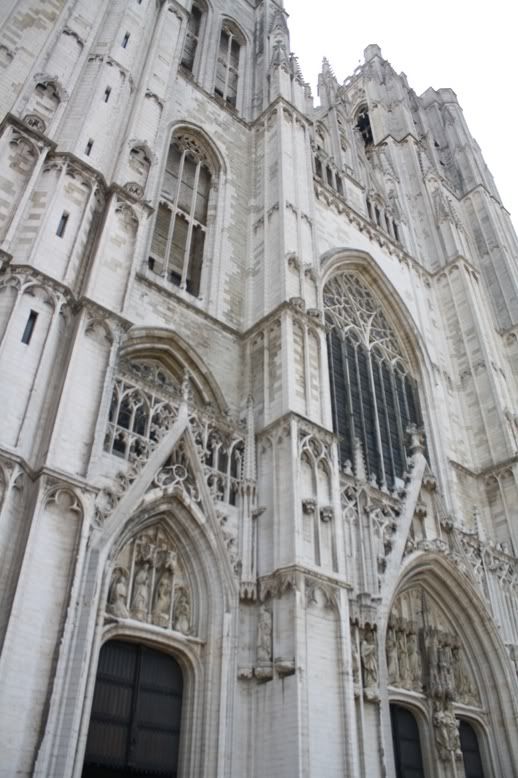
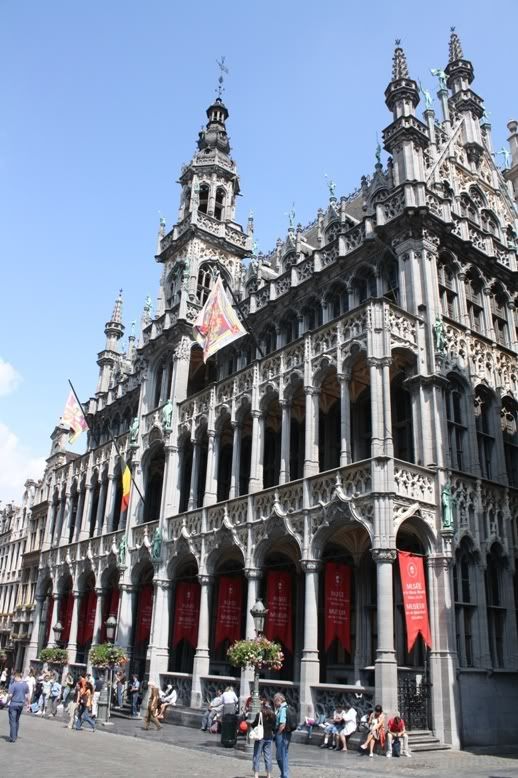
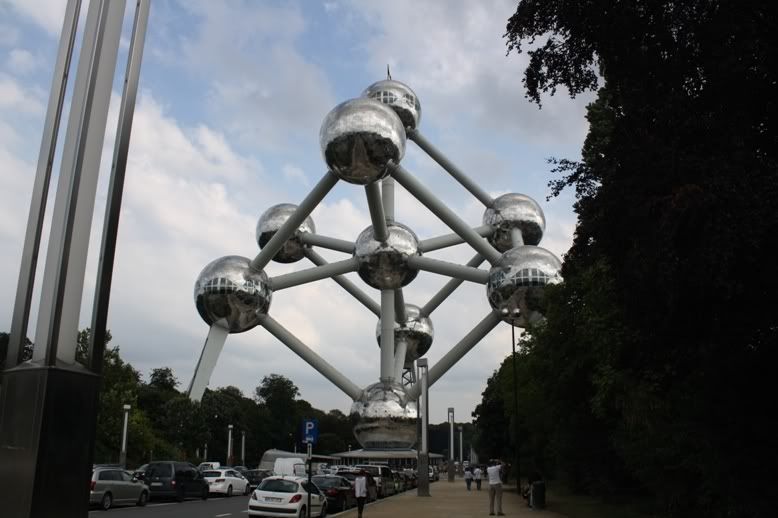
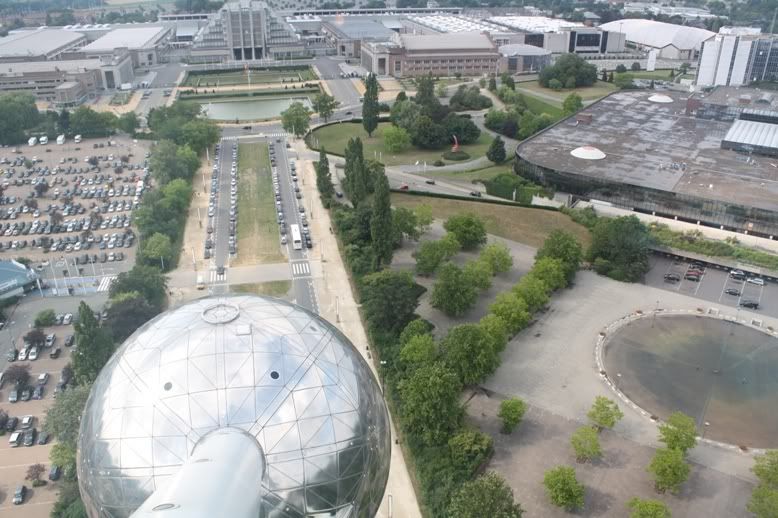
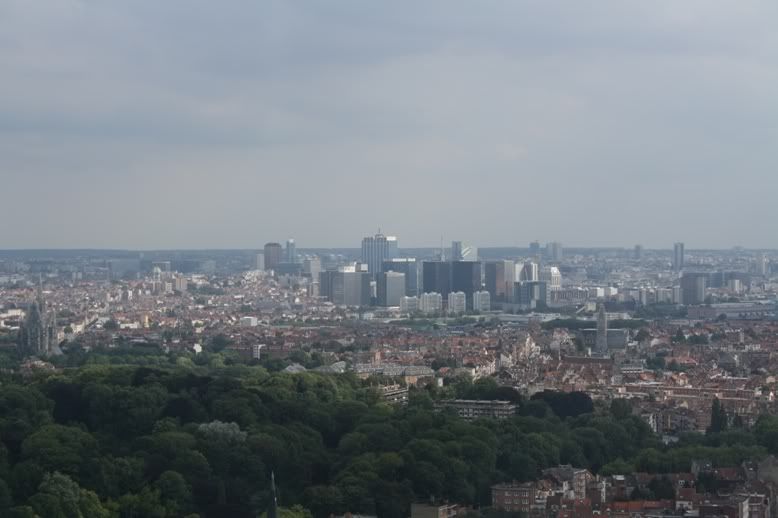
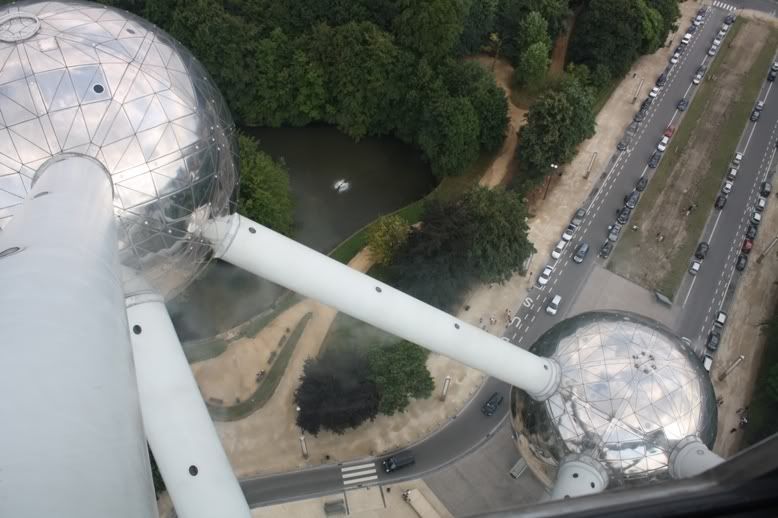
Brussels
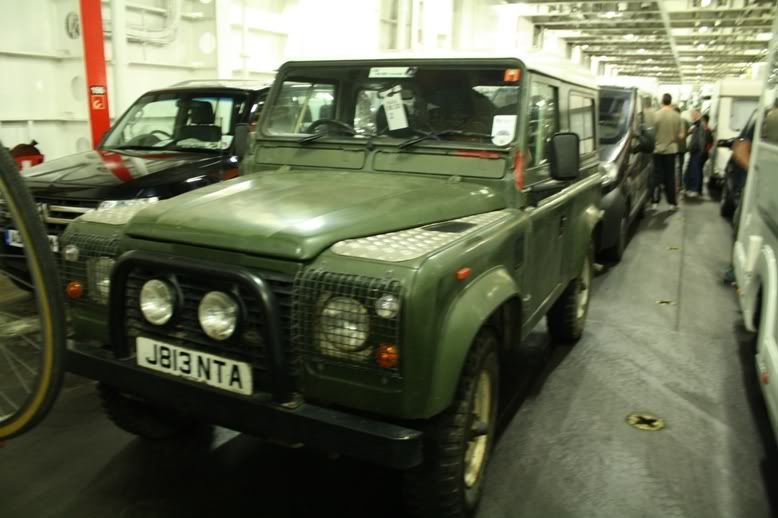
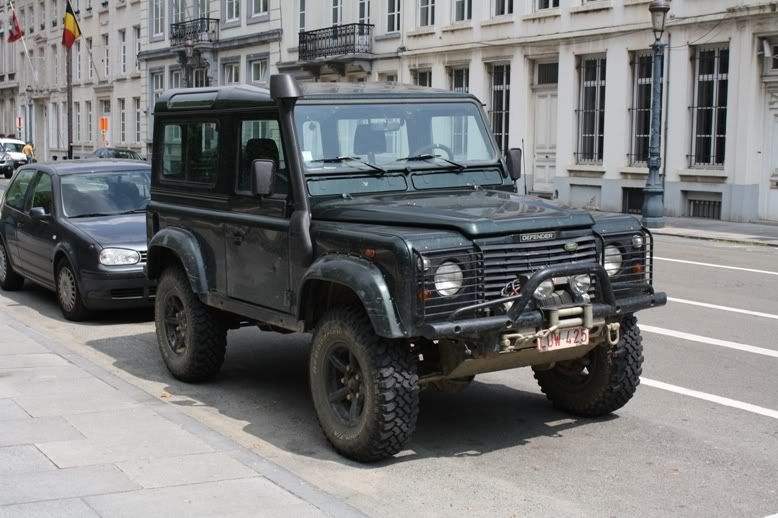
Saw this rather nice 90 parked up
The ‘Atomium’
Heading home
We did just under 4000 miles in 25 days, and averaged 27.8mpg, which I think is pretty good considering my driving style. A few post trip jobs to do, the main one being sorting out my transfer box’s unhealthy appetite for EP80/90.
-
I would definately be up for a trip, providing I can get the weekend off. I missed last years meet due to work

-
Footman James insured my Gaz 66 for £140 fully comp. Bargain
Another vote for Footman James from me. I'm 18, have held my license for less than a year, and they insure my 1992 Defender for £980. Sounds alot, but it's cheaper than I could insure a small car for, something like a 1.2 Corsa

-
Thats pretty cheap. Do you know who you spoke to? According to their website, they wont insure anyone under 25 on a classic policy. I may have to give them a ring, as my insurance renewal is pretty soon
. -
Ok, thanks for your help. I have topped it up, and Ill see if the light comes on again.
Thanks.
-
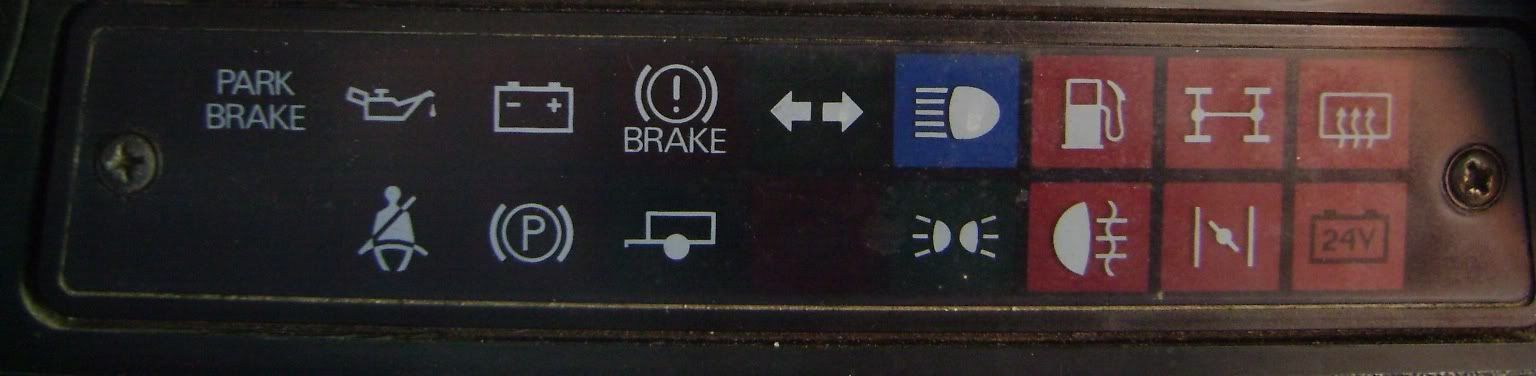
I'm fairly sure I dont have a handbrake light on my defender, it's never come on, and I can't see a switch on the lever. Would it not be a different light anyway? The light which has flickered is the one above the trailer one.
Thanks.
-
Hi All. I have searched the forum for this topic, but not managed to find a definitive answer.
The brake warning light on my defender has flickered a couple of times during the last 30 or 40 miles. It seems to be when I am braking quite firmly, and going down hill. The light is the one which looks like (!) and says BRAKE underneath. Is this light only triggered by the float switch on the fluid reservoir? I have checked the float switch, and it seems to be working ok, and the fluid level is also fine. The brakes feel fine, and it has just passed its MOT without any problems. The fluid level is slightly below the MAX level, so I shall top it up tomorrow. Is there anything else which would trigger the light to come on? The vehicle is a 1992 200tdi, with drums on the rear.
Many thanks.
-
Just one thing, the old cappings on my vehicle were bonded/glued on and were a complete bugger to get off. I doubt that my '87 county has been through 2 lots of cappings so maybe some were bonded/glued on at the factory?
My cappings were stuck down, but not very well, they were easily seperated from the body.
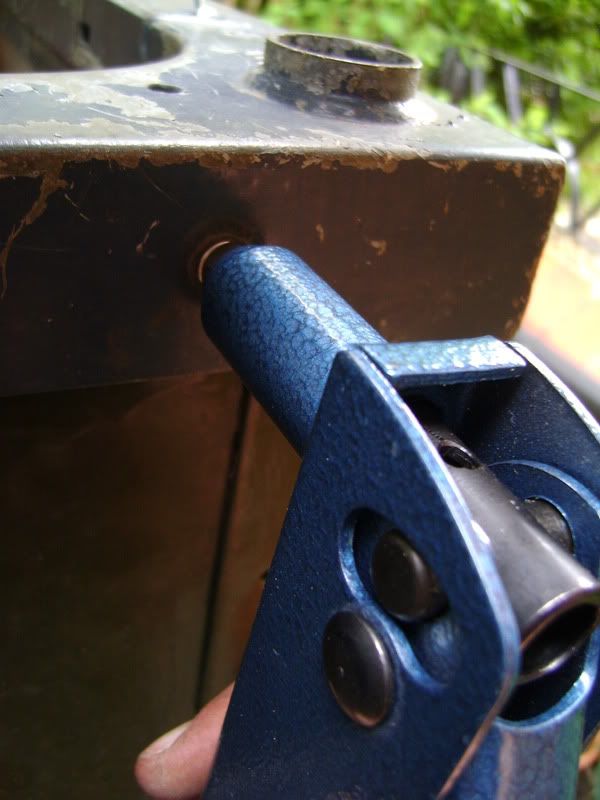
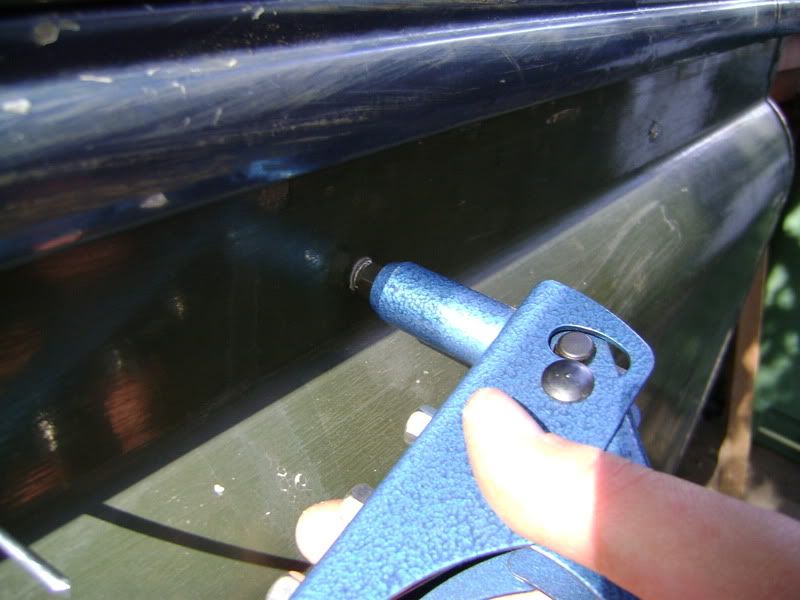
Oh and I bet you had fun with that hand rivet gun?! I got myself a pair of lazy tongs for this job, money well spent - there's a lot of rivets!!
My arms were hurting a bit by the end of it - you do one rivet and think 'Oh, this is easy'
 .
. -
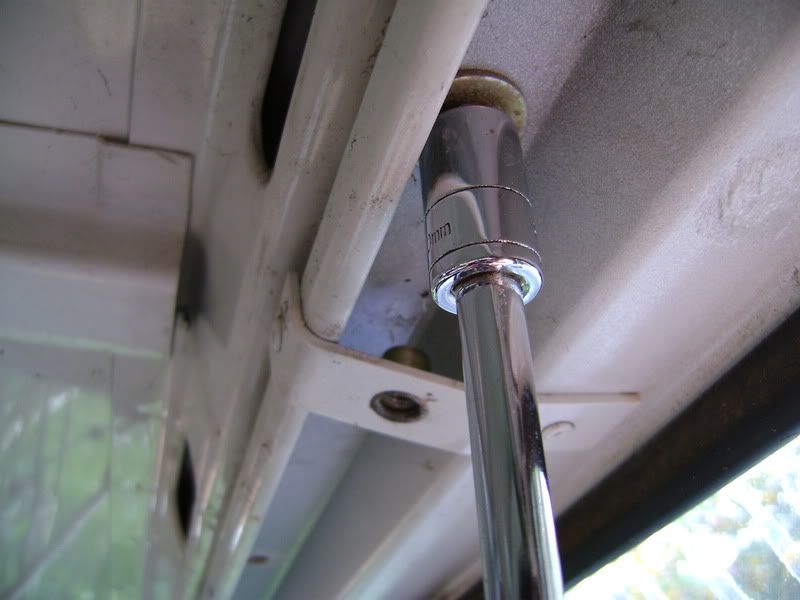
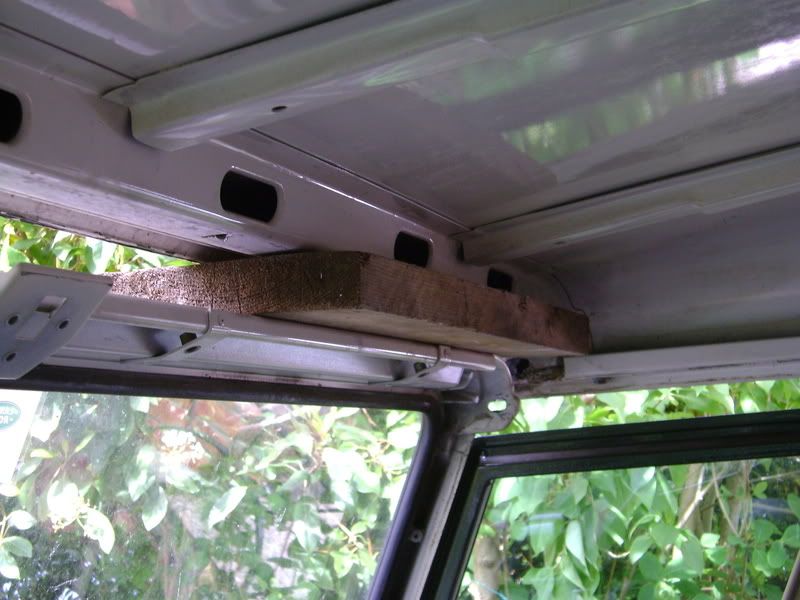
It's not too difficult to lift the roof up on your own, it only has to be lifted up 3 or 4 inches. Just make sure you have a few bits of wood to wedge / lift / support the roof and you will be fine.
-
Nice truck. The scenery is all right as well
-
Maybe they have, waiting for them to get back to me, probably Monday.
Just for reference, this is the order details from the other day.
1 x Defender 90, 110, 130 Drainplug -
Options Selected - Land Rover Drainplugs: 200TDi (S027-1-DP1012)
Tax 17.50%
Price Per Item - £18.18
Total Without Tax - £18.18
Total Including Tax - £21.36
The bit that turned up has DP1029 on the side of the tub it came in.
It looks to me as if they have sent the wrong one, as the order details say "200TDi (S027-1-DP1012)", and yours says "DP1029".
-
Nice thread, How much do you want for the old ones!
As I'm feeling generous, they're free to anyone who collects them
-
Just wondeirng why you didn't paint and/or rust-proof them before fitting?
It's hard to see in the pictures but the capping's are galvanised. From what I gather, there was a period when land rover didn't galvanise them, but IIRC the later ones are galvanised. Also, I am planning a full rebuild at some point in the not too distant future.
-
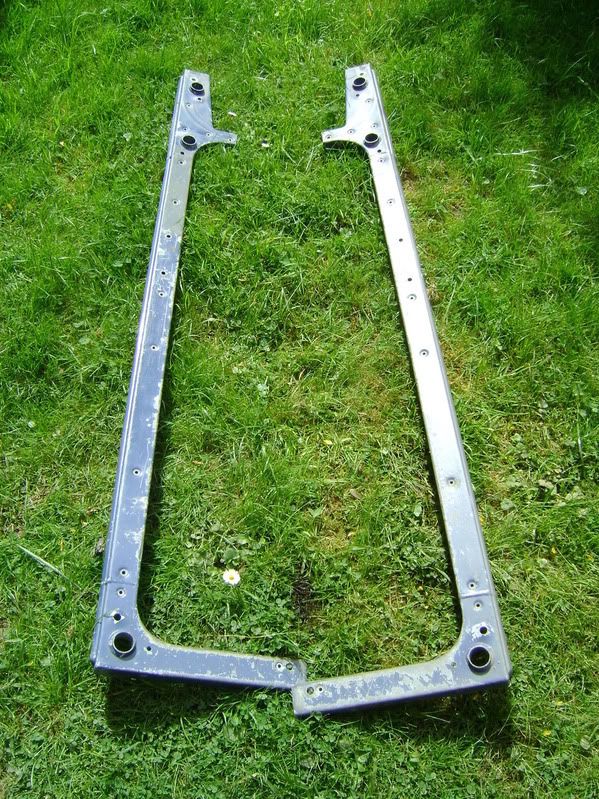
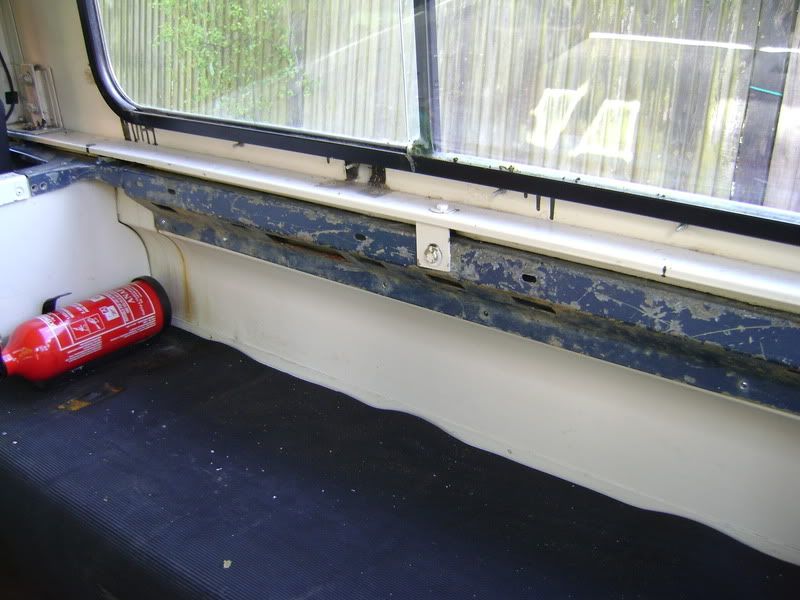
Replacing Defender Body Cappings
Hi all. For some time I have been meaning to replace the body cappings on my Defender. I had a day off work today so I thought I’d get in gear and replace them. I couldn’t find anything in the Tech Archive relating to this, so I thought I’d take a few photos, they may come in handy for someone. (I only started taking pictures half way through, but hopefully it will all make sense.)
You will need some replacement body cappings obviously.
You will also need some basic tools:
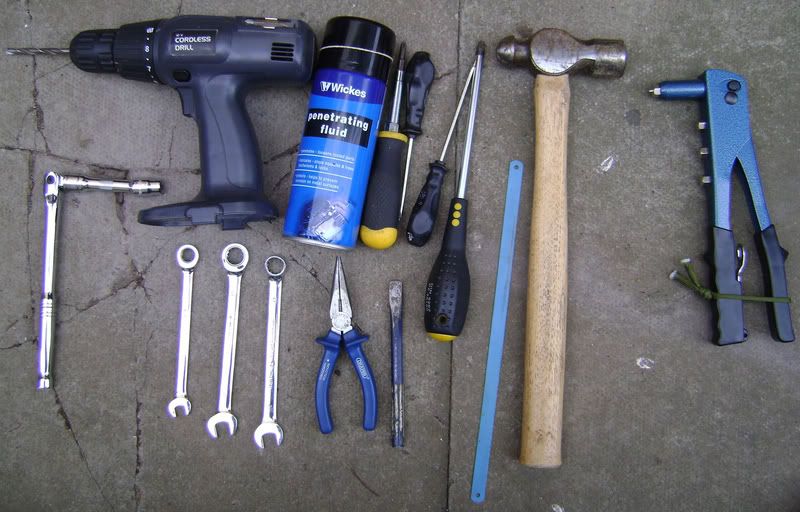
Drill & 6mm drill bit, hammer, rivet gun, assorted screwdrivers, pliers, 10mm & 13mm spanners, and a 10mm socket / ratchet. WD40 or similar is useful if some of the fixings are rusty.
You will also need plenty of new rivets, I think 60 is enough. To begin with, you will need to remove the headlining, so sun visors and mirror needs to come off.
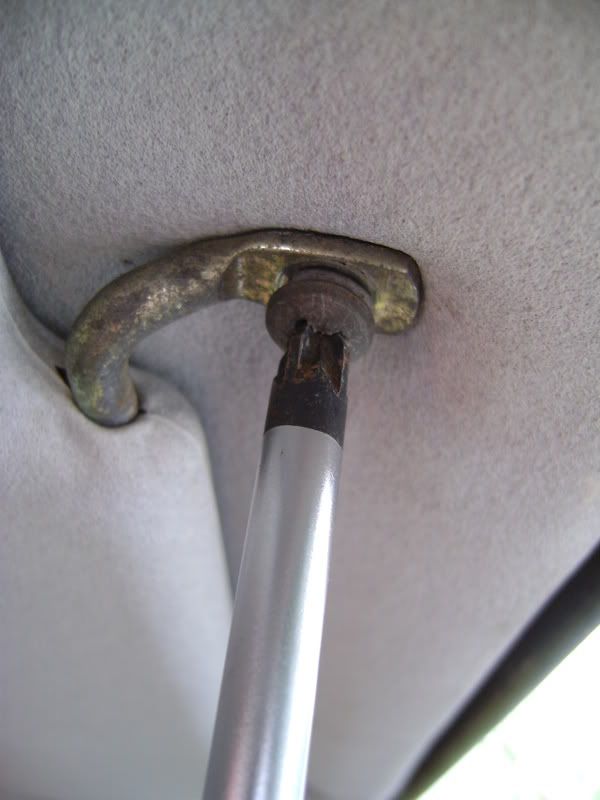
Then remove the 6 10mm bolts which hold the front of the roof to the screen surround.
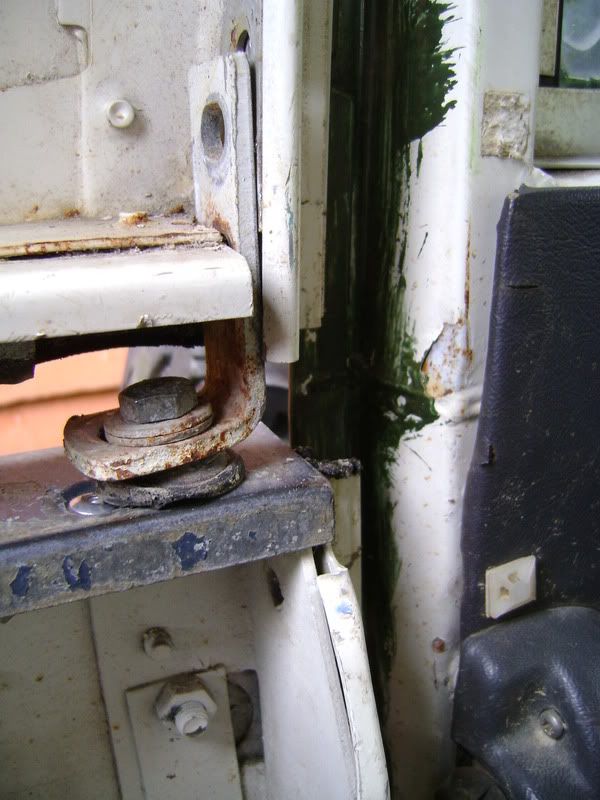
I then removed the rear door hinge from the rear body (13mm).
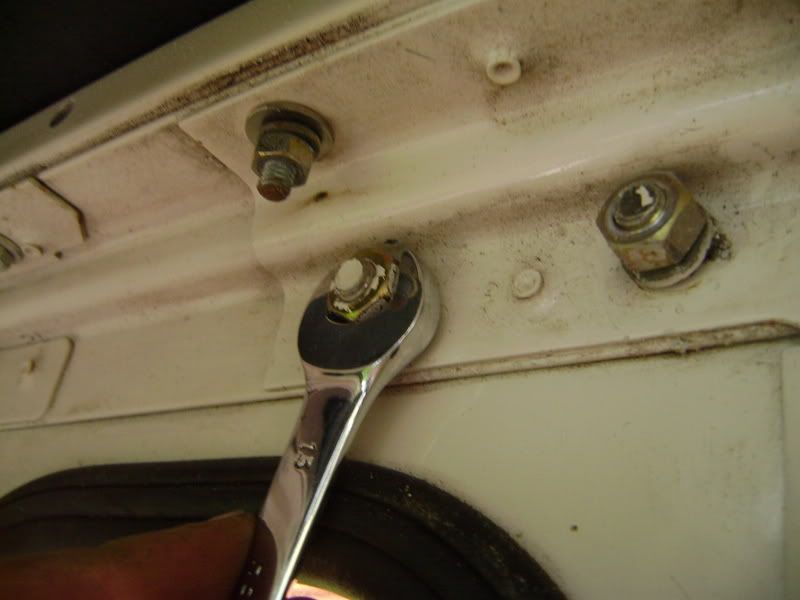
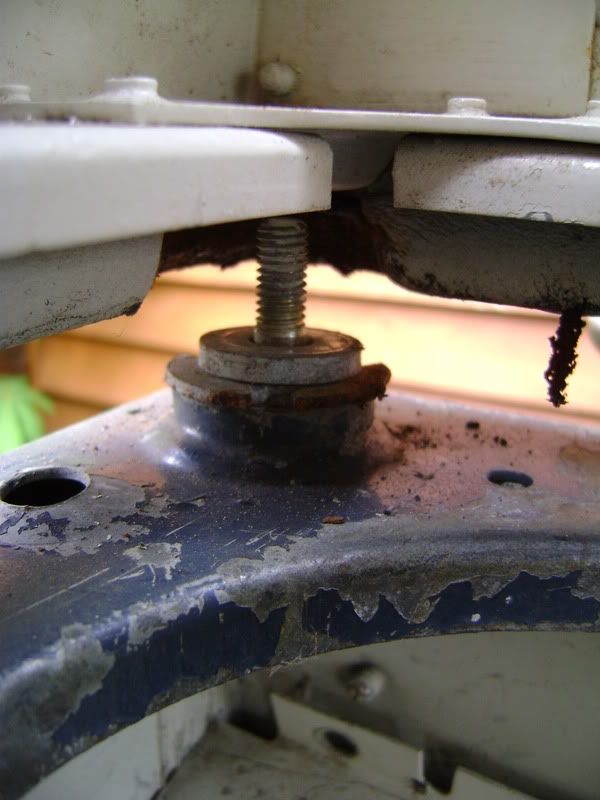
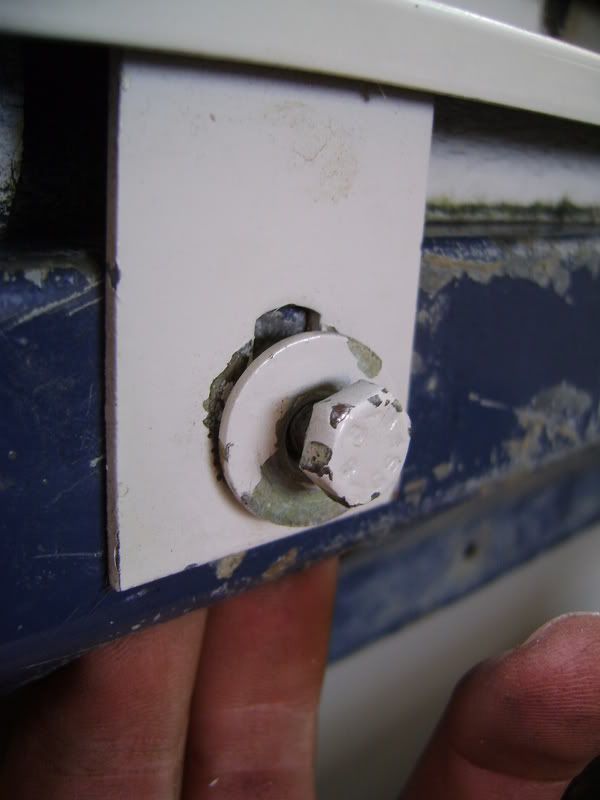
I then removed the 4 13mm nuts which hold the body to the tub.
I then removed the 10mm nut and bolt on either side of the tub.
Next, I pulled the door seals away from the body.
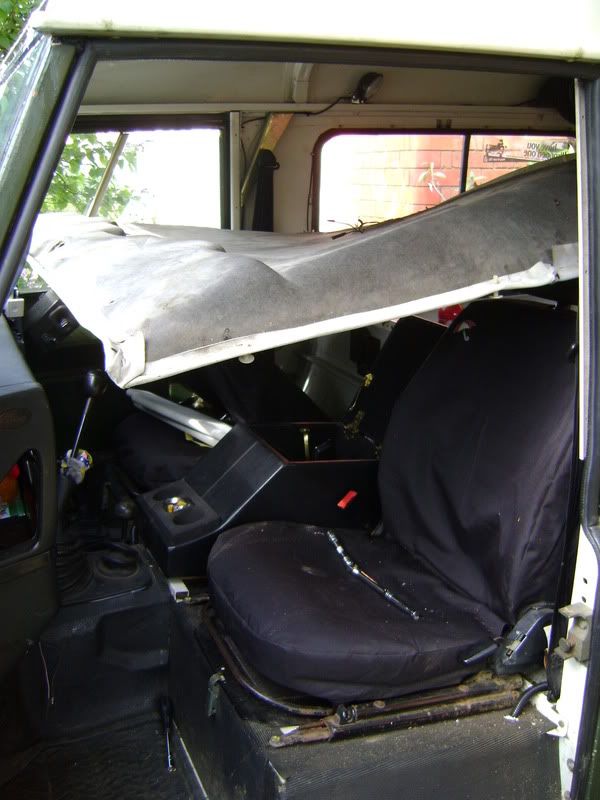
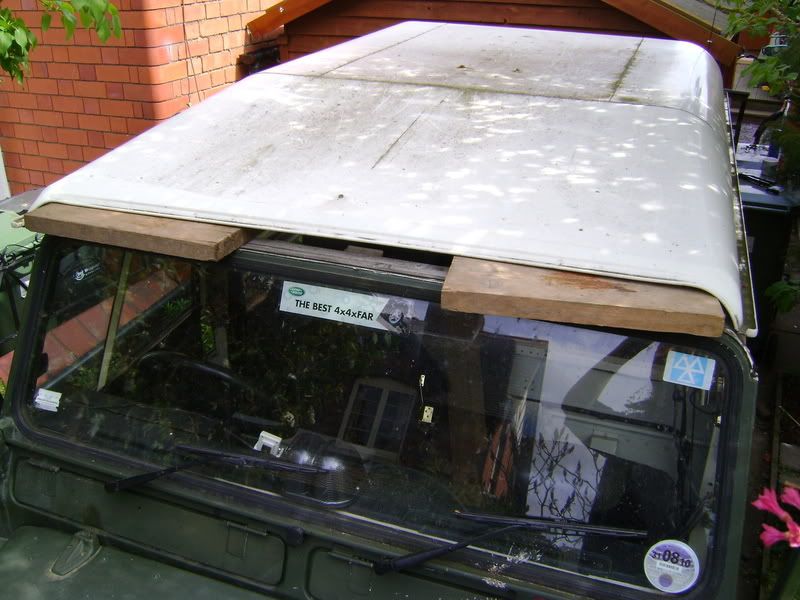
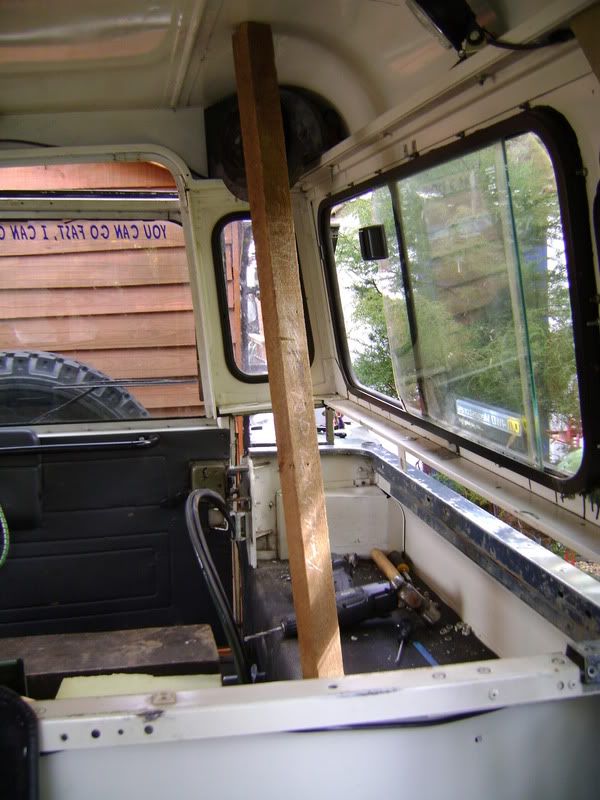
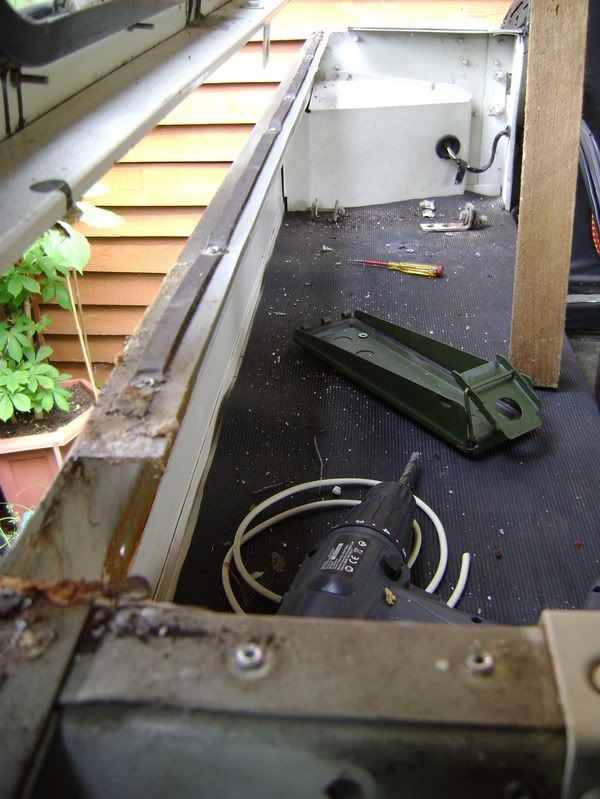
Now, because I was on my own, there was no easy way of lifting off the roof completely. Therefore, I kinda had to bodge it, i.e. supporting the roof with blocks of wood, while i got the cappings off.
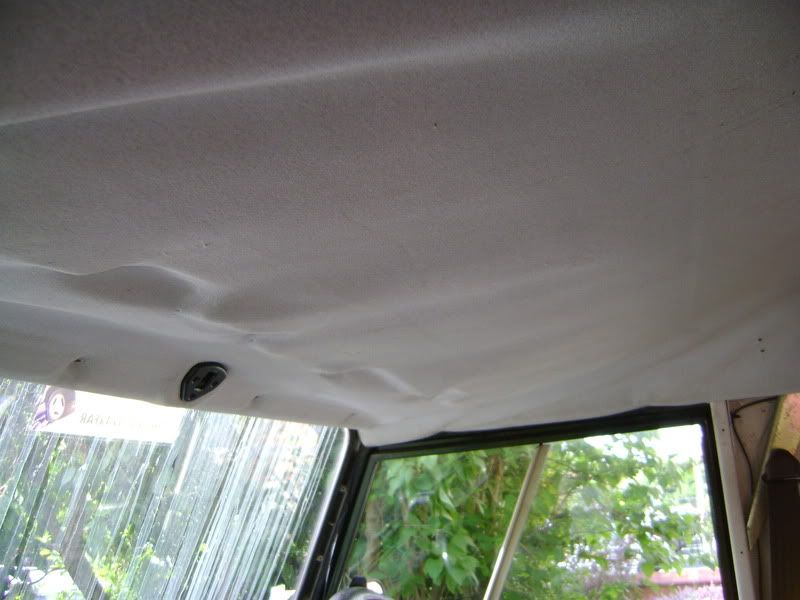
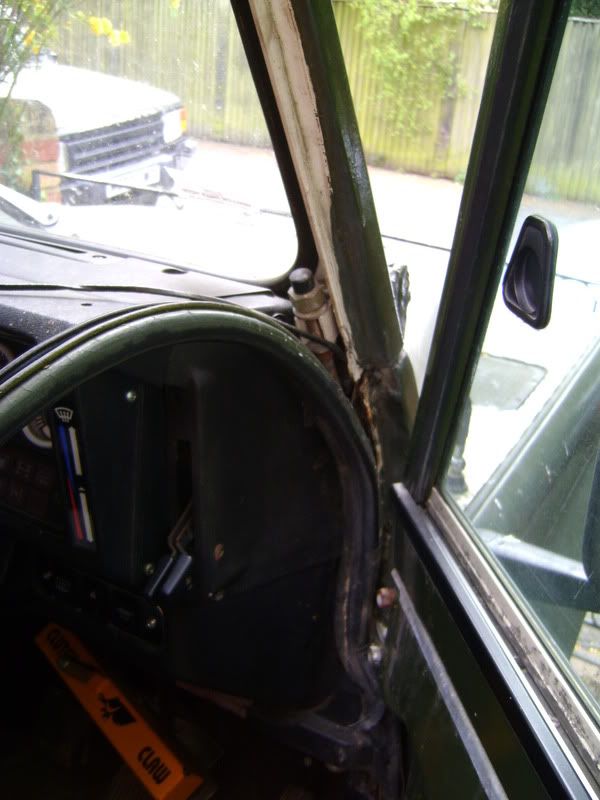
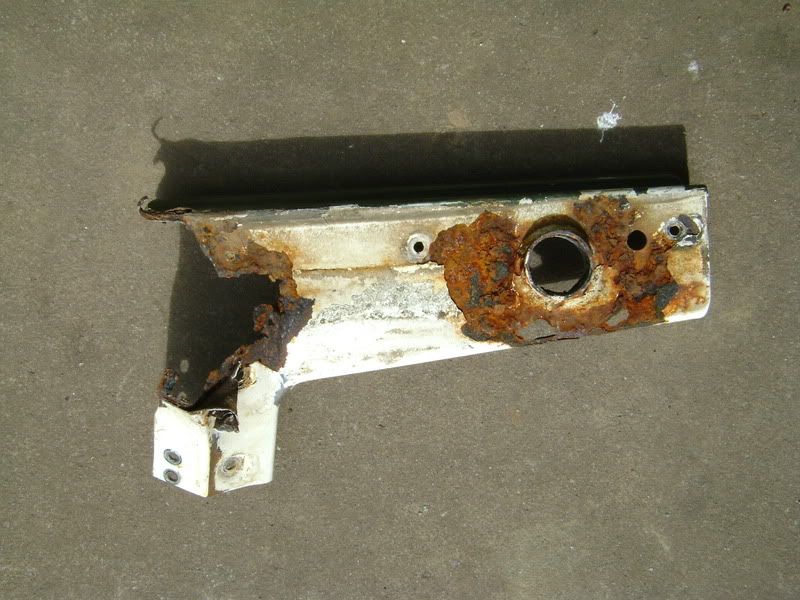
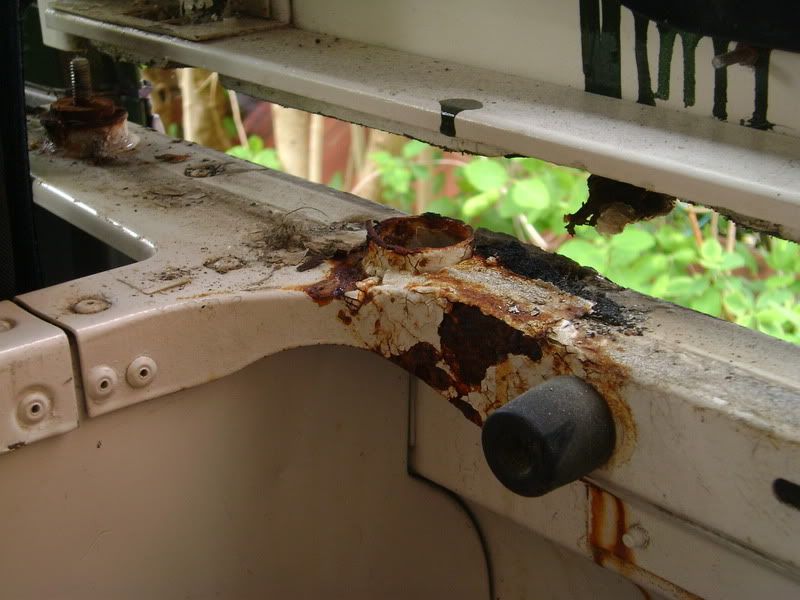
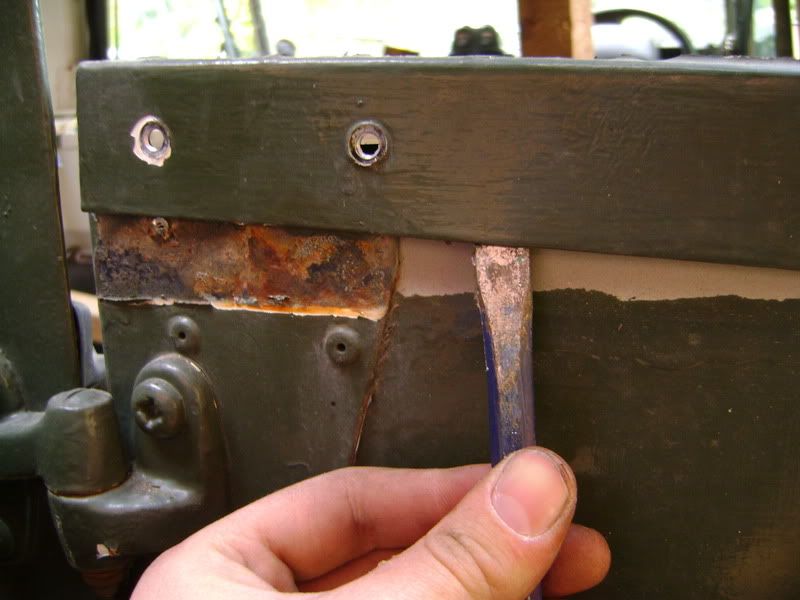
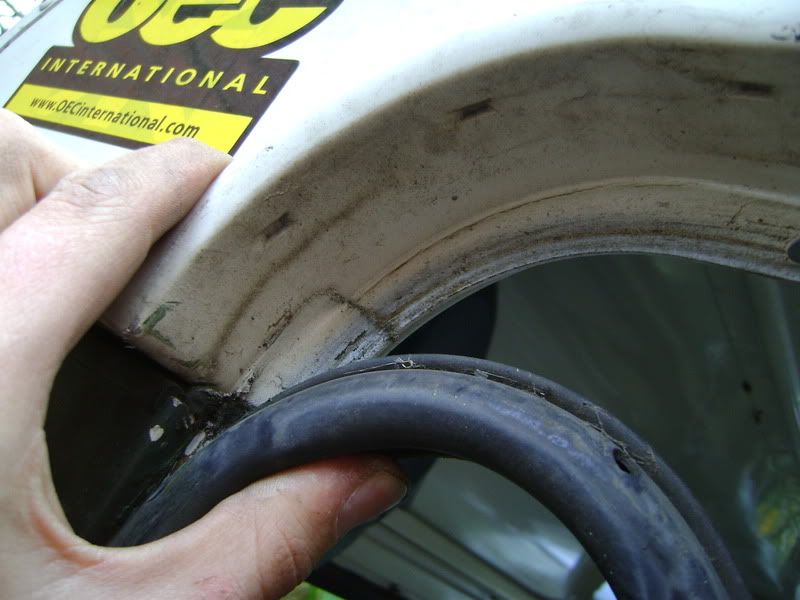
I don’t have any pictures of the first side, as I was trying to work out how to do it myself : ). Here you can see the old capping removed.
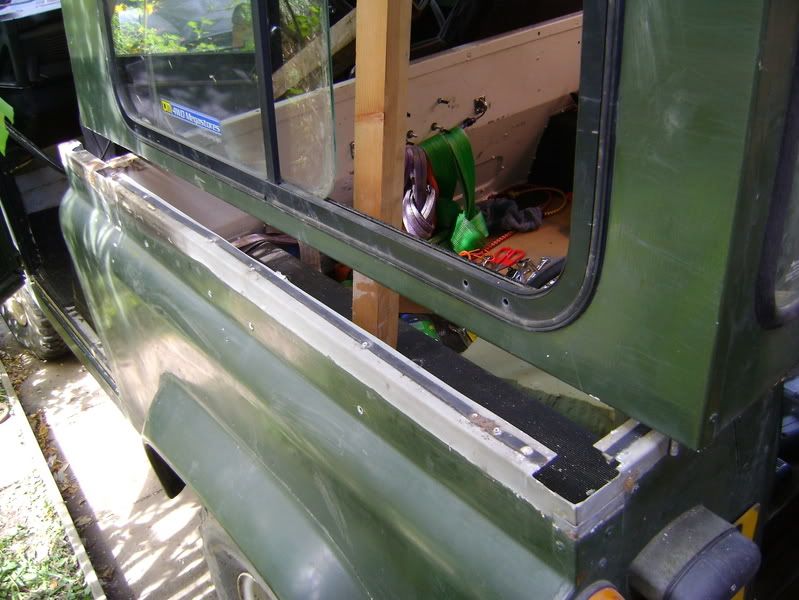
You can see clearly why they needed replacing.
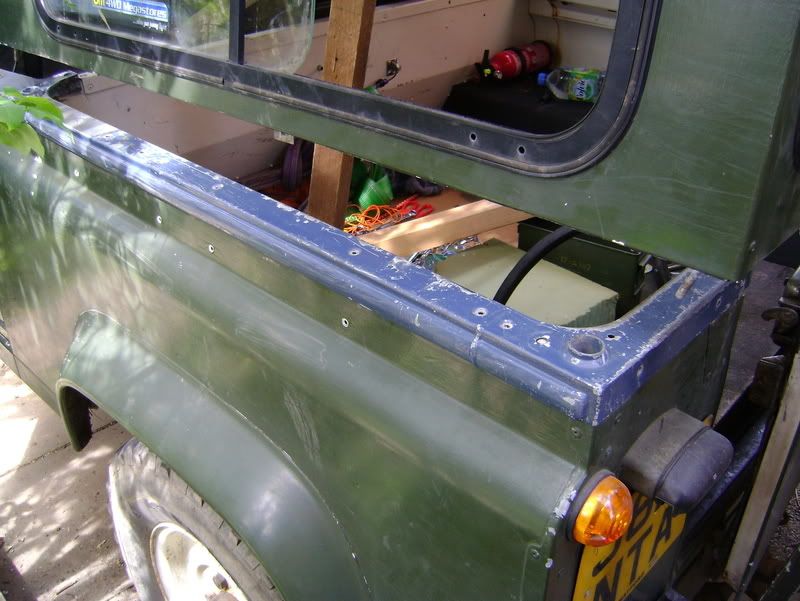
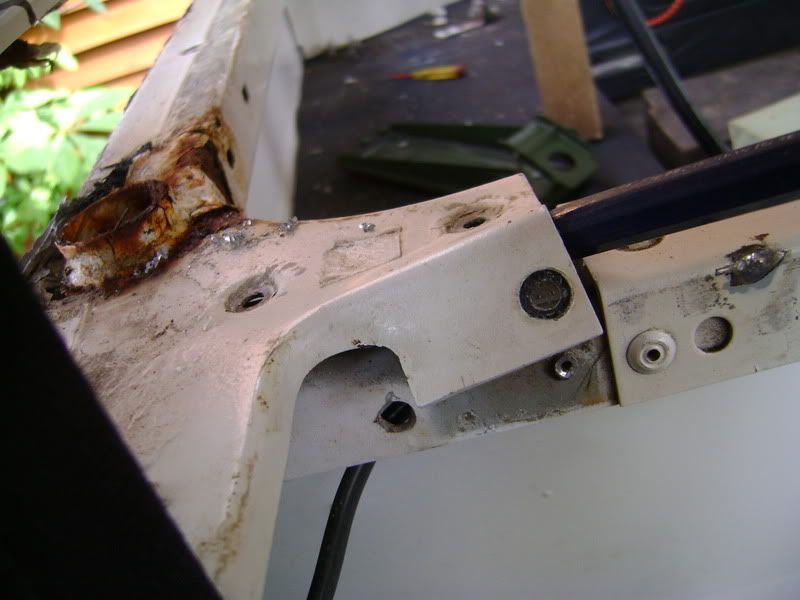
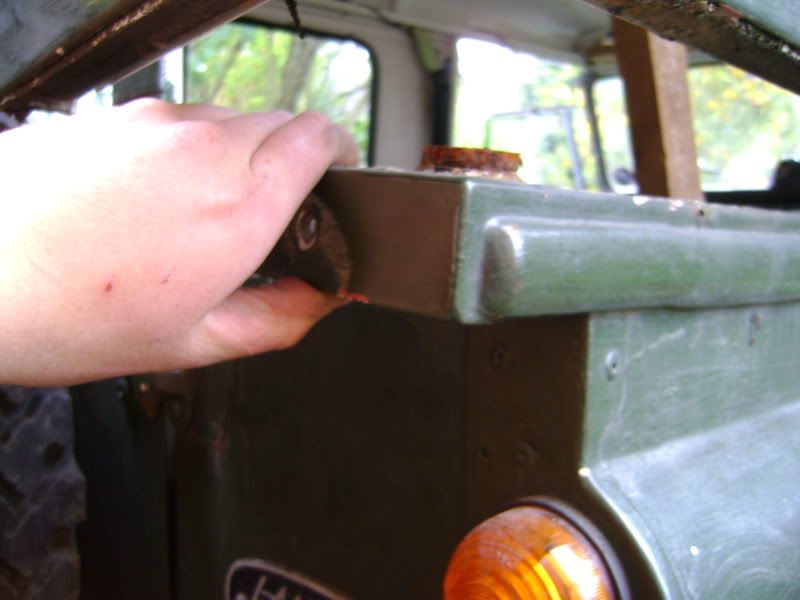
Here, the new capping is in place, ready to be riveted on.
This is how the roof was supported.
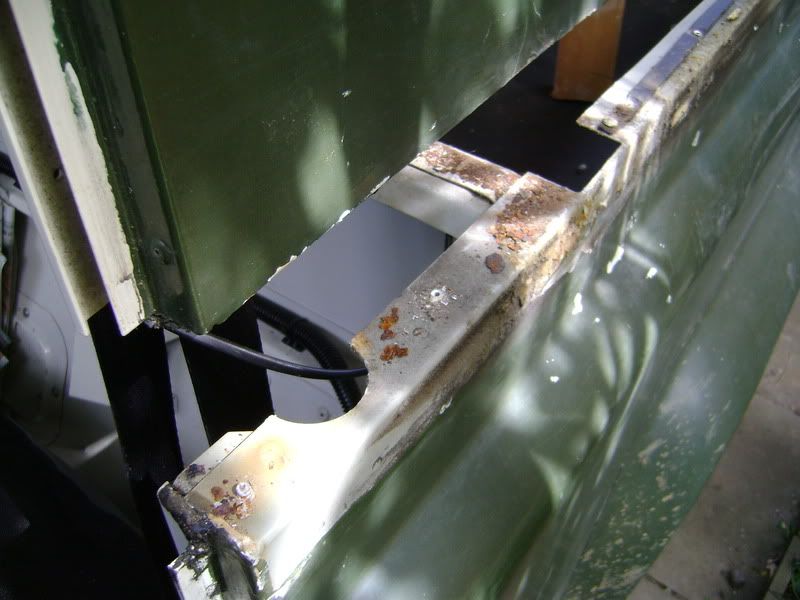
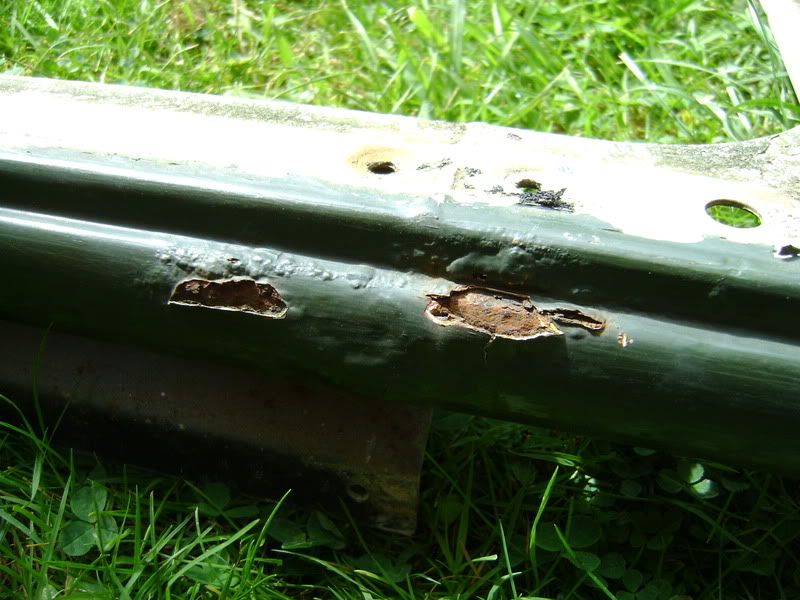
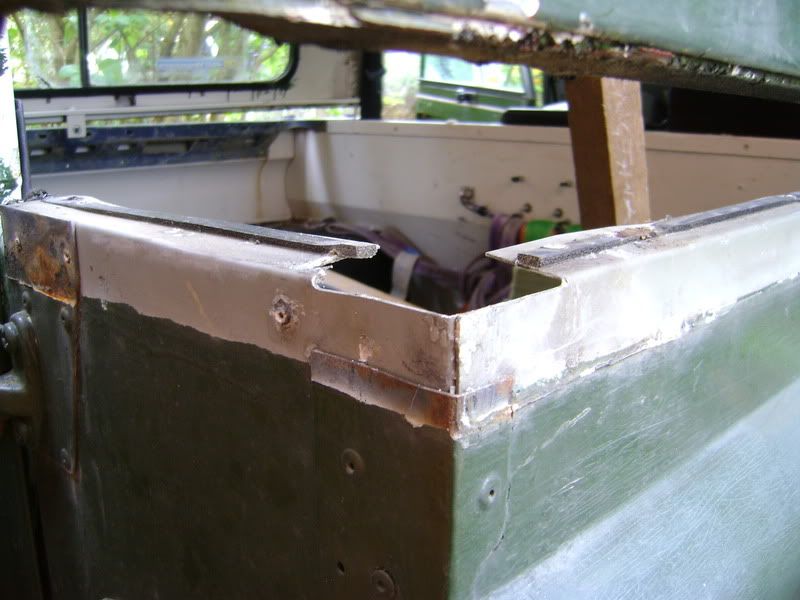
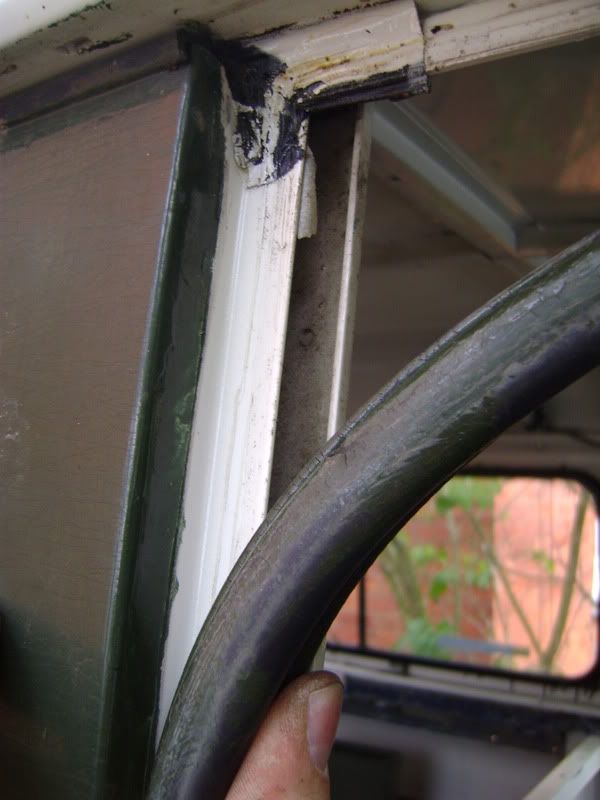
Now, onto the other side. This one was even worse.
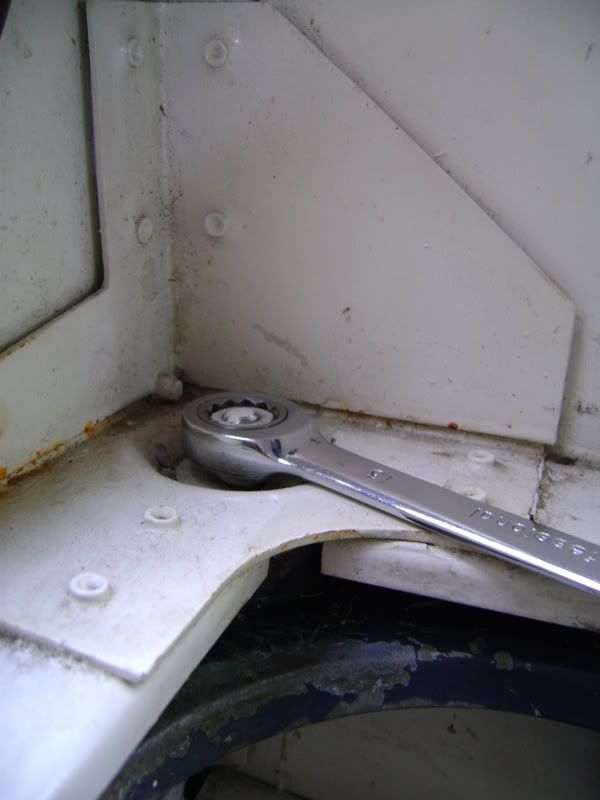
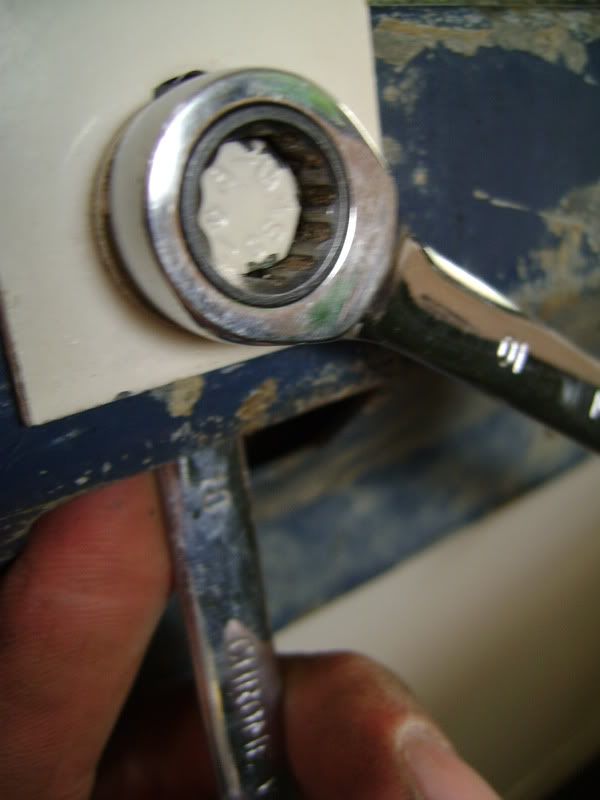
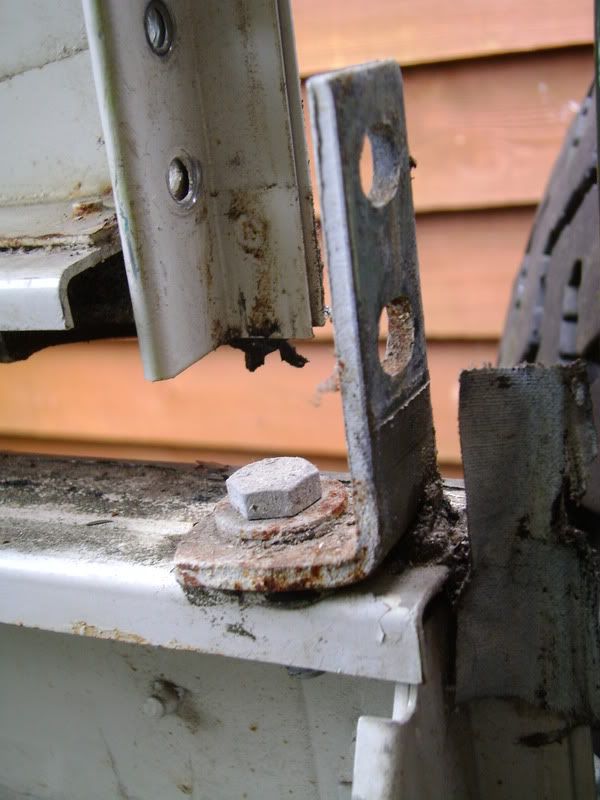
Make sure all the bolts are undone, and lift the body clear of the tub. Then undo the angled bracket which supports the rear body.

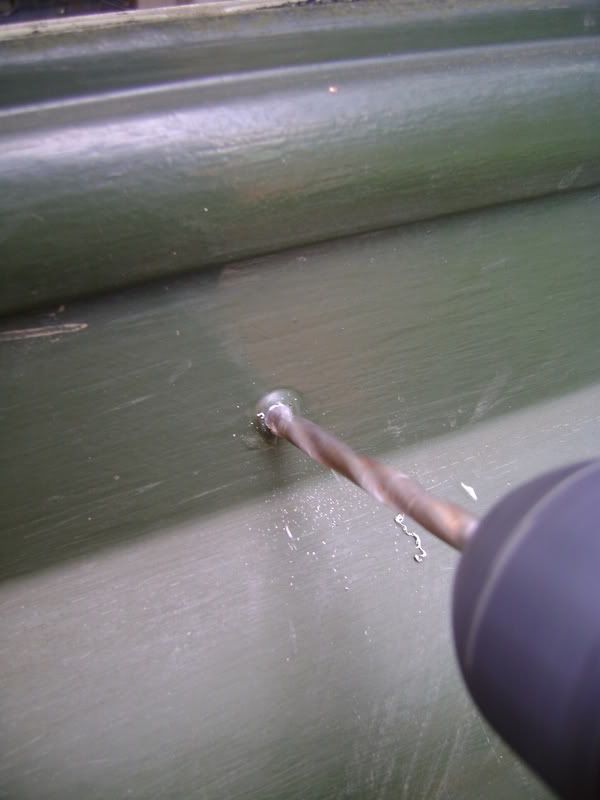
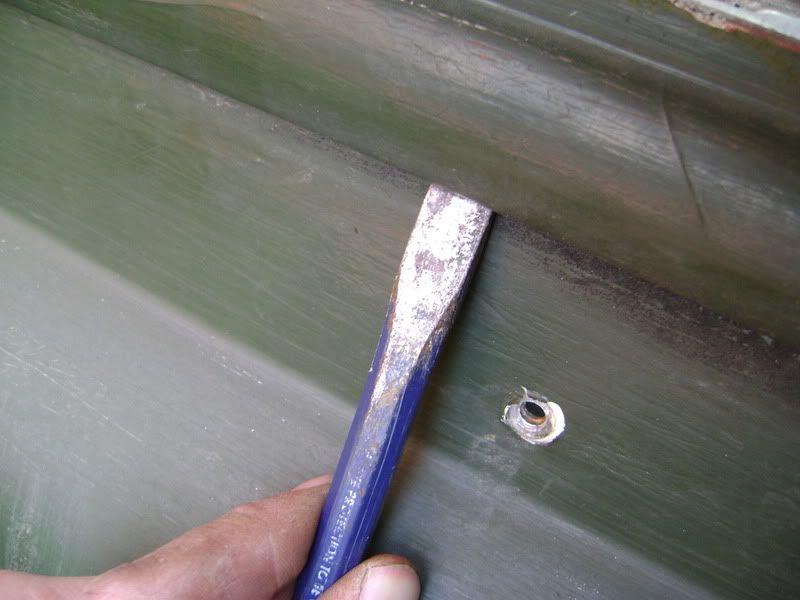
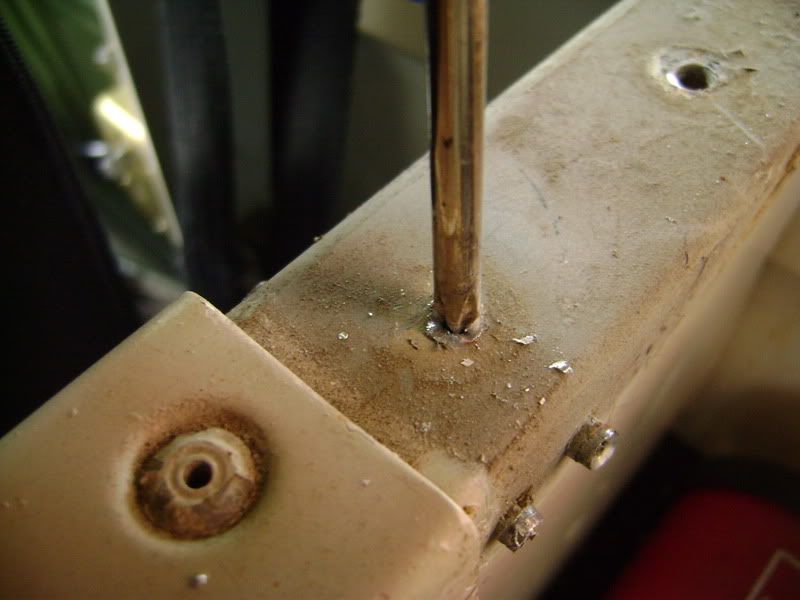
You then need to drill out all the rivets which hold the capping in place. There are about 25 for each capping.
Once you have removed all the rivets, it is a case of levering the old capping off; this is easier said than done. I used a flat head screwdriver, chisel and hammer to remove it.

Eventually, it will let go, and the capping will come loose.
The next job is to remove the remains of the rivets; I used a drill in some cases, and a screwdriver / hammer in others.
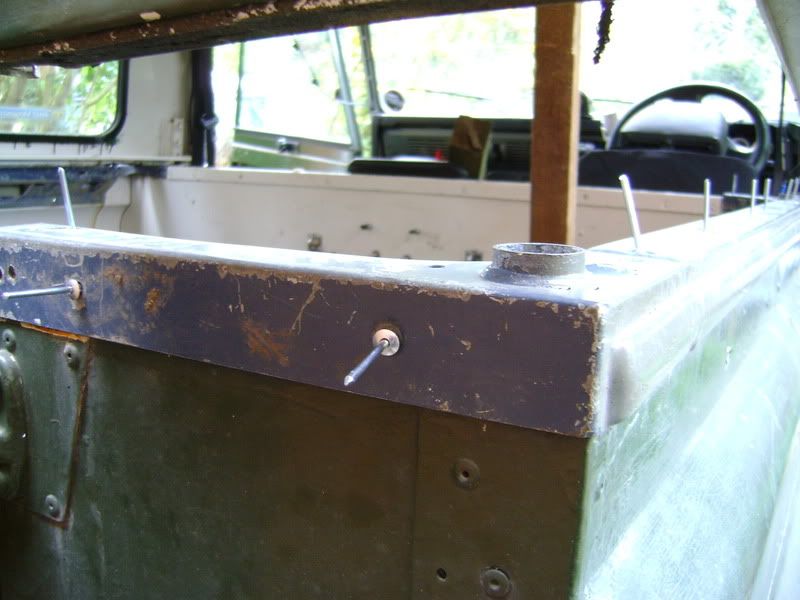
When you have removed all of the rivets and cleaned up the body, you can slide on the new capping. One useful thing to do, is to put all the rivets into the holes, before you start to ‘pop’ them; this means if the capping distorts slightly when you ‘pop’ the rivets, you won’t have difficulty trying to put the rivets into the holes.
Once it is secured, it’s simply a case of putting the body back on. It’s not hard, but will take a bit of jiggling to get everything lined up. Make sure you put on the angled brackets by the rear door first.

Once the body is sitting correctly, tighten the corner bolts, and add the bolts for the side supports.
Then bolt the rear door hinge back onto the body. Put the door seals back in place, and make sure all the doors shut ok.
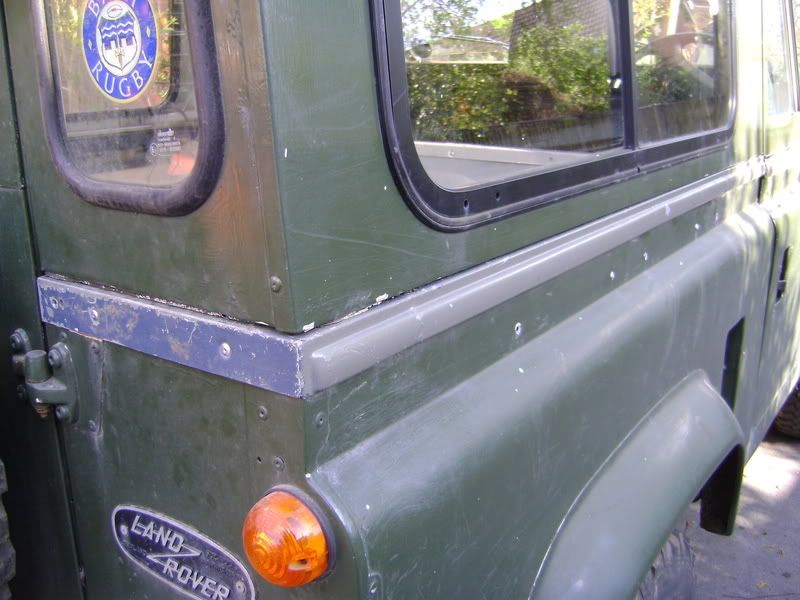
Below you can see the finished result.(I ran out of rivets right at the end, so there are a couple missing
. I will fix this tomorrow.)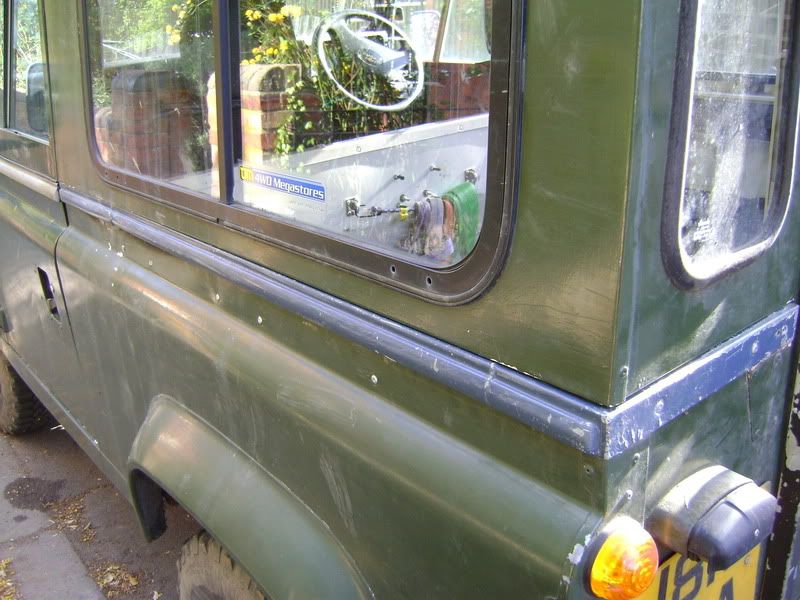
I started at 9, and had all the tools packed away by 5. Now I know what to do, I’m sure I could knock a few hours off next time. Not that I’m planning on doing this again for a while...
-
 1
1
-
 1
1
-
-
Thanks all. I'm pretty sure I just didnt leave it long enough to settle, as there has been no change in oil level over the last 3000 miles.
-
Hi all.
I changed the engine oil last week, and filled the engine to just below the 'max' mark. I have checked the level today, and it is about 8mm over the 'max' mark. Do I need to let some out or will it be ok? It's a 200tdi.
Thanks, Tom.
-
Wouldn't it be simpler to both visit the gents with a ruler

 :lol: :lol: :lol: :lol:
 -
I used washing up liquid. I used a brush to apply it (headlining out of the vehicle) and then just rinsed off with a hose. Seemed to work well.
-
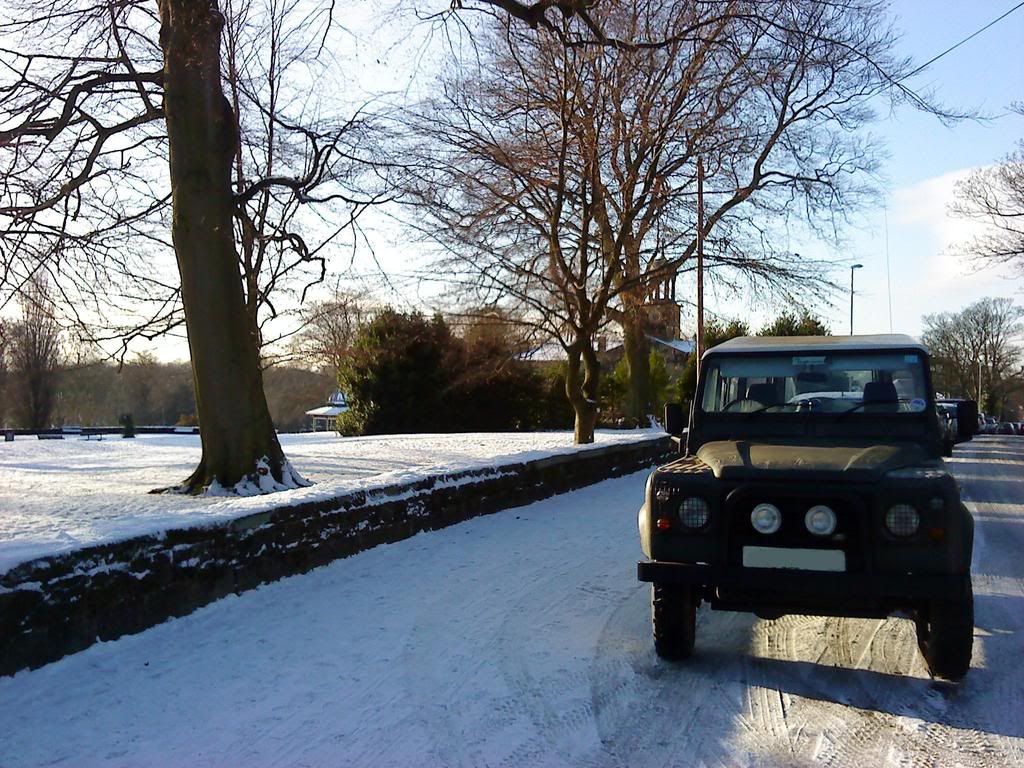
Was still a fair bit of snow in Leeds yesterday.
 . Didnt bother with health insurance
 .
.


snow pictures?
in International Forum
Posted
Went out for a play yesterday...
Which inevatably led to me getting stuck
So I had to bring in the heavies