


disco_al
-
Posts
1,931 -
Joined
-
Last visited
Content Type
Profiles
Forums
Events
Gallery
Blogs
Posts posted by disco_al
-
-
It would just *HAVE* to be a Prius I am afraid..
absolutely!!!! someone has got to do it, would seriously confuse the eco terrorists that are playing up in london
 :D
:D -
Any update on this?
not yet, been rather hectic lately - so it's still sat where i left it - dead defender's and rover's seem to be taking over a the moment
-
I have decided that i want one of these conversions clicky expensive, but soooo nice to have a modern diesel - especially the tdv6
surely too the system they have developed opens up a whole new world of conversion possibilities
-
that truly ugly rangerover has been on there before two or three times - IIRC it was something to do with longranger at one point
-
that's probably the easiest way to do it
-
the wire is just to keep them compressed for transport. to tak it off, put the lower shock mount on the floor, grab hold of the top of the shock and push down, you can then remove the wire. once it's off, then the shock will start to expand, which is what it is supposed to do. to fit them, compress the shock, fit one end, then as it expands fit the other end

-
Exmoor Trim could be your friends for a re trim - either that or a trawl through the yellow pages. another alternative will be to look at the car restorers section as well, and give them a call, or go see them, they maybe able to recommend a company that does a good job.
is it just the camera angle, or does that rear wheel in the above shot look like it's leaning inwards at the bottom??
-
Range-Rover-Classic shows the differences between the dash grab handles at the bottom of of the 1970 article, just before the page break for 1971 as well as listing (theoretically) all the changes for each model year
i was looking at the four rectabgular holes along the dash, just below the auxilliary gauges, i think it's an add on air con system, although not entirely sure. the glovebox doesn't appear to exist either.
-
Lookis like a good base to start from - hope you enjoy hunting tinworms
your dash looks a lot different to the one in my (potential)'81 3 door model
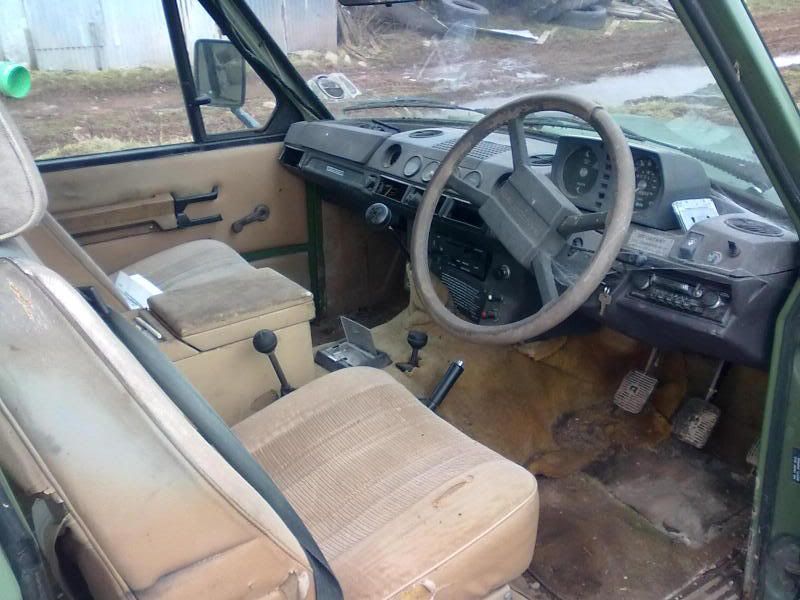
although looking at it, i think mine may have had air con on it originally.....
-
i'm not expecting it to be a quick job, in fact i expect it will take time - hmmmm, maybe get it finished for my 40th......lol
i have access to a large dry barn if i need it, so it could be done in the dry, rather than at home.
all i've got to do now is get rid of the 106 languishing at my brothers house before i can have it (so SWMBO says)
-
if it's logged as scrap, then the logbook has been sent off. you may be able to get an age related plate, although i think it will more than likely get a Q plate, as it will be classed as a rebuilt vehicle and get a DVLA issued chassis number.
you could try and argue the fact that you have all the details, and get the original number reinstated, although it will have a 2011 registration date, so lose it's status as a classic

has the seller got the V5?
-
-
Just from the pics it seems likely that both the front floors & footwells have rusted out & the engine bay sheet metal looks very iffy plus probable complications associated with the engine conversion.
It was only moved outside in spring last year, before that it had been dry stored. I've checked the floors (pulled the carpets up) and they all appear sound in the front, with only light rusting on the outside.
The sills need doing at the back end, and there is a crusty part in the inner wheel arch on the leading edge by the sill. Generally it does look and feel solid in all the main spots. The inner wings are starting to get a bit crunchy, although I would probably fit new panels from YRM where needed.
As for the engine conversion, it was a proper garage fit job, and not a bodge it at home job, done in the mid 90's from what i've been told - and it was driven out of the barn to where it now sits.
-
sounds like you 'box has gone internally somewhere
did it let go with a bang, or any other strange noises? has the it been noisy in recent weeks? -
Well it's been a few months, and i've finally made it up to see the RR in the daylight - and it's better than i thought
:)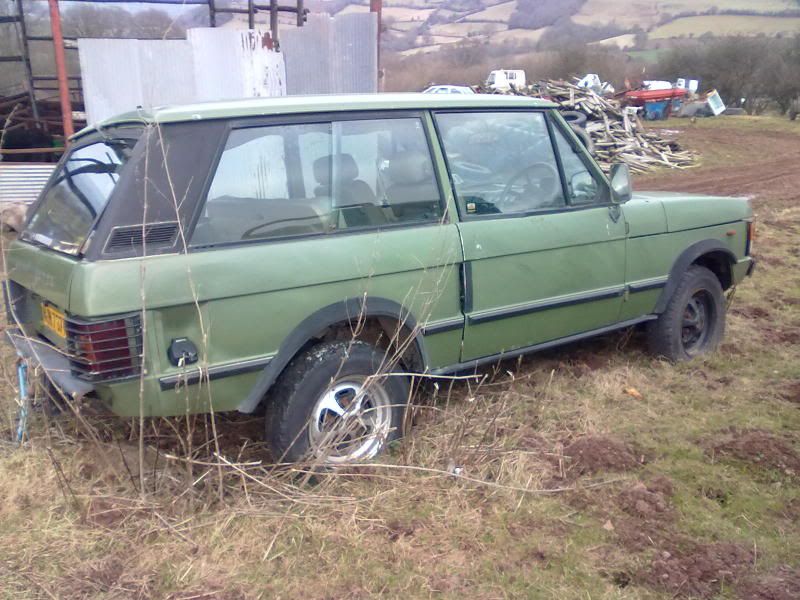

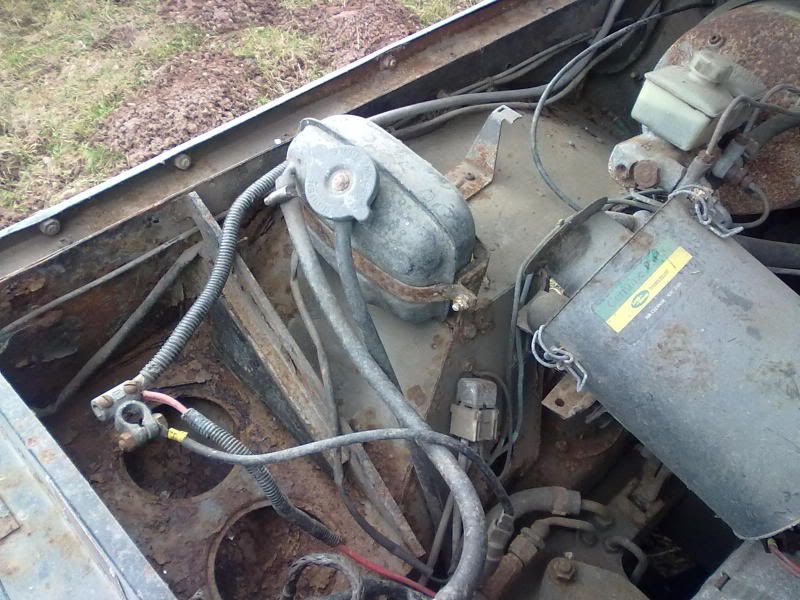
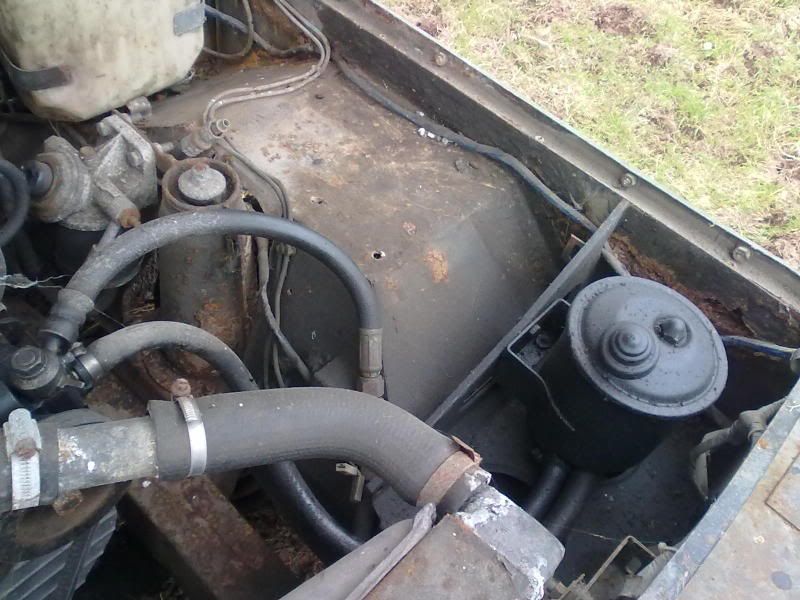
It's actually fitted with a Daihatsu 2.8 Turbo engine
 coupled to the original 'box with the overdrive still attached
 few crusty bits, but nowhere near as much as my much newer Disco had

so it's get some work done, and she will be mine, muah ha ha ha!!!!
-
if it still leaks, tile the back end and sell it with an en suite wet room
-
should do. according to my filter book they have the same thread.
as a side note, the same filter for the tdi fits a case tractor - and the case dealer sells them for £19 + vat, needless to say, i'm now selling loads to the local farmers at nearly a 1/4 of the price
-
IIRC it's a single skin roof. Like the idea of a drain hole at the back of the roof gutter, might be worth investigating a small 2mm diameter hole.
-
best solution to that problem that i have heard about is to dam the gutter up at one end with some blue tack or equivalent sticky stuff, and then warm some waxoil up so it's nice and thin, pour it into the gutter and let it find it's own way in from there. should then seal the leak up.
that area usually leaks becuase of the 3 way panel join that they built into the vehicle. the roof, outer & inner skins all meet there, and the mastic goes hard, cracks then leaks.
-
you can remove the pipe without removing the heater unit (i know, i've done it
) you need a 3/8 drive socket, and some extension bars to get at it, but once that bolt on the bulkhead is undone, then the pipes come off (remember to disconnect the rubber hoses under the bonnet.it's an easy job with the dash out, not sure with the dash in.
-
Hang on a second. The pump runs 'till it has presurised a reciever, like a small round tennis ball sometimes called an acumulator. this provides the instantanious pressure for the ABS to work.
the rear braking circuit may be provided from this pressure and if so will only be present with the BAS system runnig, I know that's the case with a RRC which is a similar WABCO system.
except the disco doesn't have the accumulator sphere on it. the abs is essentially an add on system with the disco, and the brakes are similar to a standard hydraulic braking system (apart from the master cyl). the abs literally just assists when needed, rather than being integral, like a lot of other systems.
other types of system do use the accumulator sphere, such as early 90's fords, mounted on the top of the master cylinder, which does indeed provide the instant response. the disco system uses a stand alone ecu and high pressure pump mounted on the valve block which fires when it's needed.
-
have a look on some of the ford owners club websites, iirc you only need a few of the wires from the ecu to get it running. was it from a PATS enabled vehicle? if it was then it gets more complex due to the immobilizer being integral to the ecu
-
did they do the official sound meter check?
ISO 5130 Vehicle Noise MeasurementsISO 5130:2007 requires three consecutive measurements to ensure repeatability. These measurements are taken at a specified engine speed, or RPM, and the maximum sound level produced during the test is taken. Once three valid measurements have been made, the highest is taken and used as the valid result.
The microphone can be placed at the specified measurement position, typically 45 degress and 0.5m from the exhaust of the vehicle under test. The CK:261S Measurement Kit includes a positioning template which can be used to ensure that the microphone capsule is set at the correct angle and distance from the vehicle exhaust.
The tripod included with the kit allows the sound level meter and microphone to be set at the correct height from the ground. The remote control allows the user to control the measurements whilst ensuring that the engine is at the correct RPM for the test. The CR:261S can be supplied with a range of accessories and optional extras that allow the instrument to be used for various different applications.
that's the standard test for motorsport noise, although i would imagine that being ISO it would apply to road vehicles as well.
IVA states;
Using sound level meter to the manufacturer’s instructions, carry out a stationary noise check. Which must not exceed 99dbA (it used to be 101 for the SVA)
Position the vehicle within the authorised test area. With the sound meter horizontal, set the microphone height so that it is at the height of the exhaust outlet or 200mm from the ground, whichever is higher.
a. At an angle of 45 degrees to the exhaust outlet in the direction which gives the greatest distance between it and the vehicle contour
b. At a distance of 500mm from the exhaust outlet.
With the vehicle at normal operating temperature, run the engine at 3/4 of its ‘maximum power’ speed, and note the sound level reading obtained.
Note 1: Manufacturers drain holes are permitted in silencers
Note 2: The exhaust may have several outlets up to 300mm apart connected to the same silencer. In this instance the microphone must face the outlet closest to the vehicle contour or highest from the ground. In all other cases, separate measurements must be taken for each exhaust outlet; the highest value obtained is the test value.
Note 3: Where the engine maximum power speed is not available, the test may be carried out at 2/3 of engine maximum design speed.
if they did, ask for the calibration certificate that would have been issued that morning before the equipment was given out for use.
-
cut them off right on the end of the split, slide some coolant hose over, jubilee clip it up - cheap and more reliable fix
 coupled to the original 'box with the overdrive still attached
300 tdi non start after engine swap
in International Forum
Posted
rather than go into too much detail, we've just swapped out a 200tdi for a 300 tdi (the rear main seal went on the 200, and we had a 300 sitting round so though why not??) it's all sat nicely in the chassis, so a 300 does fit to an lt77 using 200 mounts - with some fettling. But, it refuses to start.
the timing belt was changed, we have been assured that it was a runner when removed, and have no doubt to suspect our source. all the timing marks were in the correct place, and they all lined back up after rotating the engine two or three times. we have fuel at the injectors, and a known good lift pump fitted. the filter is full of fuel, and fuel comes out of the bleed screw on the filter if you prime it using the lift pump. we have done all of the ususal checks, 12v into the solenoid (you can hear it click on the ignition) definately getting fuel at the injector heads, as we've cracked the tops off and it squirts out lovely.
now it will fire after a mist of easy start across the inlet - not directly in, but a mist across the opening as its cranking, but it will not fire up and run on diesel - any ideas oh wise ones? it needs to be running by sunday afternoon, otherwise it's going to be a rush job to swap the repaired 200 back in ready for monday morning.
and before anyone asks why we didn't just change the oil seal, it was because we wanted to run this 300 for a few months while we build the replacement defender up, ready for his rebuilt 300 to go into (we've got one in bits that's currently being overhauled)
cheers